


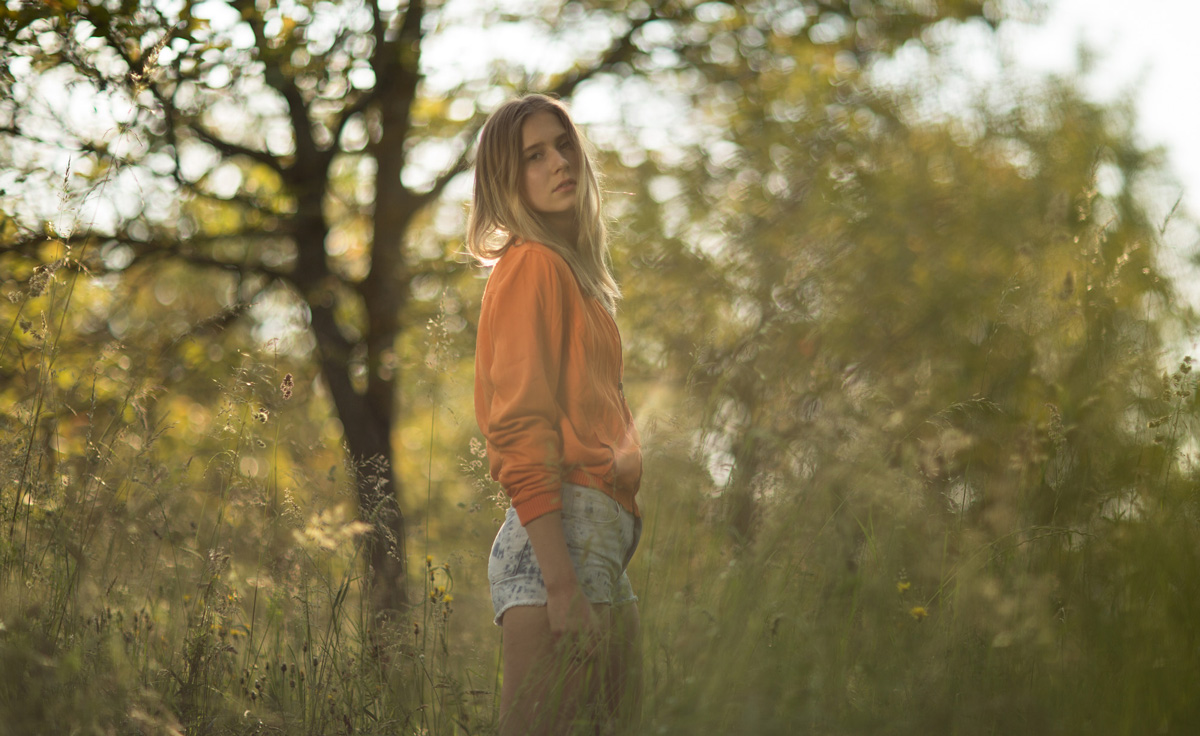
Portrait Photography with Natural Light: Autumnal Orchard
Learn how to make the most of the available light.
This natural light photography class covers a number of different techniques for when you’re photographing using only natural light.
One of the key concepts is the importance of planning. How do you get one step ahead before you start shooting? There’s always a best time to shoot. Best light. Best weather. Best time of the year. Knowing when this is comes down to planning.
In this class, the planning pays off as the team are rewarded with a beautiful autumnal image achieved with only minor adjustments to the camera and settings.

In this class:
- Portrait photography using natural light
- How to use natural light for outdoor portraits
- Color balance for outdoor portraiture
- Camera settings for outdoor photography
- How to compose creative outdoor portraits
- How to use reflectors for outdoor portraiture
- Using lens flare for creative effect
Questions? Please post them in the comments section below.
Comments
Hi Karl
Many thanks for your time in teaching us photography. Do you do a video on the edit of this image? On the back of the camera it looked a lot more orange than in the final images.
Thanks Ed
Hi Edwin, there is no post production class on this shoot but there are plenty of others in our post production section. The change in warmth on this was by simply adjusting the colour balance (WB temperature) on the RAW file which is covered in other post production classes.
Thank you.
Good morning Karl, It was a lovely photo shooting; thanks for show how to shot in natural light. My question is as follow: Why do you increase the °K to 6500? I am seeing that the color range to get orange and red are around 3500 – 2000 °K … Increasing more than 6000°K you will get blue…
Best regards
FVH
Hi Francisco, it’s the opposite when changing it in the camera as it compensating for the colder temperature and making it look warmer.