
Post-Production
In the eighth in our series of Blender 3D Basics classes, Ethan Davis shows you how to retouch your rendered CG file in Photoshop.
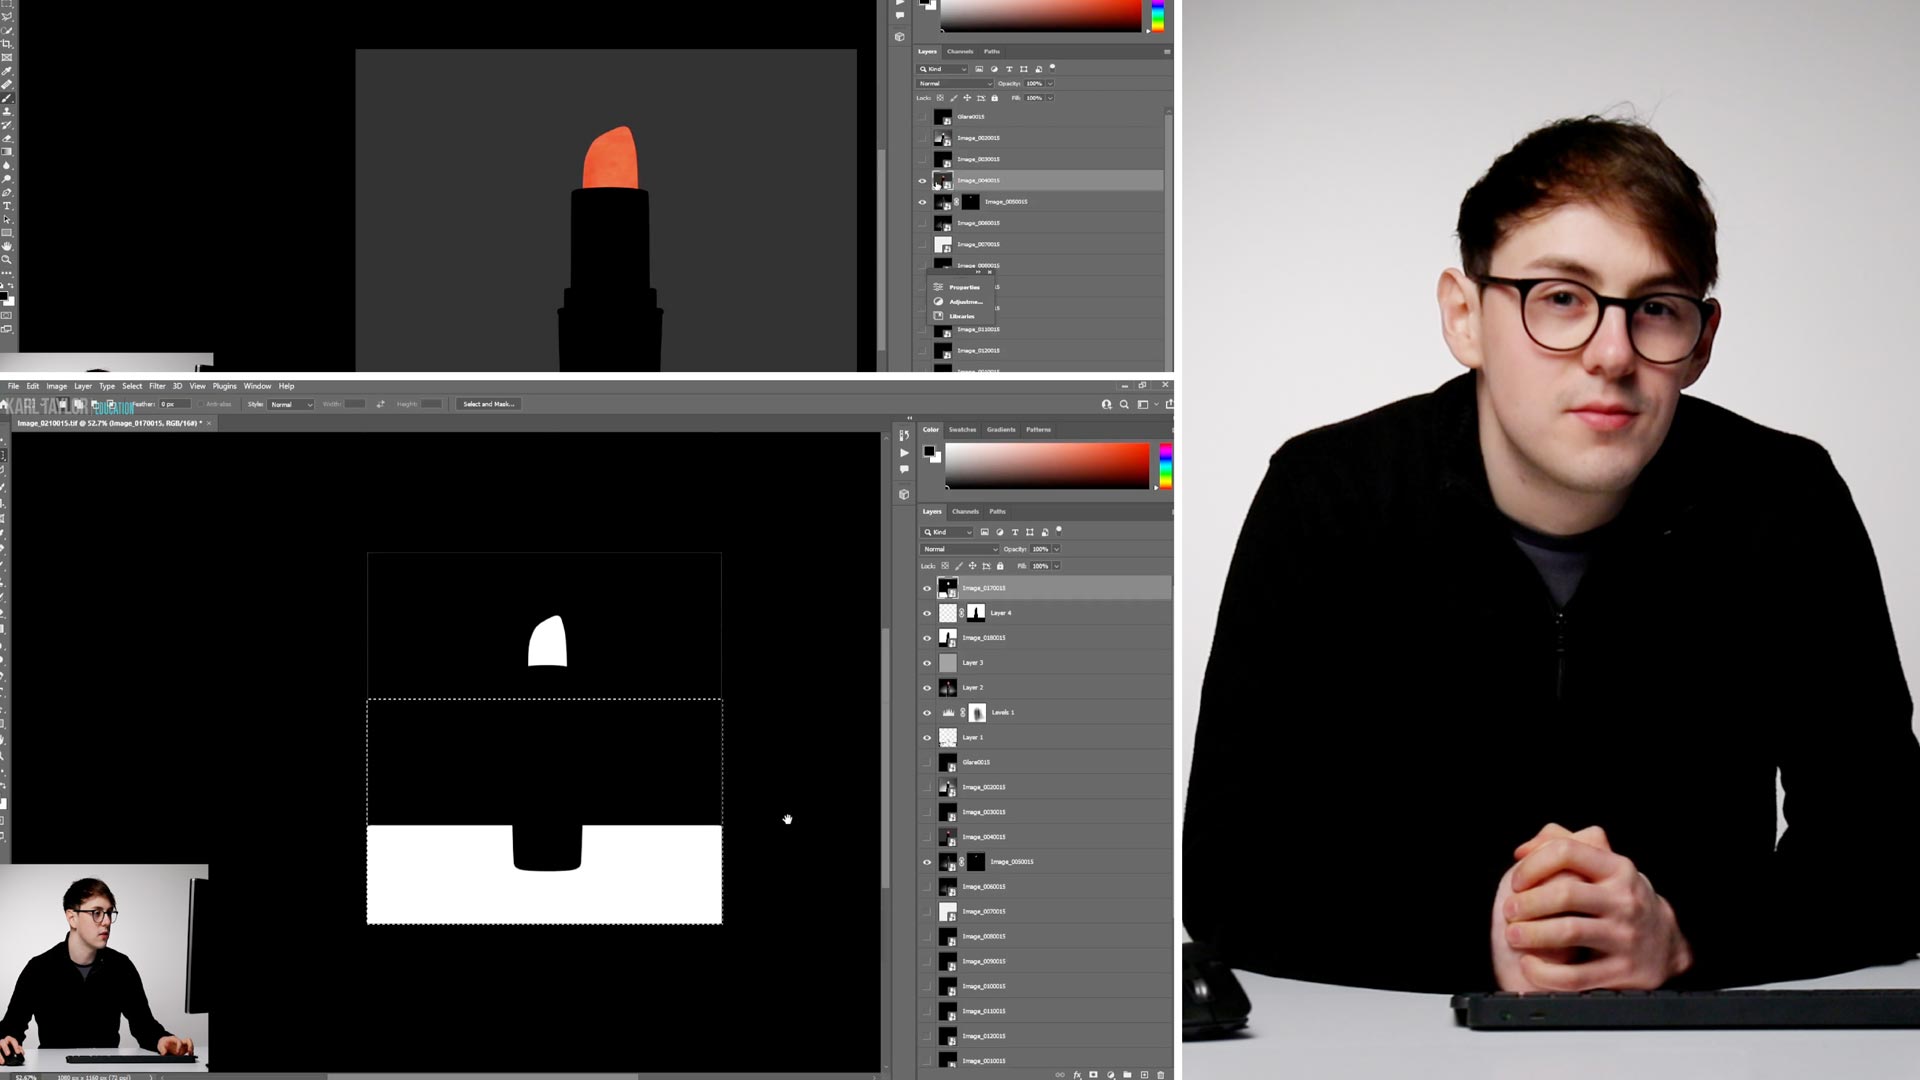
In this post-production tutorial, Ethan explains how your passes and masks from Blender appear as layers in Photoshop, and demonstrates how to paint through layer masks to combine different elements from those passes into your final image.
As Ethan uses the Healing Brush, adds noise to minimise banding, sharpens with a High Pass filter, and much more, you’ll discover a host of valuable tools and techniques.
By the end of this class, your polished final CG image should be ready!
You may also find it useful to refer our 3D CGI Terminology A-Z.
Comments
I thought that I’d reserve my comments until I watched the entire series of classes. Ethan can be a little difficult to understand at times, yet he seems extremely knowledgeable. I have to admit that the entire process is somewhat overwhelming, but interesting. I’m not sure whether or not I’ll attempt to expend any energy in an attempt to try the CGI process;That will need to be seen down the road. All-in-all an intriguing process. I think one needs a bit of an engineering or artist’s background to be successful with CGI. Just my opinion.
Thanks for the education.
Hi Leonard, thanks for the comments! I definitely agree that this is something that people will love or hate, maybe not as a whole but sections too. I know many people who just like modelling, or just texturing etc and if you’re working in a company that would be fine. As a sole person trying to do CGI you definitely need a bit of everything. I for one am not a fan of the texturing process and my brain just doesn’t work that mathematical way of thinking but I love lighting!
Thanks for watching the course!