


Still Life Photography: Cheese Food Shoot
Discover how to style, light and photograph an assortment of cheeses.
In this class, Karl works with professional food photographer Anna Pustynnikova to recreate the feeling of the historical Dutch Master paintings using a careful combination of lights, including a DIY lighting modifier to add small pockets of light. You’ll learn how to style and light items that have similar colour and texture, plus how to achieve balance while still highlighting particular elements of the shot.
In this class:
- How to photograph food
- Food photography lighting setup examples
- How to photograph items with similar texture and color
- Food styling tips and tricks
- DIY lighting modifiers for studio photography
- How to guide the eye using shapes and lines
For this rustic cheese still life image I wanted to create the feeling of the old Dutch master paintings, which I knew would require careful styling and lighting.
The first step of the shoot was to select a background. Our initial choice, however, turned out to be too glossy. We tried to reduce the shine by burning the surface and also applying dulling spray, but in the end we decided to use a different board altogether.
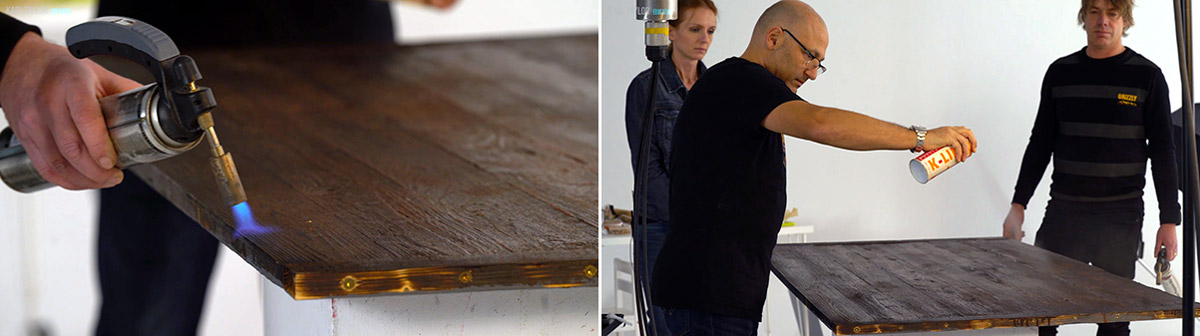
The reduce the shine on the background we tried burning it and using dulling spray.
In the end, we decided to use a different board altogether.
Once the background was decided, Anna focused on the composition and styling of the shot. Working with items that were a similar color meant shape and texture was very important, and she used a combination of elements, strategically placed, to create a sense of balance in the shot.
You can see a few of the various stages of styling below.
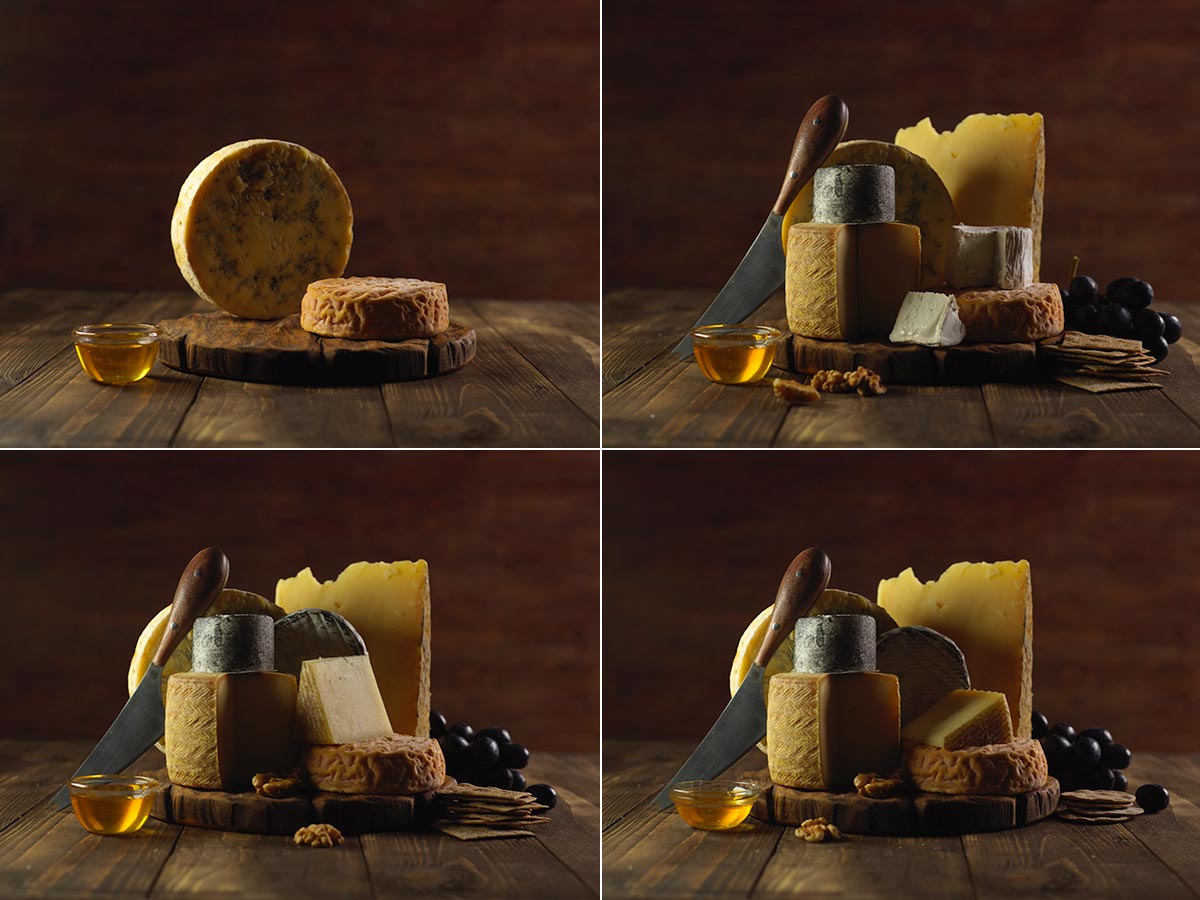
Different styling stages throughout the shoot.
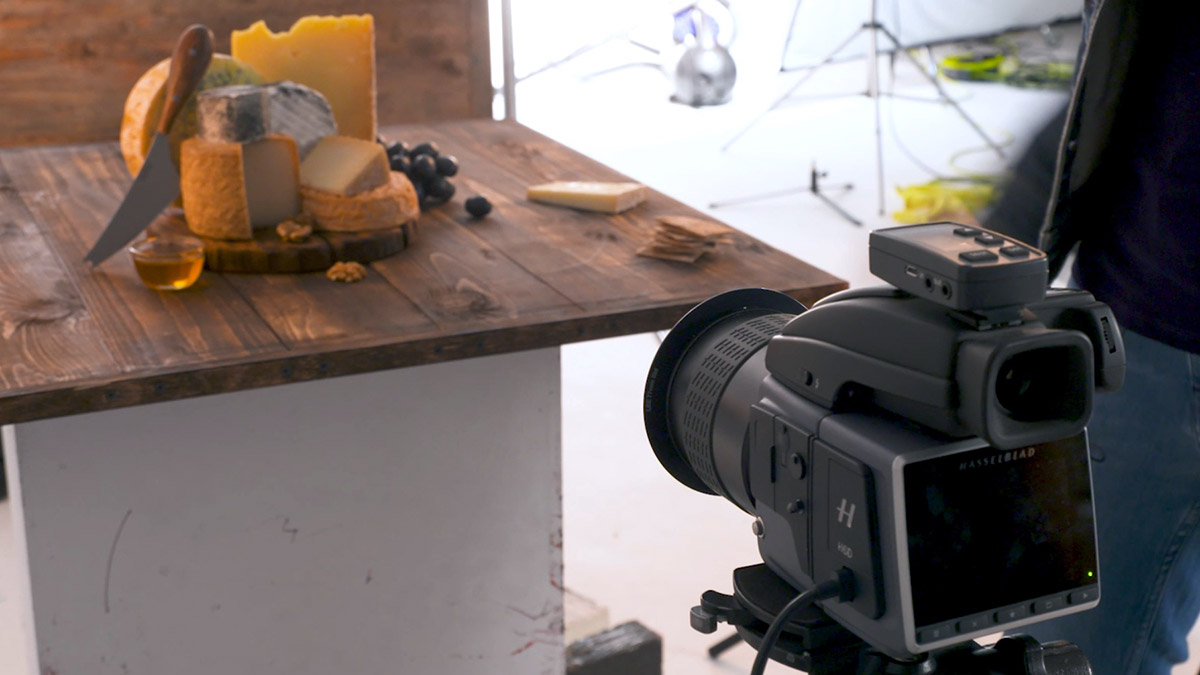
For the lighting I used a Para from behind, along with a single light on the background and Picobox (which I compared with a small 35×60 softbox first) from the left.
I then used a DIY lighting modifier, which I’d created using some old fibre optic cables, to add small pockets of light on certain points of the image. By using this modifier I was able to light key areas without flattening the image or losing texture.

Using a DIY modifier to create patches of illumination.
By shooting individual pockets of light on key areas of the shot, I knew I’d be able to comp everything together in post to get my final image. You can watch the full post-production for this class here.
The final image:

The final cheese still life image.
For more tips and tricks, check out our Food Photography and Styling section.
If you enjoy this class, be sure to check out Raspberry Dessert Photoshoot and Healthy Living Flat Lay: Raw Vegetables.
Questions? Please post them in the comments section below.
Comments
I think a glass of white wine would look nice in that shot as well. Either way, I now want to eat a really nice piece of cheese with whole grain crackers and possibly a thin slice of sopressata. Very nice work. I’m just wondering how this could be accomplished with only a couple of large lights and a speedlight. Possibly a homemade snoot for the speedlight?
Hi, yes a home made snoot would be a good option. Also if it’s a speedlite you could work your way around manually ‘light painting’ by popping the speedlite by hand with a home made snoot.
very super nice shoot. tq karl
I’m fascinated by your use of fiber optic. If you sanded one of the leads to a haze, or glued a diffuse “puck” on the end, would it soften the light to noticeable/desireable effect?
Hi, I’m afraid you are confusing diffussion with softening the light which is not the same thing. Haze, diffusion etc only make the light softer if it simulataneously makes the light much bigger. Please watch this – https://visualeducation.com/class/introduction-and-understanding-light/
Thanks for the clarification! All caught up now.
Hi, great and thanks for watching it. In absorbing that particular chapter will help you with many of the other modules as when it comes to light it mostly links back to that. There are also some previous live shows that focus on the ’emotion of lighting’ that you might find useful. Cheers Karl.
Hi Karl, what would you suggest to use instead of fiber optic cables which are extremely difficult to find. Just small reflectors and mirrors?
Just sharing what I found so we can all build our own diy fiber optic lights. You may delete if not allowed to share link. https://www.aliexpress.com/item/32808242852.html?spm=a2g0o.productlist.0.0.424b30d14ymWYI&algo_pvid=44a1239c-f7fd-45c6-a6f3-52954e509b69&algo_expid=44a1239c-f7fd-45c6-a6f3-52954e509b69-14&btsid=393fbadc-e8ce-417c-8536-6dc69884a8cc&ws_ab_test=searchweb0_0,searchweb201602_3,searchweb201603_53
Could you please advice the company you discovered? As I really need to make this one
Hi, you just need to find fibre optic cable in jacket with end lighting. Do a search for that you should find suppliers.
the fiber optic cable style is called “End Lit.” It is indeed a commercial architectural lighting product. I found the UK company that I believe made this one. You can choose from different ends to cap the cable where the light comes out. The source end looks identical to what Karl is using. Happy to share but dont want to put the company name up without Karl’s OK.
Hi Cory, thank you but feel free to post the company name. Cheers Karl.
Karl, if you turn that DIY fiber optic cable and attachment unit into a commercial product, I’d be the first one to buy : )
In the mean time, I’ll try to see if I can make one on my own. Thanks for explaining how you did it.
Hi, Back in the day many of the lighting companies actually made them for photographers but they don’t seem so popular now.
Hi Karl! how a u?
I wanted to know the name of this fiber model, here in Brazil I looked for fiber optic cables, but I did not find anything like it. (all very thin)
Do you have a specific name or model?
tks a lot!
best regards!
Hi I don’t have any specific model. I can tell you that there were 3 main cables each one is about 8mm diameter and probably has about 40 fibre strands inside each. This one came from a shop window display lighting system.
Hi Karl!
Got it! You used only the outer shell, the “core” was removed, right?
Tks so much!
Regards!
Hi sorry I don’t understand what you mean by the ‘core’ was removed. As you see it in the video is pretty much how it was when I got it, I just had the metal bit made that attaches to the light so that it fitted on my lights and held the 3 fibre optics together in line with where my flash was firing. They were already held together at that point but just didn’t fit on my flash so I had the metal workshop make the metal tube to fit to my broncolor light.
Karl, Soon we should make a project with the best of Peruvian food. You are inspiring!
Ahh Peruvian food sounds good already!
Where can i Buy this Fiberoptic Cables ?
Hi, I custom made this one from an old shop window display fitting. I’m sure you can purchase lengths of cable and bundle them together as here and then have a metal work shop form them into a fitting to attach to a light which is also what I did. You may also find some on ebay as elinchrom and broncolor used to make them in the past.
Hello Karl,
Thanks for the great efforts. When is going to be released?
Hi Abdullah, I will let my video editor reply to you on that 🙂