


Clinique Shoot 1: Planning and Lighting
For this particular product photography class Karl replicates a Clinique-style advertising shot and demonstrates the process of working to a brief. Guided by the brand’s fresh, clean style, Karl explains how to light and style a high-end advertising image. You’ll be able to watch, step-by-step, as Karl shares his shooting process and reveals some top tips for effective product photography.
In this first part of the shoot Karl outlines the challenges he expects to face throughout the shoot and starts work on his lighting setup, focusing initially on achieving the clean white background typical of Clinique advertising images and perfecting the gradient lighting on the silver caps of the bottles.
Challenges:
- Creating a Clinique style advertising image
- Getting a white background and base surface
- Graduated lighting on the silver caps with black edges
- Backlighting through the bottles with high contrast on the edges
Solutions:
- Using mood boards and reference pictures
- Carefully controlled background lighting
- Using scrims to create gradient lighting
- Reflectors and flags to add highlights and contrast
The apparent simplicity of Clinique’s clean, fresh advertising images are greatly misleading and I knew there would be a number of challenges to overcome throughout this shoot.
Before I started the shoot I collected a number of Clinique advertising images that I could refer to as these would guide me in my lighting and composition.
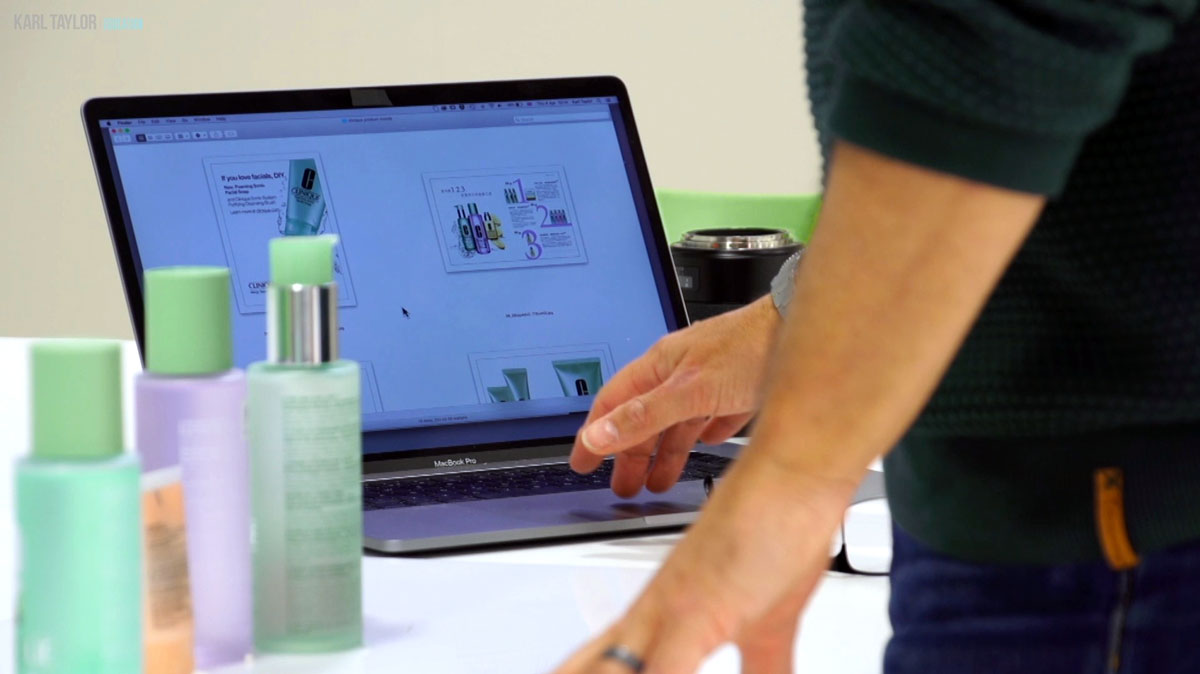
I used other Clinique advertising images as references for the lighting style and composition.
The first phase of the shoot involved creating the clean white background typically seen in Clinique shots. For this I used two lights to achieve a bright, even light that would reflect into my base surface and through the bottles.

The clean white background typical of Clinique advertising images with a slight reflection in the white base.
From there the next stage was to introduce some side lighting. A key part to consider here was the silver caps on the bottles. For this I needed to create a gradient light but with high contrast on the edges, which I did by introducing black flags.
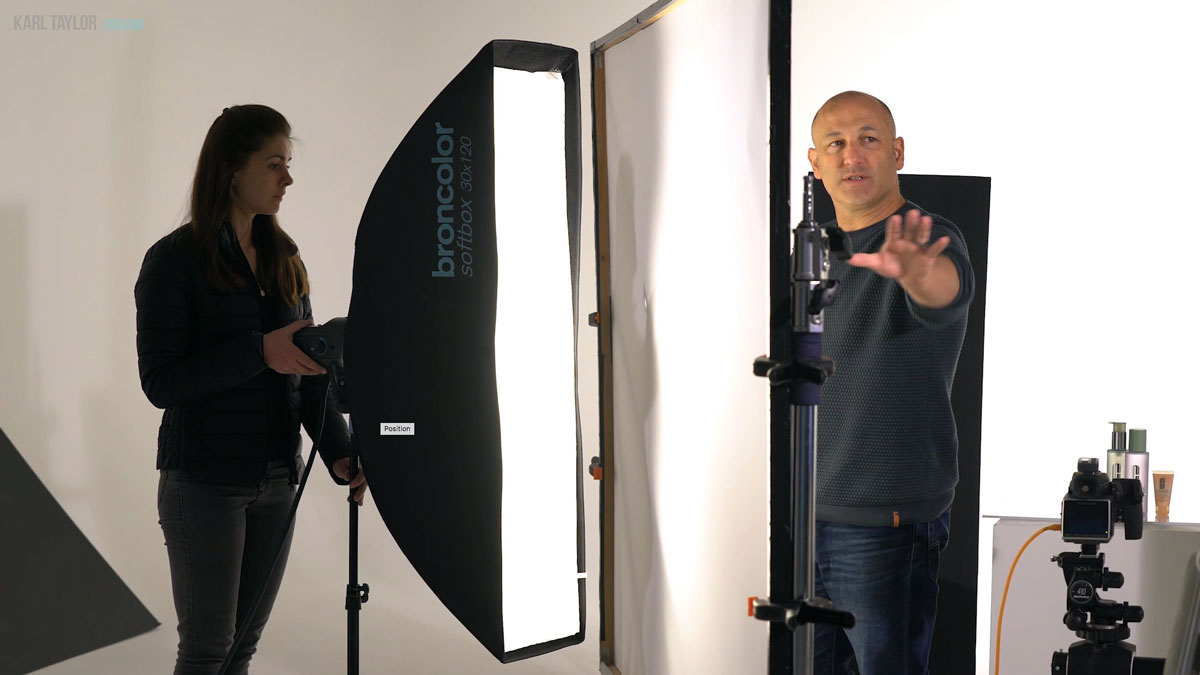
Using scrims to create the gradient lighting on the silver caps of the bottles.
In the following stages of the shoot I start looking at increasing the contrast in the bottles, reflecting black into the logos, capturing the splash shot and photographing the smallest bottle separately.
The final image:
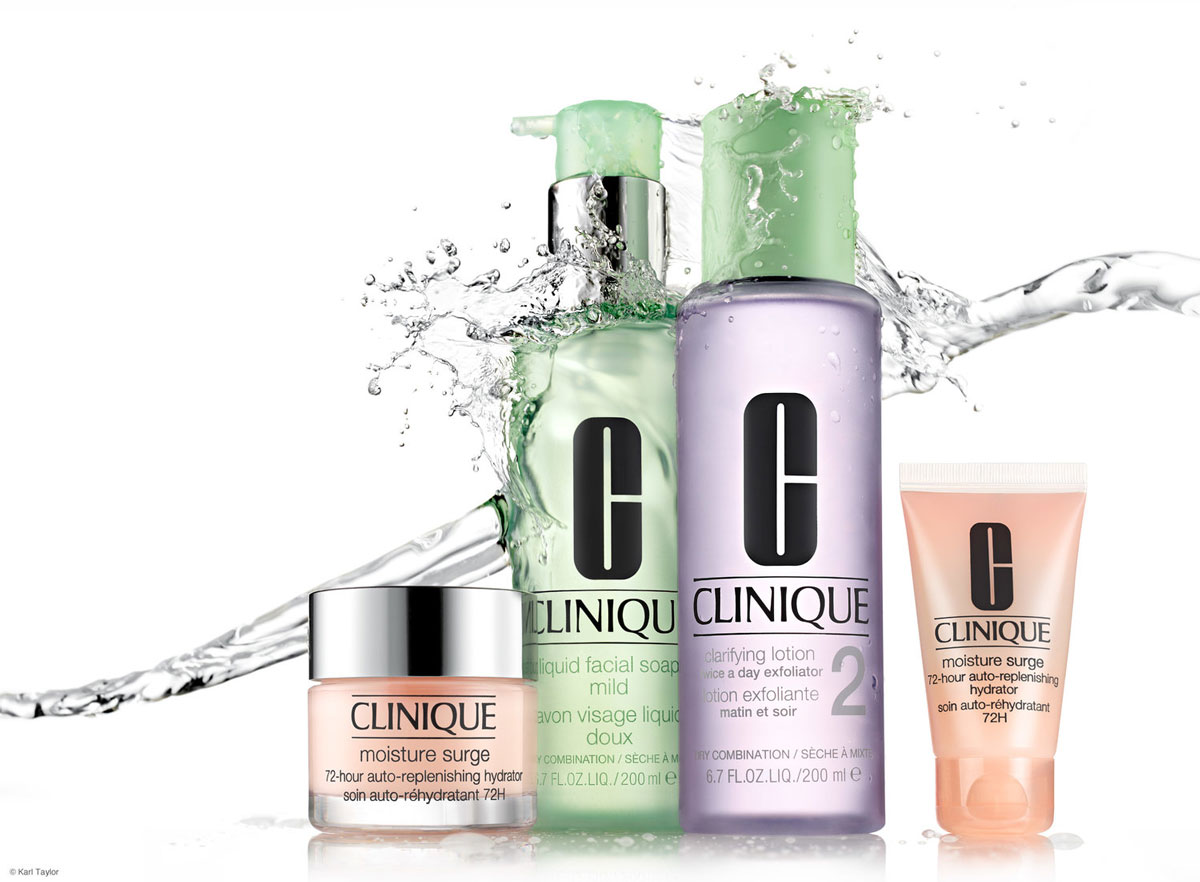
The final Clinique advertising style image
To learn more about product photography, read my top tips for product photography here. You’ll also find a selection of product photography classes on our website, though I’ve put together a selection of classes below which I think you may find useful.
If you have any questions about this shoot please post in the comments section below.
Comments
If you decide to shoot separately the three glossy bottle from the mat one and for the mat one you change lighting positions ; afterwards in post processing with photoshop when you merge layers is it going to be an issue because you moved the positions of lights?
Hi, it would be an issue if you were trying to apply two types of lighting on the same bottle. But in this case I was only lighting one bottle differently and reinserting it into the shot or I was being very careful with selected areas of a bottle.
I will have to check what lotions I have at home and work on a fun project next week. Have decided yet which lighting system to use to practice with. Thanks for the tip using shining text.
Great course and tips that are very helpful. I see if I can signup again annually later on this year since quality instruction is great and I can practice in my country
Hello, why is there no black line in the middle of my picture?
Hi, I’m afraid you will have to be clearer than this with your comment as we don’t know what you are referring to our at what time in this video you are referring to? If you can come back with more information we will be happy to help.
Hello, is the soft light effect of cloth material the best? Is the soft light effect of the cloth material better than the paper material?
Hi, I’m not quite sure what you mean by cloth material. We use the paper Lee 216 mostly for good diffusion.
Hello, I’m two 100-power lamps, and I don’t think they’re bright enough. How can I solve them?
Hi, if the lamps are not bright enough then your choice is to increase the ISO.