
01. How Do Cameras Work?
Cameras, no matter how much they cost or what brand they are, all work in roughly the same way. Understanding the simple mechanics of how cameras work will help you realize just how similar they are and how you can get the best possible results out of yours.
But before you head out to start taking photos, it’s important to understand the six essential requirements needed to record an image.
Understanding these requirements, regardless of whether you’re shooting on a DSLR, compact camera or iPhone, will make your photography so much better. These requirements are:
- Light: Light is an essential part of any image but there are many different types of light. How we use this light is important.
- Subject: The subject is what we take photos of and refers to how we compose the image.
- Optics: This refers to the lenses, which are used to focus the light and capture an image.
- Aperture: This controls the amount of light getting into the camera and the depth of field of an image (the sharpness range either side of the point of focus).
- Time: Time relates to the shutter speed and how long it takes to record an image.
- Medium: This is what we record the captured image on to (this used to be film, but nowadays is usually a CMOS or CCD chip).
Once you understand these concepts and how they relate to one another, you can better start to understand how cameras work.
Below we explain in more detail these 6 key elements essential to your photography.
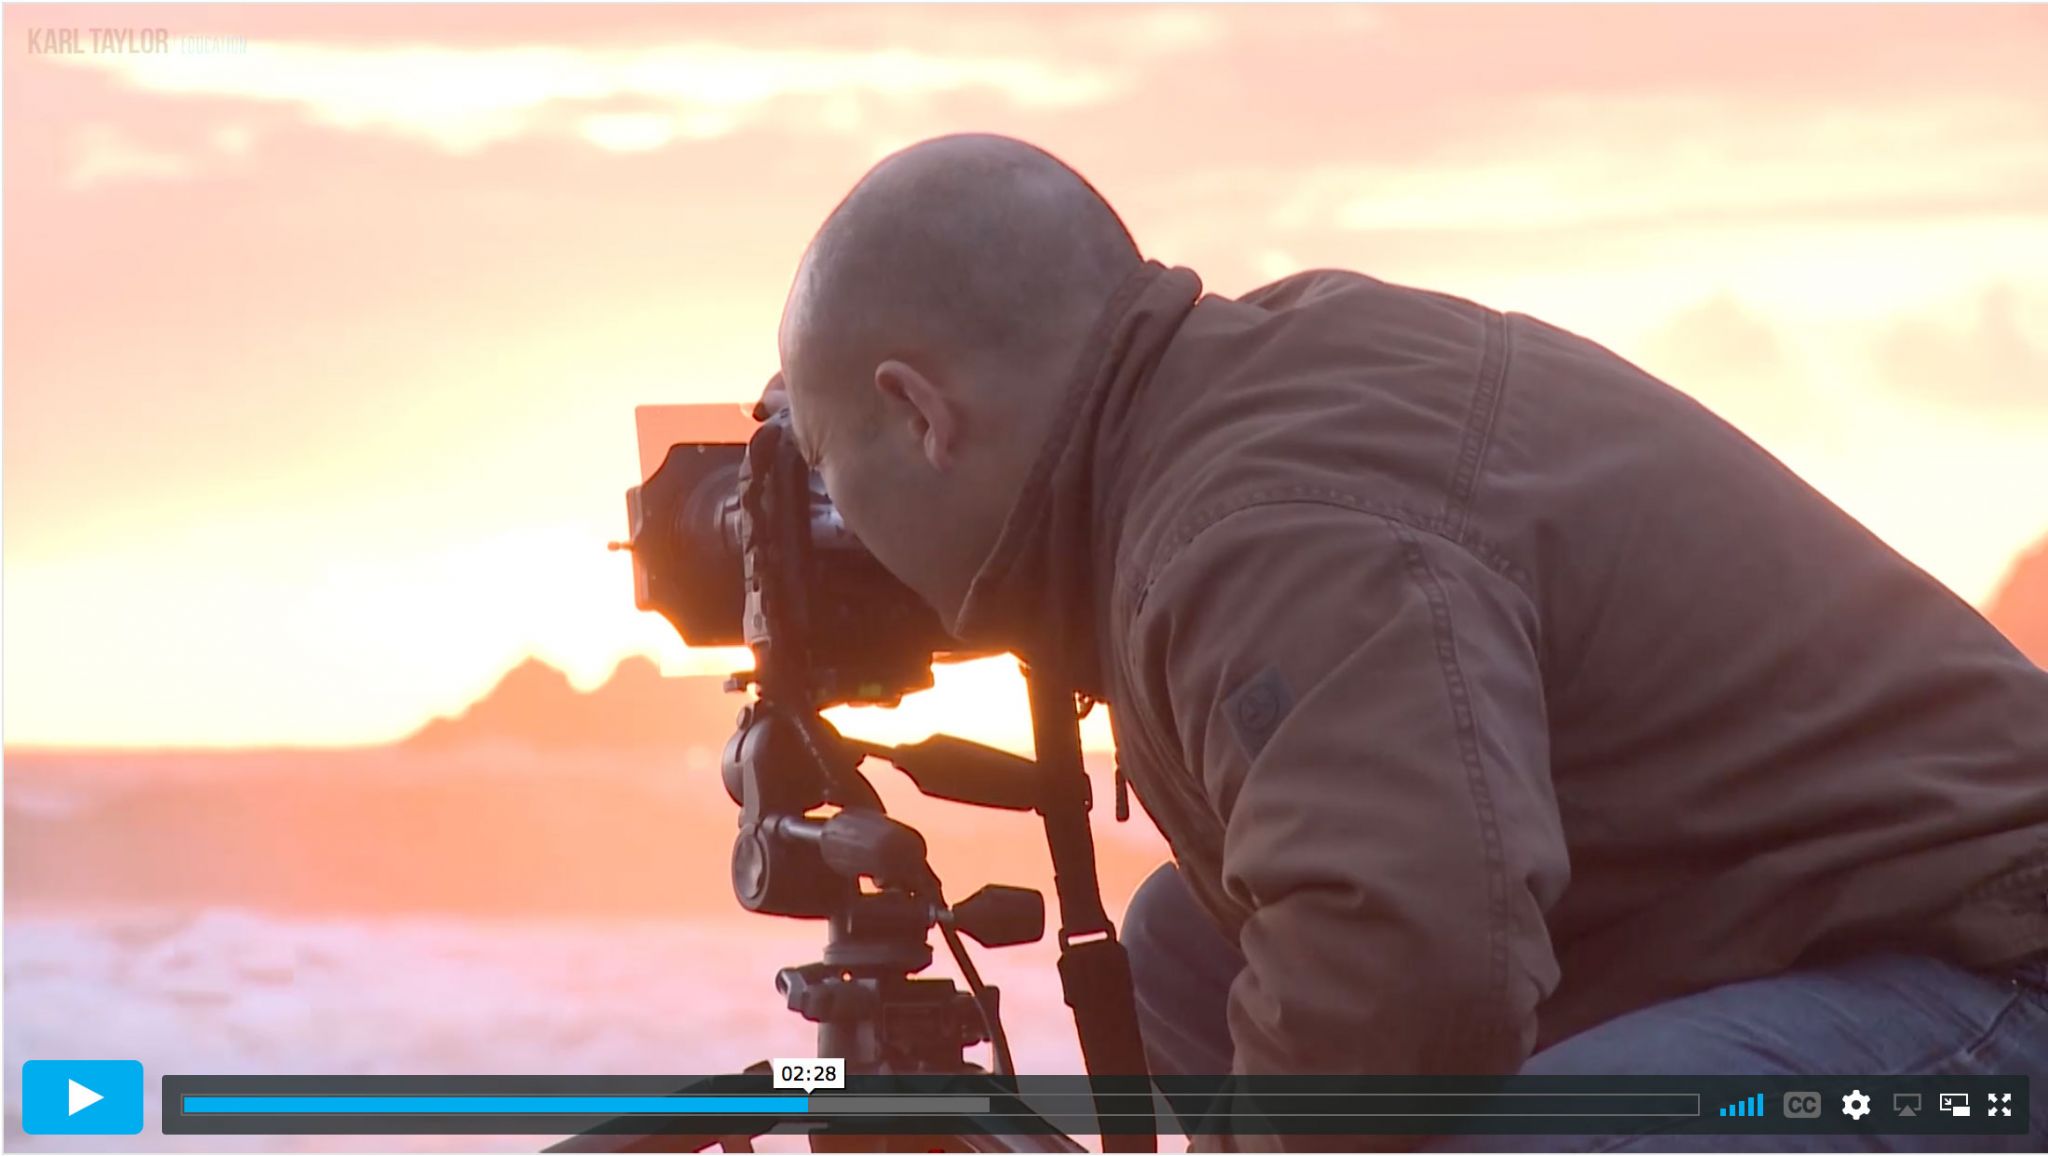
Light
An essential part of photography that we use to create our images.
© Karl Taylor
There are two types of light that we can use to create images: natural light (such as the sun or daylight reflected off of buildings) and artificial light (candlelight, car headlights and even studio lights). Each of these types of light produce either hard or soft light. This refers to the strength and density of the shadows. Soft light results in soft, very light shadows, whereas hard light results in the opposite — strong, dark shadows. When taking photographs, it’s very important to think about and identify the type of light as this can have a big impact on the final result.
Subject
What we take photographs of.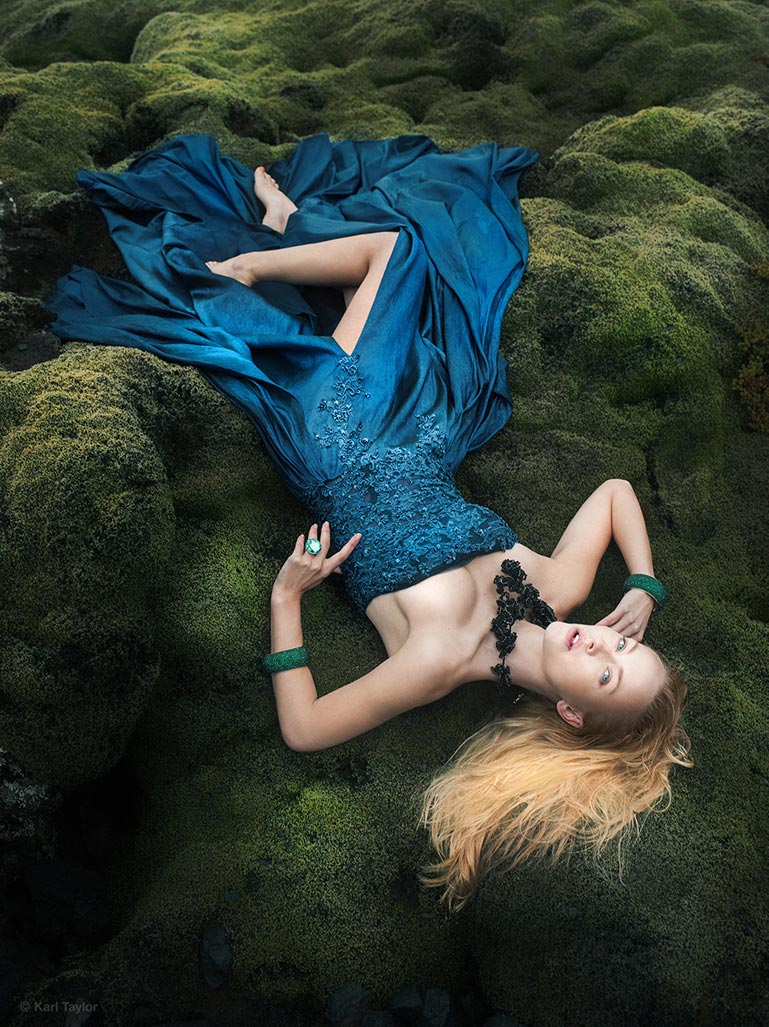
Interested in fashion photography? Click here.

Interested in natural light portraits? Click here.
The subject is the thing that we take the photograph of. This relates closely to composition (we’ll look at this later in this course), which is how we arrange, or compose, certain elements within the frame. The subject (or subjects) can be anything — from insects to landscapes, people to products.
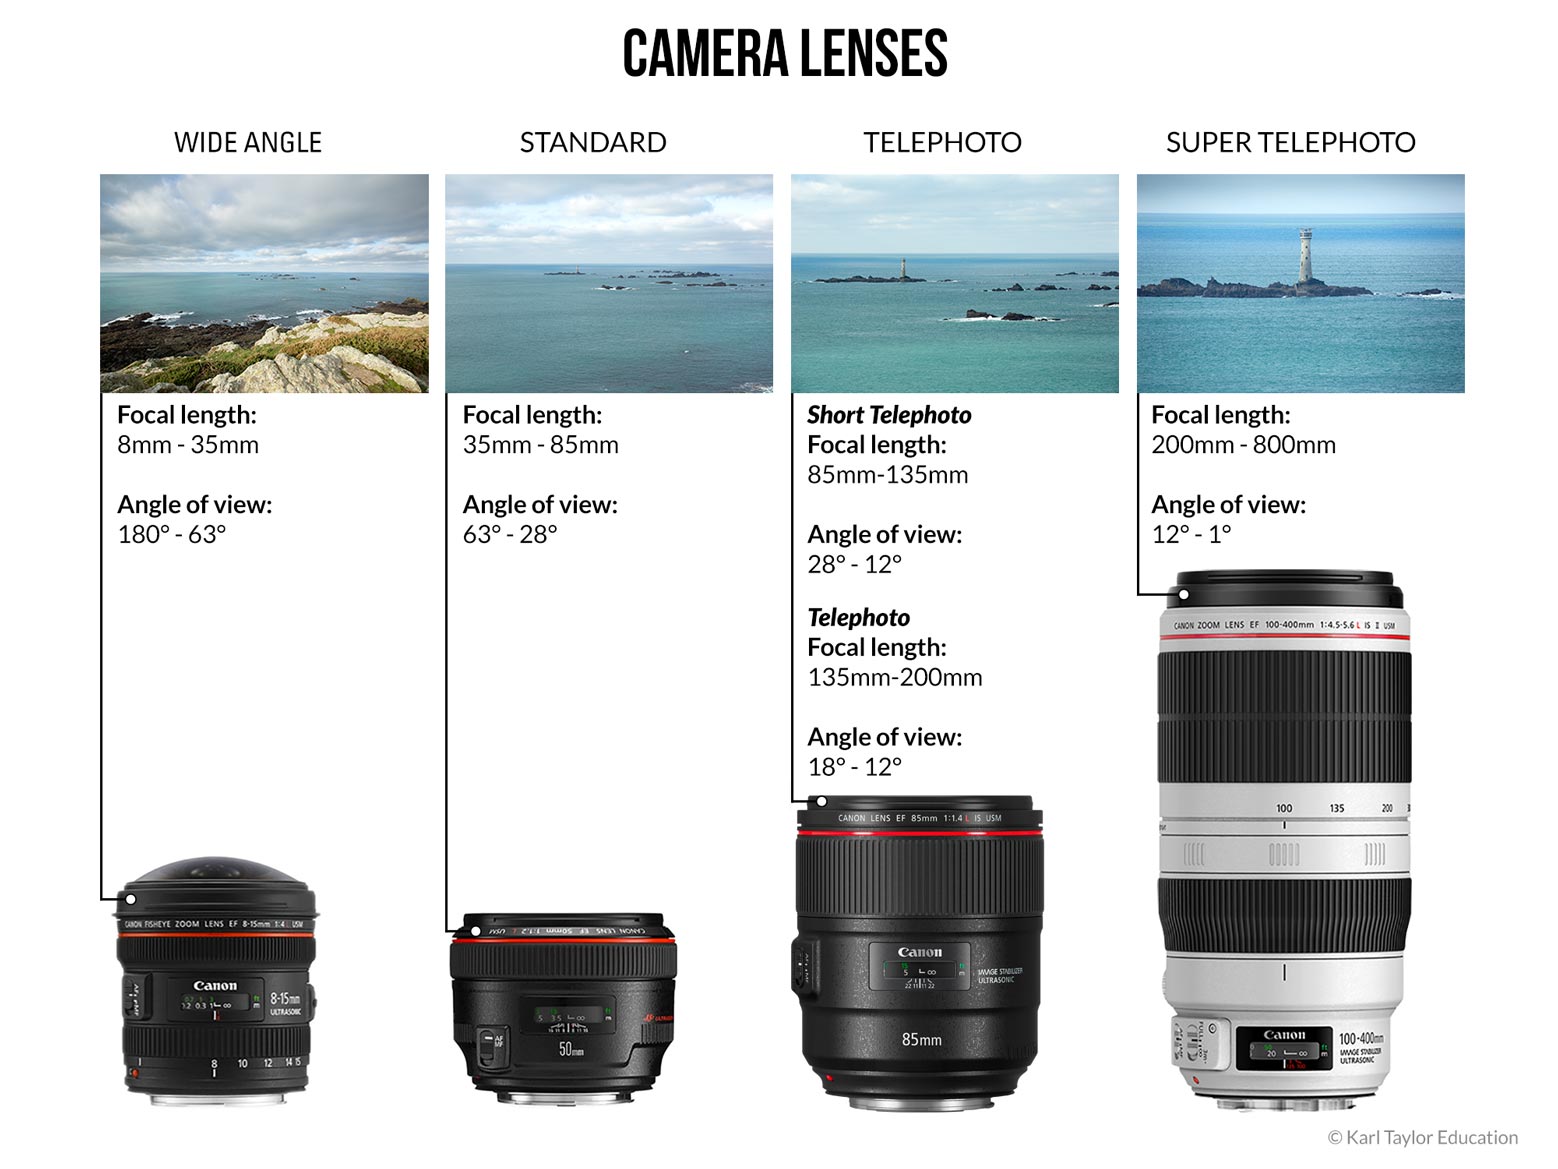
Lenses
Used to focus the light and capture an image.Optics, generally referred to as lenses, also play a part in how an image is created. They serve to focus the light onto the recording medium. Lenses control the focal length of an image, the angle of view, magnification and help describe the image based on their particular characteristics. Lenses come in a variety of different focal lengths, ranging from ultra wide angle to super telephoto, and different lenses can produce very different results depending on the configurations within the lens barrel.
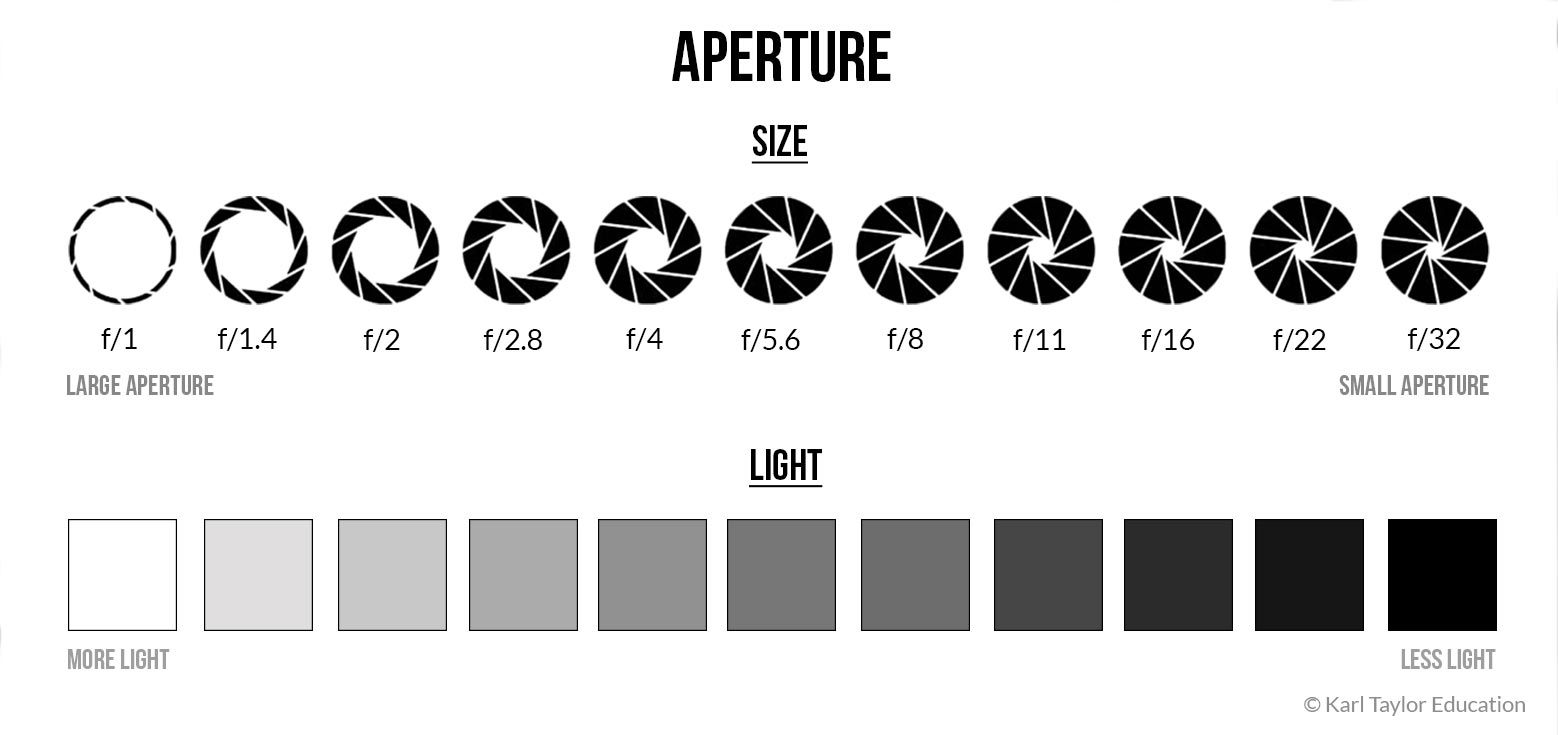
Aperture
Controls the amount of light getting into the camera and the depth of field of an image.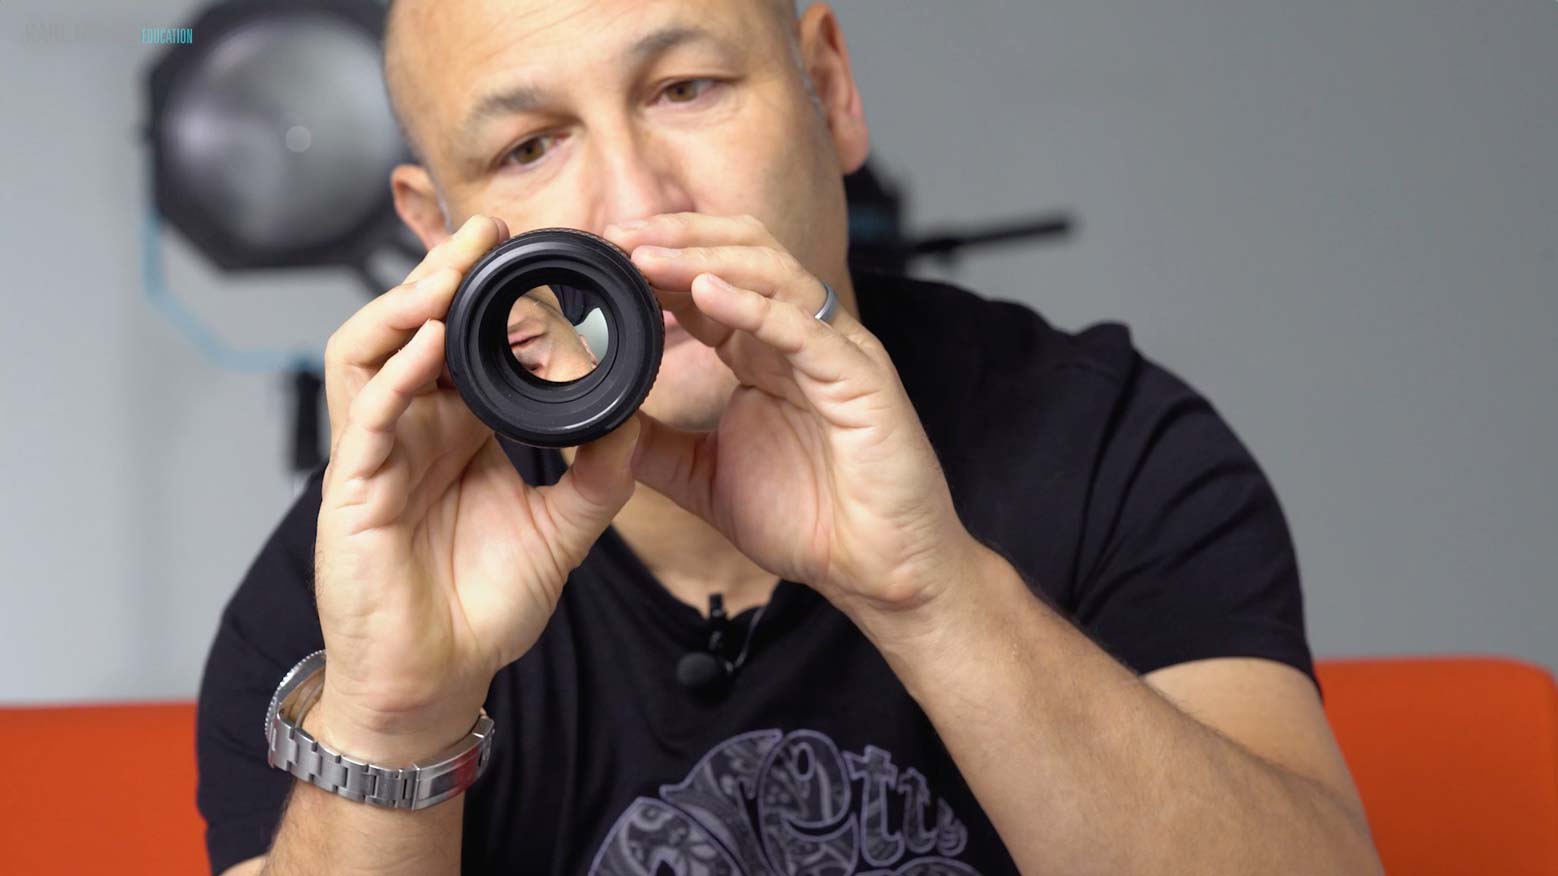
Aperture refers to the size of the opening in the lens that light passes through before hitting the sensor (or film). It is measured in f-stops and is shown on your camera by the symbol ‘f’ (for example f1.2, f5.6 or f22). The lower the number, the larger the aperture (you can see this in the image below) and the more light that can be recorded. By controlling the aperture, we can control not only the amount of light recorded in an image, but also the depth of field in an image (the sharpness range either side of the point of focus). Larger apertures, such as f2.8, allow the most light through the lens and result in a shallower depth of field, whereas smaller apertures like f22 allow less light through but have a greater depth of field. This may seem confusing at first, but it’s an important concept to understand as this can have a great impact on your image.
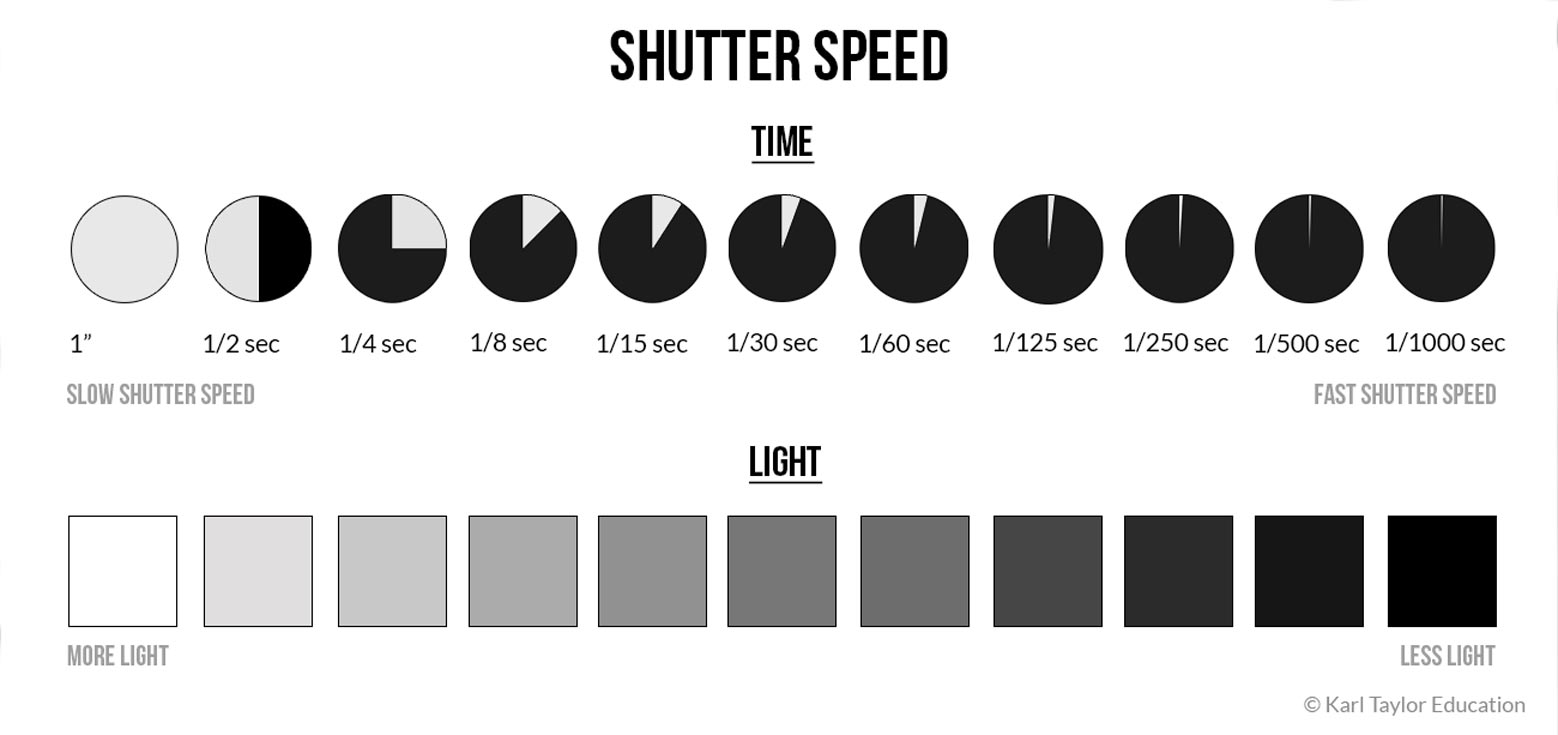
Shutter speed
Controls how long it takes to record an image.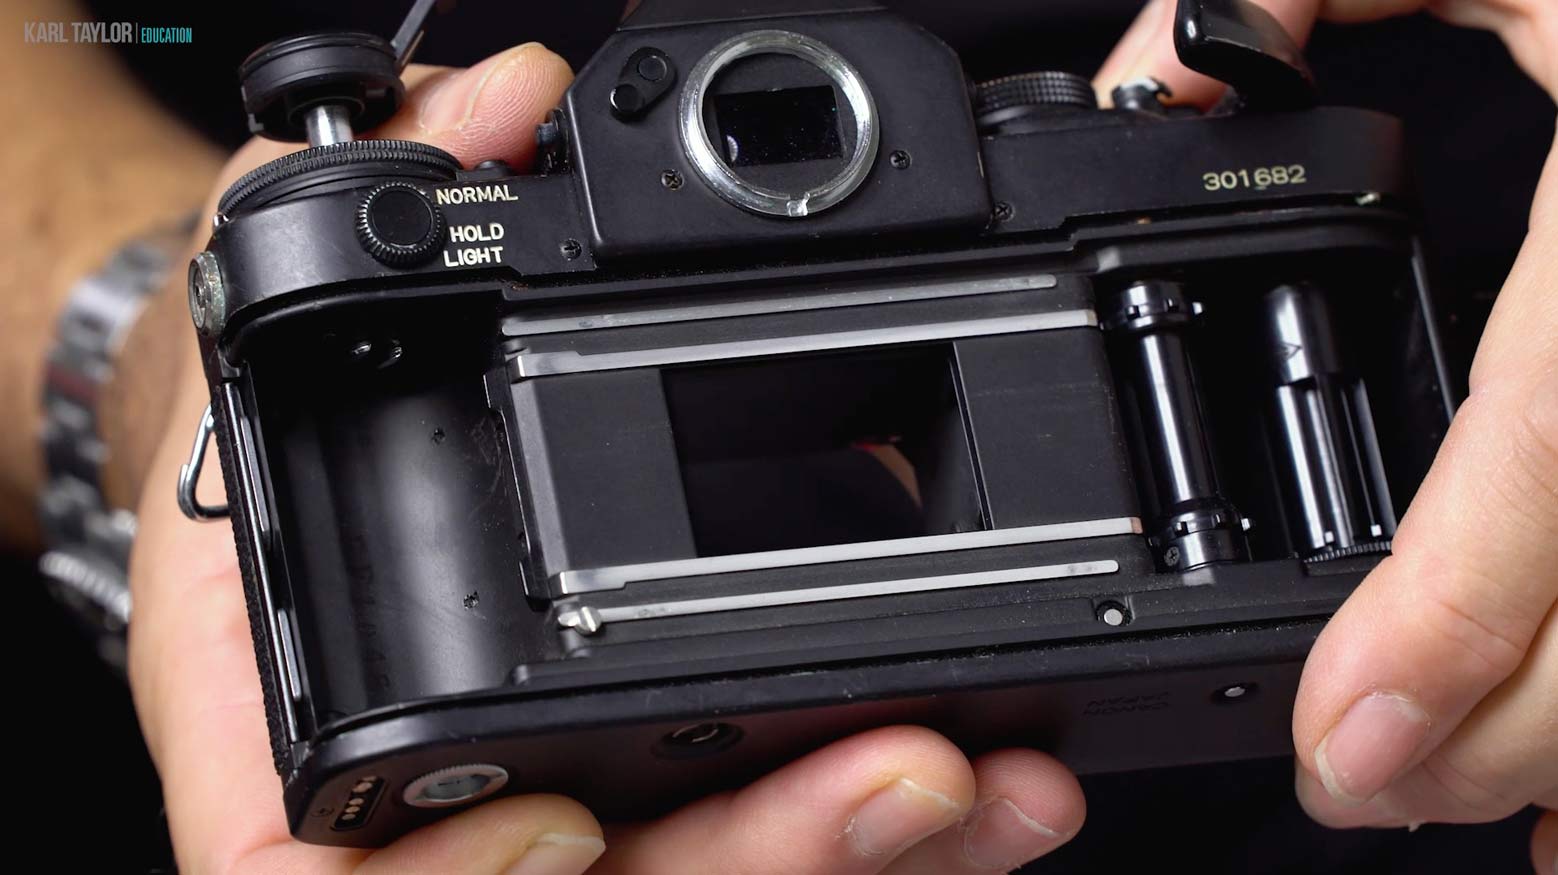
Time is an important part of recording images and is controlled by adjusting the shutter speed. The shutter speed refers to the duration that the shutter remains open to record an image. This is recorded in tenths or hundredths of a second (for example 1/10, 1/250 or 1/1000) or seconds (for example 1”, 10” or 30”). The slower the shutter speed, the longer the shutter stays open and the more light is captured. Faster shutter speeds freeze movement, while slower shutter speeds allow for motion blur.
Medium
What we record the captured image on to.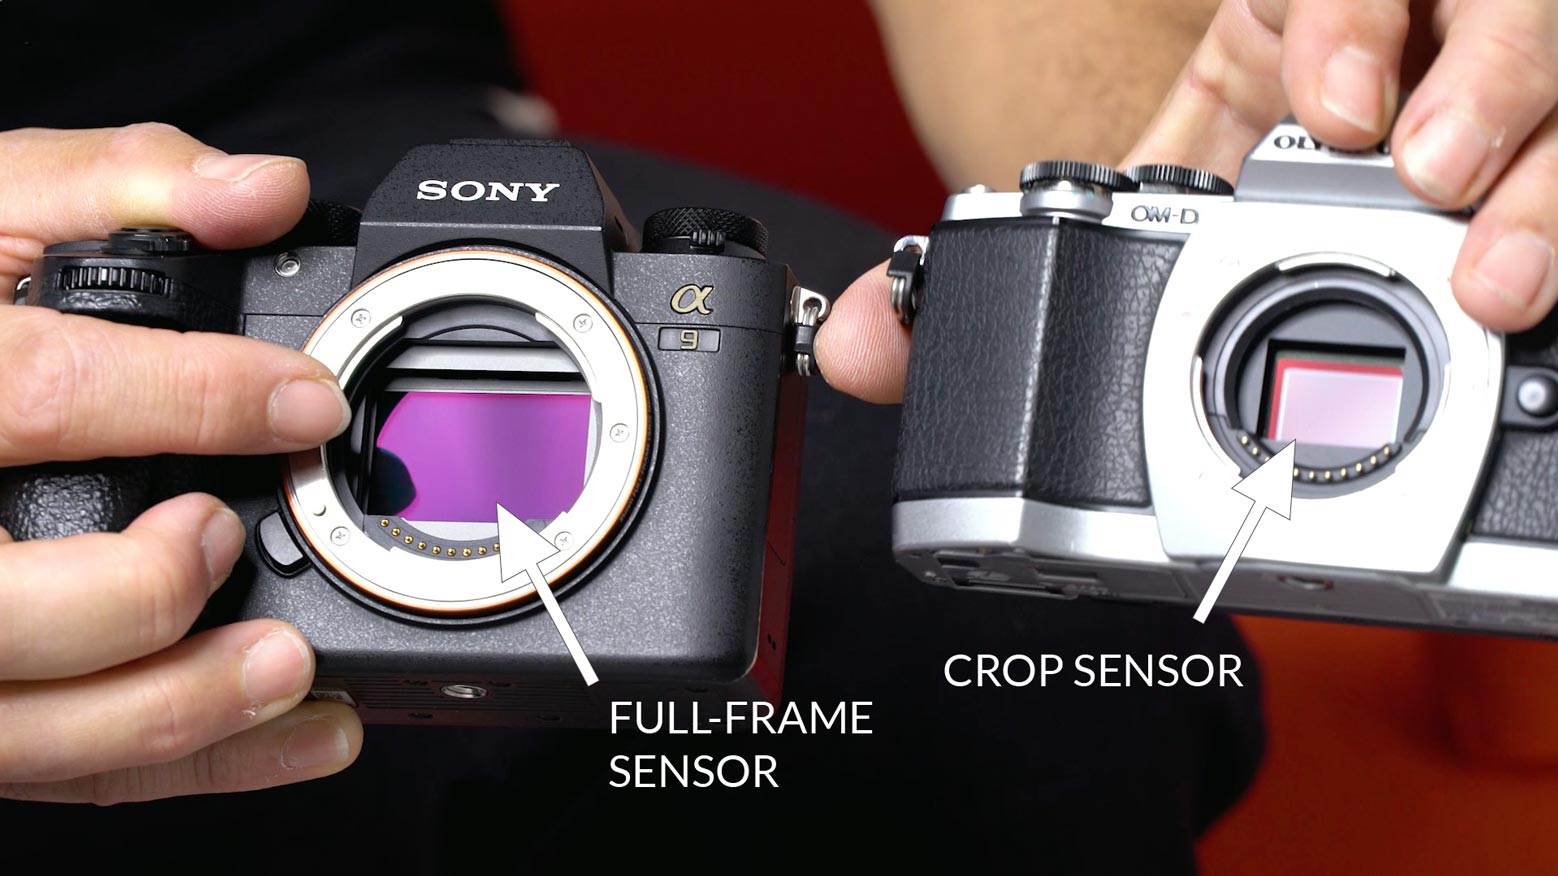
Photographic images are created by light passing through the lens and reaching the recording medium, which is what records the image. Traditionally, this was film, but nowadays images are recorded onto sensors. Modern cameras use mainly digital sensors — either CCD (charge-coupled device) or CMOS (complementary metal-oxide-semiconductor). There are a few different sensor sizes, but the three most common ones are full-frame, crop (or APS-C) and medium format (these different sizes are all covered in more detail in the video above).
Regardless of what camera you’re using, how each of these six essentials work is very similar and you’ll soon see that everything in photography relates to one, or a combination, of these six things, so a clear understanding is vital. We’ll be looking at each of these in much greater detail throughout the remainder of this course.
Before moving on to the next chapter, make sure to watch the video above as this contains vital information additional to this page. There is also a useful PDF guide that contains some great supplementary information and infographics that you may want to print out and refer to when out shooting.
All content © Copyright Karl Taylor Education.
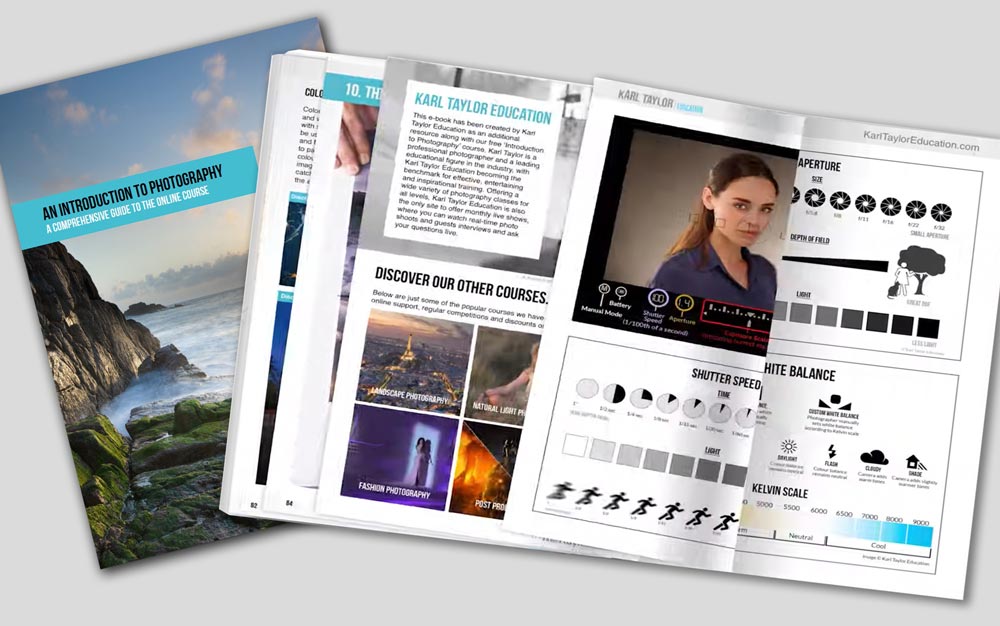
Get the e-book!
Introduction To Photography
To get your copy of this 90 page e-book click the download button below.
Comments
hello, is there a way to download this course offline?
Hi Karl and the team behind!
i just signed up yesterday and fortunately had the chance to attend a live show – working to a brief challenge 2 (red bottle of wine)…and I was so impressed, you are so generous for giving such professional feedback and taking time to answer almost all the questions from the participants. Also, I replayed the previous live show to understand the whole challenge. Simply amazing! Keep doing this great work, greetings from Italy.
Hi Thanks, do check out some of the other previous live shows too.
Hi Karl,
I just joined yesterday. My boyfriend purchased the course for me for Valentine’s Day and ever since I’ve been glued to it! I love it! We’ve been following you on YouTube for the last couple of months and love your work and your sense of humor.
Anyway, I’ve kinda fallen into product photography out of necessity. I’m a jewelry designer and need to take a lot of product shots of my work. After I started taking my own photos I found I have a passion for it. The excitement that comes from taking pictures for my online shops has moved me so-much-so that I want to get deeper into it.
As of last summer, I started taking photos with the Sony A6400 mirrorless with the 90mm macro lens, but before that, I was using a point and shoot. The Sony camera was a birthday gift, so I’ve been learning all I can about how to use it for my product photos. I’ve never shot in manual mode before until I got the new camera. It sounded way too scary and difficult to learn. However, I’m learning little by little and it’s exciting and I see that the possibilities are endless!
After watching the Essentials section all the way through and now on my second time around, I realized that I need to get out and practice outside other than just in my home studio. Anyway, I just wanted and say thank you so much for this amazing platform! I’m looking forward to learning all I can from you.
Hi, thank you for joining up and I’m very glad you are enjoying it. Look out for our new essentials section Intro course this week as it’s being replaced with an updated and improved version. We have lots of content on product and jewellery photography that I think you’ll find useful too.
Hi Mark. I joined 2 days back, and already love your course. I own a fujifilm xh1 (2 months old), which is a crop sensor. Shall I upgrade to a different full frame camera or rather invest in other equipment?
Hi Chirag, I wouldn’t think about upgrading yet, you can do a lot with a crop sensor. Work through the courses and practise and in a few months time you can maybe make that decision. Regards Karl.
Technically there is no such thing as full frame – it’s a marketing term. There are many commercial photographers shooting using Fuji X system, changing your camera will not make you better photographer. Keep it and use it for couple of years.
Thanks for that Karl. I appreciate it. Tim
Hi Karl. My main stumbling block is confidence. Asking people if I can photograph them. The embarrassment of not being completely confident with use of the camera etc. Sometimes I walk around thinking..what can I photograph! Sometimes I don’ t see things that excite me enough to photograph. Sometimes I want to be a mega pro with a huge portfolio behind me but realise that I am a real beginner..and nearly 50, This may sound silly to a pro like you but these are the feelings I have. Not sure you can help with this but just wanted to feed back to you. I am very impressed with your site and your clear communication.
Hi Tim, this is normal for anyone new to photography. Personally I wouldn’t recommend photographing strangers when you are still new to photography as there is too much to think about. It’s much better to build your skills and confidence with friends and family that are happy to help out. I’d also look at landscapes, macro, architecture etc as these are all stress free and without people. Start working with a tripod too as it opens up a lot more creative opportunities and it makes you think about your pictures and composition too (not for people though as it’s too slow). So first figure out the shot you want to take, angle etc, then put the tripod in position. As you work your way through these courses you will see the accessories and techniques that will be the most useful. Also try to watch the modules in the number order as I’ve designed the courses to make the most sense that way. Once you are confident with your camera and results then moving on to street photography and photographing other people becomes much easier.
Hi Karl, I just joined yesterday. I am just completely enjoyed to learn all about photografy from you ! Thank You!
I cannot believe the information here are for the fee required. Thanks Karl Taylor for sharing them with us.
Hi Folarin, thank you very much. There is of course loads more and also two live shows per month, at least two new course modules per month and replays on all the live shows. We can only keep providing all this great content with the support of people like you so thank you too.
Hey, Karl team.. i renew my account and payment of 14$ has been debited but still when I login, I’m landing in a page where it says “Please update your subscription”. Even though the account details are correct I tried updating the account details again and 1$ has been debited. But the issue was not solved. Then I tried one more time to update the account details, again 1$ has been debited. Still the issue is not solved. Total of 16$ has been debited. Still I can’t access the education website. Please help me by solving the issue. Thanks
Hi Karl, Very simple to understand!
Thank you Adam.
Hi Master, I finally subscribe… The stuff available here are priceless. Started learning..
Thank you soooooo much… Love you master..
Thank you. 🙂
Hi Karl,
I just signed up today as your new student. Currently i own Nikon D750 and now going to switch to Sony A7R iii in a week with Sony FE 24-105 F4 G OSS lens. I don’t find any information regarding mirrorless camera on your website as they gradually going to revolutionize the modern day photography, to be precise they already did. Just two days ago Major camera industry player Nikon announced their two mirrorless cameras i.e Nikon Z7 and Z6. I think since your site has a lot of great materials about contemporary photography it is high time that you add some info about mirrorless cameras as well. That would be much appreciated.
Dear Abdul, in about two months from now once you have hopefully worked your way through the ‘essentials’ section and then through the following levels you will look back and realise that your comment wasn’t actually relevant and that there is not really any reason to mention mirroless cameras in any category different to any other camera. You will also hopefully recognise that there is very little difference to todays cameras compared to those of 40 years ago. If you stick with us and with an open mind you will have the opportunity to become a much better photographer than you realised and you will come to realise that it had very little to do with the camera but everything to do with understanding photography and light. I wish you all the best in that journey, Karl.
Is to become a good photographer a person has to be a special talent ?
Hi Karl, just joined this morning! I have been looking through your stuff and I am just completely AMAZED! I can’t wait to learn everything you have to teach. Thank You!
Thank you Steven, enjoy!
Hey Karl,
I have a Nikon D-40 and really need to get the studio lighting figured out. I’ve tried using my current camera in the small home studio I have and I seem to be missing the mark, I am hopeful I can learn from you. Thanks!
Hi Brian, Work through the courses in order and get the basics of exposure, apertures, shutter speeds (time) and ISO sorted out first, then in ‘Travel & Landscape’ and others in the Advanced section your understanding will grow. When you are ready jump into the first 15 chapters in ‘Portrait’ section which cover lighting in depth.