
Introduction and Understanding Light
Want to be master studio lighting? First, you need to understand light itself…
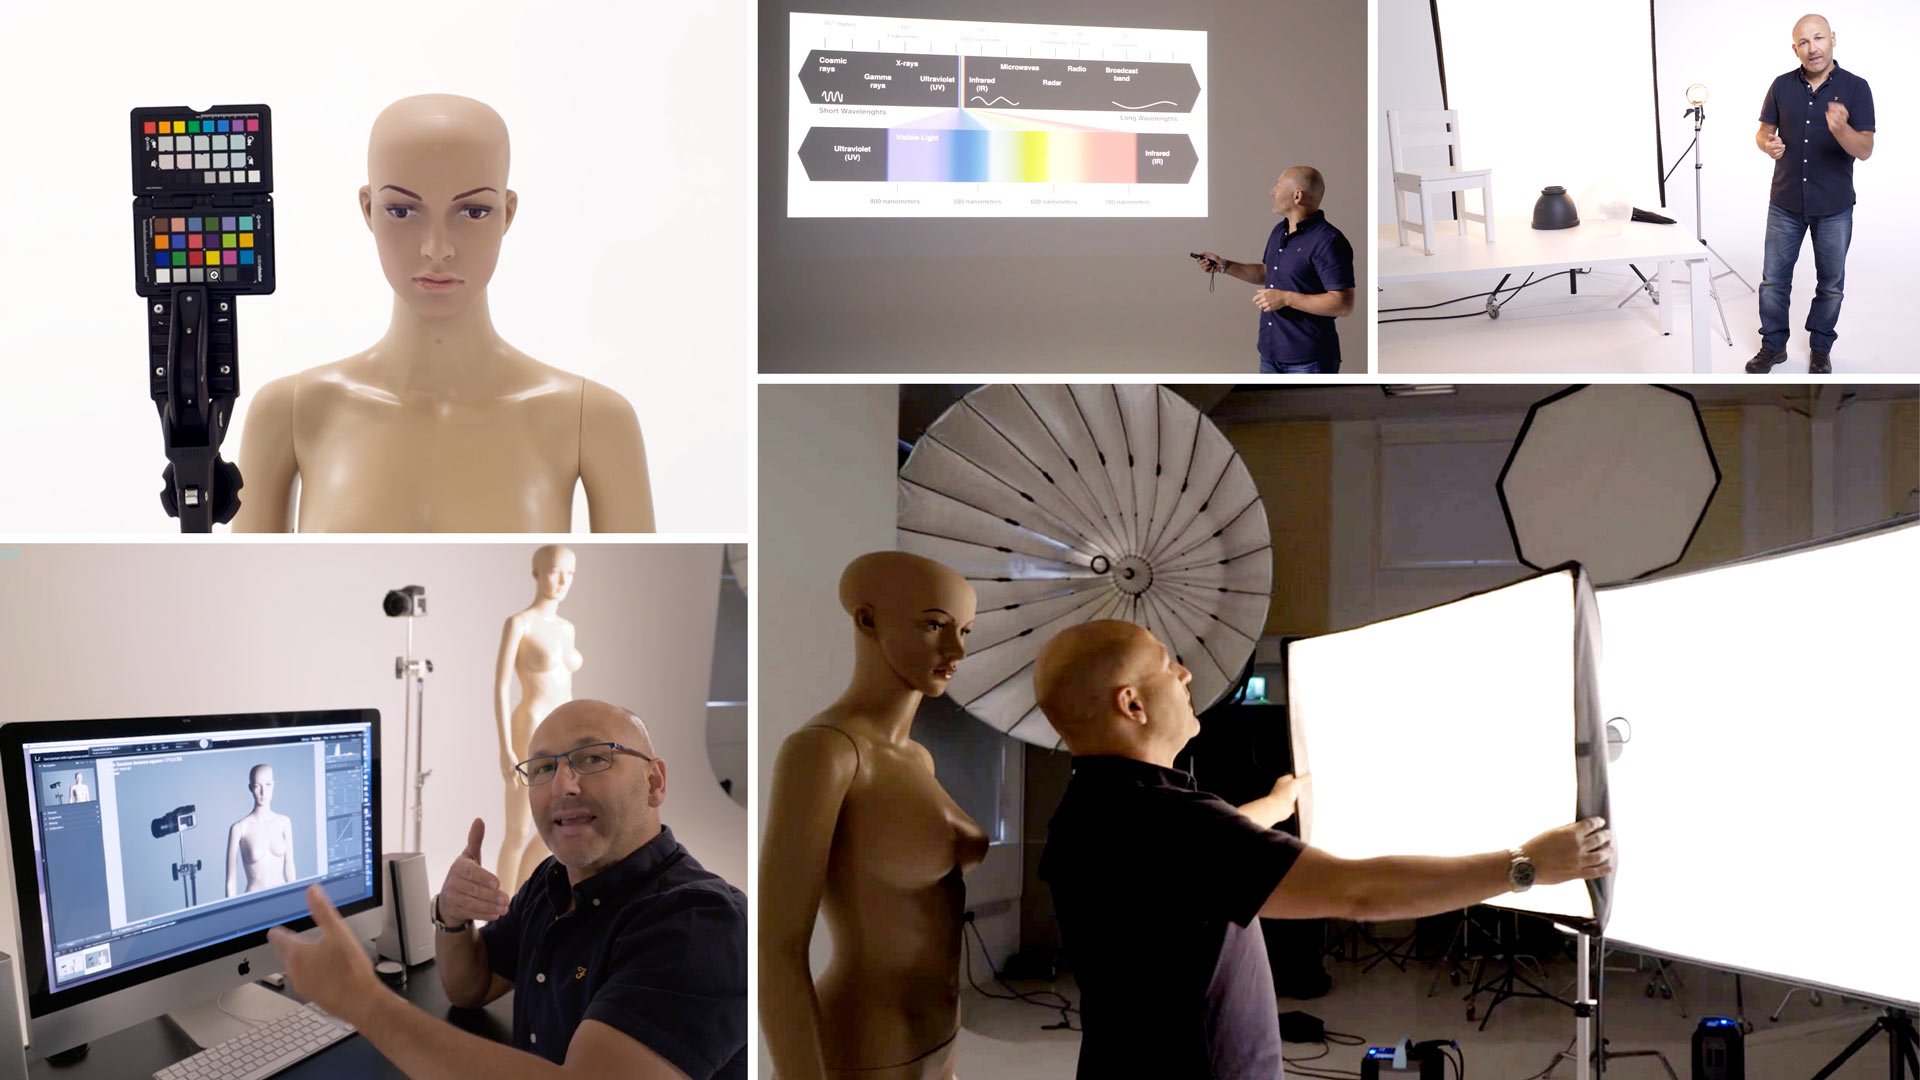
In this opening chapter of our Lighting Theory and Equipment course, you’ll discover the fundamentals of light, equipping yourself with the knowledge you need to start getting amazing results with your lights.
Through a series of easy-to-follow visual demonstrations, you’ll learn about the practicalities of light, exploring the different effects hard and soft light have on shadows, texture and three-dimensionality. You’ll also learn how to achieve precise control over reflections, shadows and highlights.
Karl’s explanation and demonstration of the inverse square law, as well as of the colour spectrum of light, will equip you with crucial knowledge that will set you up for success in the studio and beyond!
In this class:
- Different light sources and their effects
- Hard light vs soft light
- Careful control of light and shadows
- Using reflectors and negative fill
- Revealing texture
- Inverse square law
- Colour spectrum of light
If you enjoy this class, check out A Deeper Understanding of the Inverse Square Law and Angles of Incidence and Reflection.
Questions? Please post them in the comments section below.
Comments
This was the best video i have ever seen about lightning ! thank you so much
Thank you 🙂
Good day,
Fluorescent lighting is quite fascinating and explains why my photos seemed off a bit when shooting my son in a gymnasium from the stands. In situations where you are not in a studio and the only light source is fluorescent, what do you recommend to get a decent shot?
I’ve noticed that going black and white and removing the color helps tremendously. Just curious on your take. Thank you for what you do. I’m enjoying this quite a bit.
Best,
Brian
Hi Brian, if the fluorescent lights have a low CRI then there is nothing you can do I’m afraid other than opting for B&W. Any light source that is missing large chunks of the full daylight spectrum will cause colour problems that are nearly impossible to rectify. There are some instances of course where you deliberately want it to look bad, I did a shoot with fluorescent lights on an ‘android’ model many years ago and I used high CRI tubes but knew I’d be getting some ugly green casts too but that was OK as the person wasn’t meant to look fully human! You can see the results of those shots on my people/fashion page from about half way down: https://karltaylor.com/people all the best Karl.
I got many things from this chapter and thank you my teacher.
but onething I want to know teacher, where can I contact from you.
If I want to ask you something.
Hi, I’m glad you enjoyed this class. Our communication with our students is via using these comments sections for advice related to the training provided and comments should be written along with the appropriate class. If you need to contact us personally about another matter or regarding your membership etc then you can reach us through our email address if the team think your request needs to be answered by Karl they will forward your request on.
Hello Karl,
Thank you for this amazing class!
I have a question: when shooting in studio should I set the WB on auto or daylight? Does this depend on the ambient light and if that impacts my shot?
Hi, you should find out the colour temperature of your studio flash (often 5800K) and then set the Kelvin temperature manually to match. You should never really let ambient light pollution interfere with your studio shots and this can be done by making sure you use the maximum sync speed and keep all ambient lighting at a low level.
Hi Karl,
when I shoot in a studio with studio lights, I still struggle with fluorescent light and its effect on the final photo.
I always want the studio to be lit so I can work in a bright space(fluorescent light from bulbs), but I never successfully eliminate this light from final photos despite the studio flash. I always take the first photo as a test shot without the flash, so that the photo is completely black with the appropriate camera settings (without the influence of light bulbs). But after I add a flash and then change the camera settings, the bulbs again affect my final results (also visible in the histogram).
What am I doing wrong? Am I not allowed to change the camera settings at all after I add the flash?
And also, on which value do I have to set the color temperature in the camera when using the studio flash – to auto or 5600 K?
Thank you very much. All the best to you and your team. Greetings from Slovenia,
Tamara
Hi, if you have your shutter speed at the maximum sync speed of say 1/250th of a second then you should eliminate most of the ambient light pollution from the fluorescent lights – you then leave that shutter speed as there is no need to change it. Then of course you have your aperture setting to consider but if you are shooting at f11, f8 etc with 1/250th then there should be no ambient light pollution. It is better to then just change the power of your studio lights to suit the aperture that you require rather than change the aperture to suit the lights. If your shot requires you to shoot at f2.8 for creative reasons then that is going to let more ambient light into your picture but the option then if you have light pollution is to turn the ambient (flourescent lights) off.
Thank you!
i just joined today and im suprised with all this prfect lessons…respect
Thank you and glad you like it, let us know if you have any questions and we will do our best to help!
Hi, Karl. I joined the site yesterday and the classes are excellent and very instructive. Thank you very much and greetings from Rio de Janeiro.
Thank you very much for your comments and thank you for joining us. Let us know if you need any help with anything.
Its Great To Explain Everything as well but
i wanna ask if i work with Godox FV 150 Light and a same time i work with a flash
i just understand like i work with 5600 Kelevn but at a same moment i make Setting in Camera 5100 to 5200 Cause i try to Got a White Color Balance in the end with Flash Godox Ad 600 Pro So What i should do to got more Pure Light Cause i Start to Use more Then 4 Unite For Light 4 Stander Light a Flash light but its take too much There is any Adv To Customizing This .
Hi, I would set my camera to daylight or 5600k and then using the mix of lighting will give you an average that is accurate enough.
Thank you so much for great teaching of light session
Thank you!
Great video. Even though i am supposed to be a professionnal… it is always great to go back to the fundamentals. Great job really !!!
Pierre
Thank you.
Amazing lesson, it’s an absolute must-see and explained so clearly. I’m looking forward to practicing lighting techniques
Thank you.
Excellent course. I only signed up today 🙂 Thanks Karl
Thank you and glad you enjoyed it.
This class is amazing!!! I never had such a clear and informative class. Especially easy to follow and learn! Thank You!!!
Great to hear thank you.
Hi Karl,
I bought 2 flashes but they turned out to be too strong for a small studio like mine in some cases. I don’t want to sell them, but don’t want to buy new flashes either 🙂 Is it possible to use ND filters in front of flashes? I think I saw you so that in some of your videos, but I can’t remember where. Also if possible what product should I look for. (Couldn’t find anything by ‘ND filter for flash’)
Thanks
David
I starded to take your class and I really liked this class.
What size of scrim do you recomend?
Hi thank you. This is dependent on what you are photographing and how much space you have. Have you watched these classes: https://visualeducation.com/section/getting-started-in-product-photography/