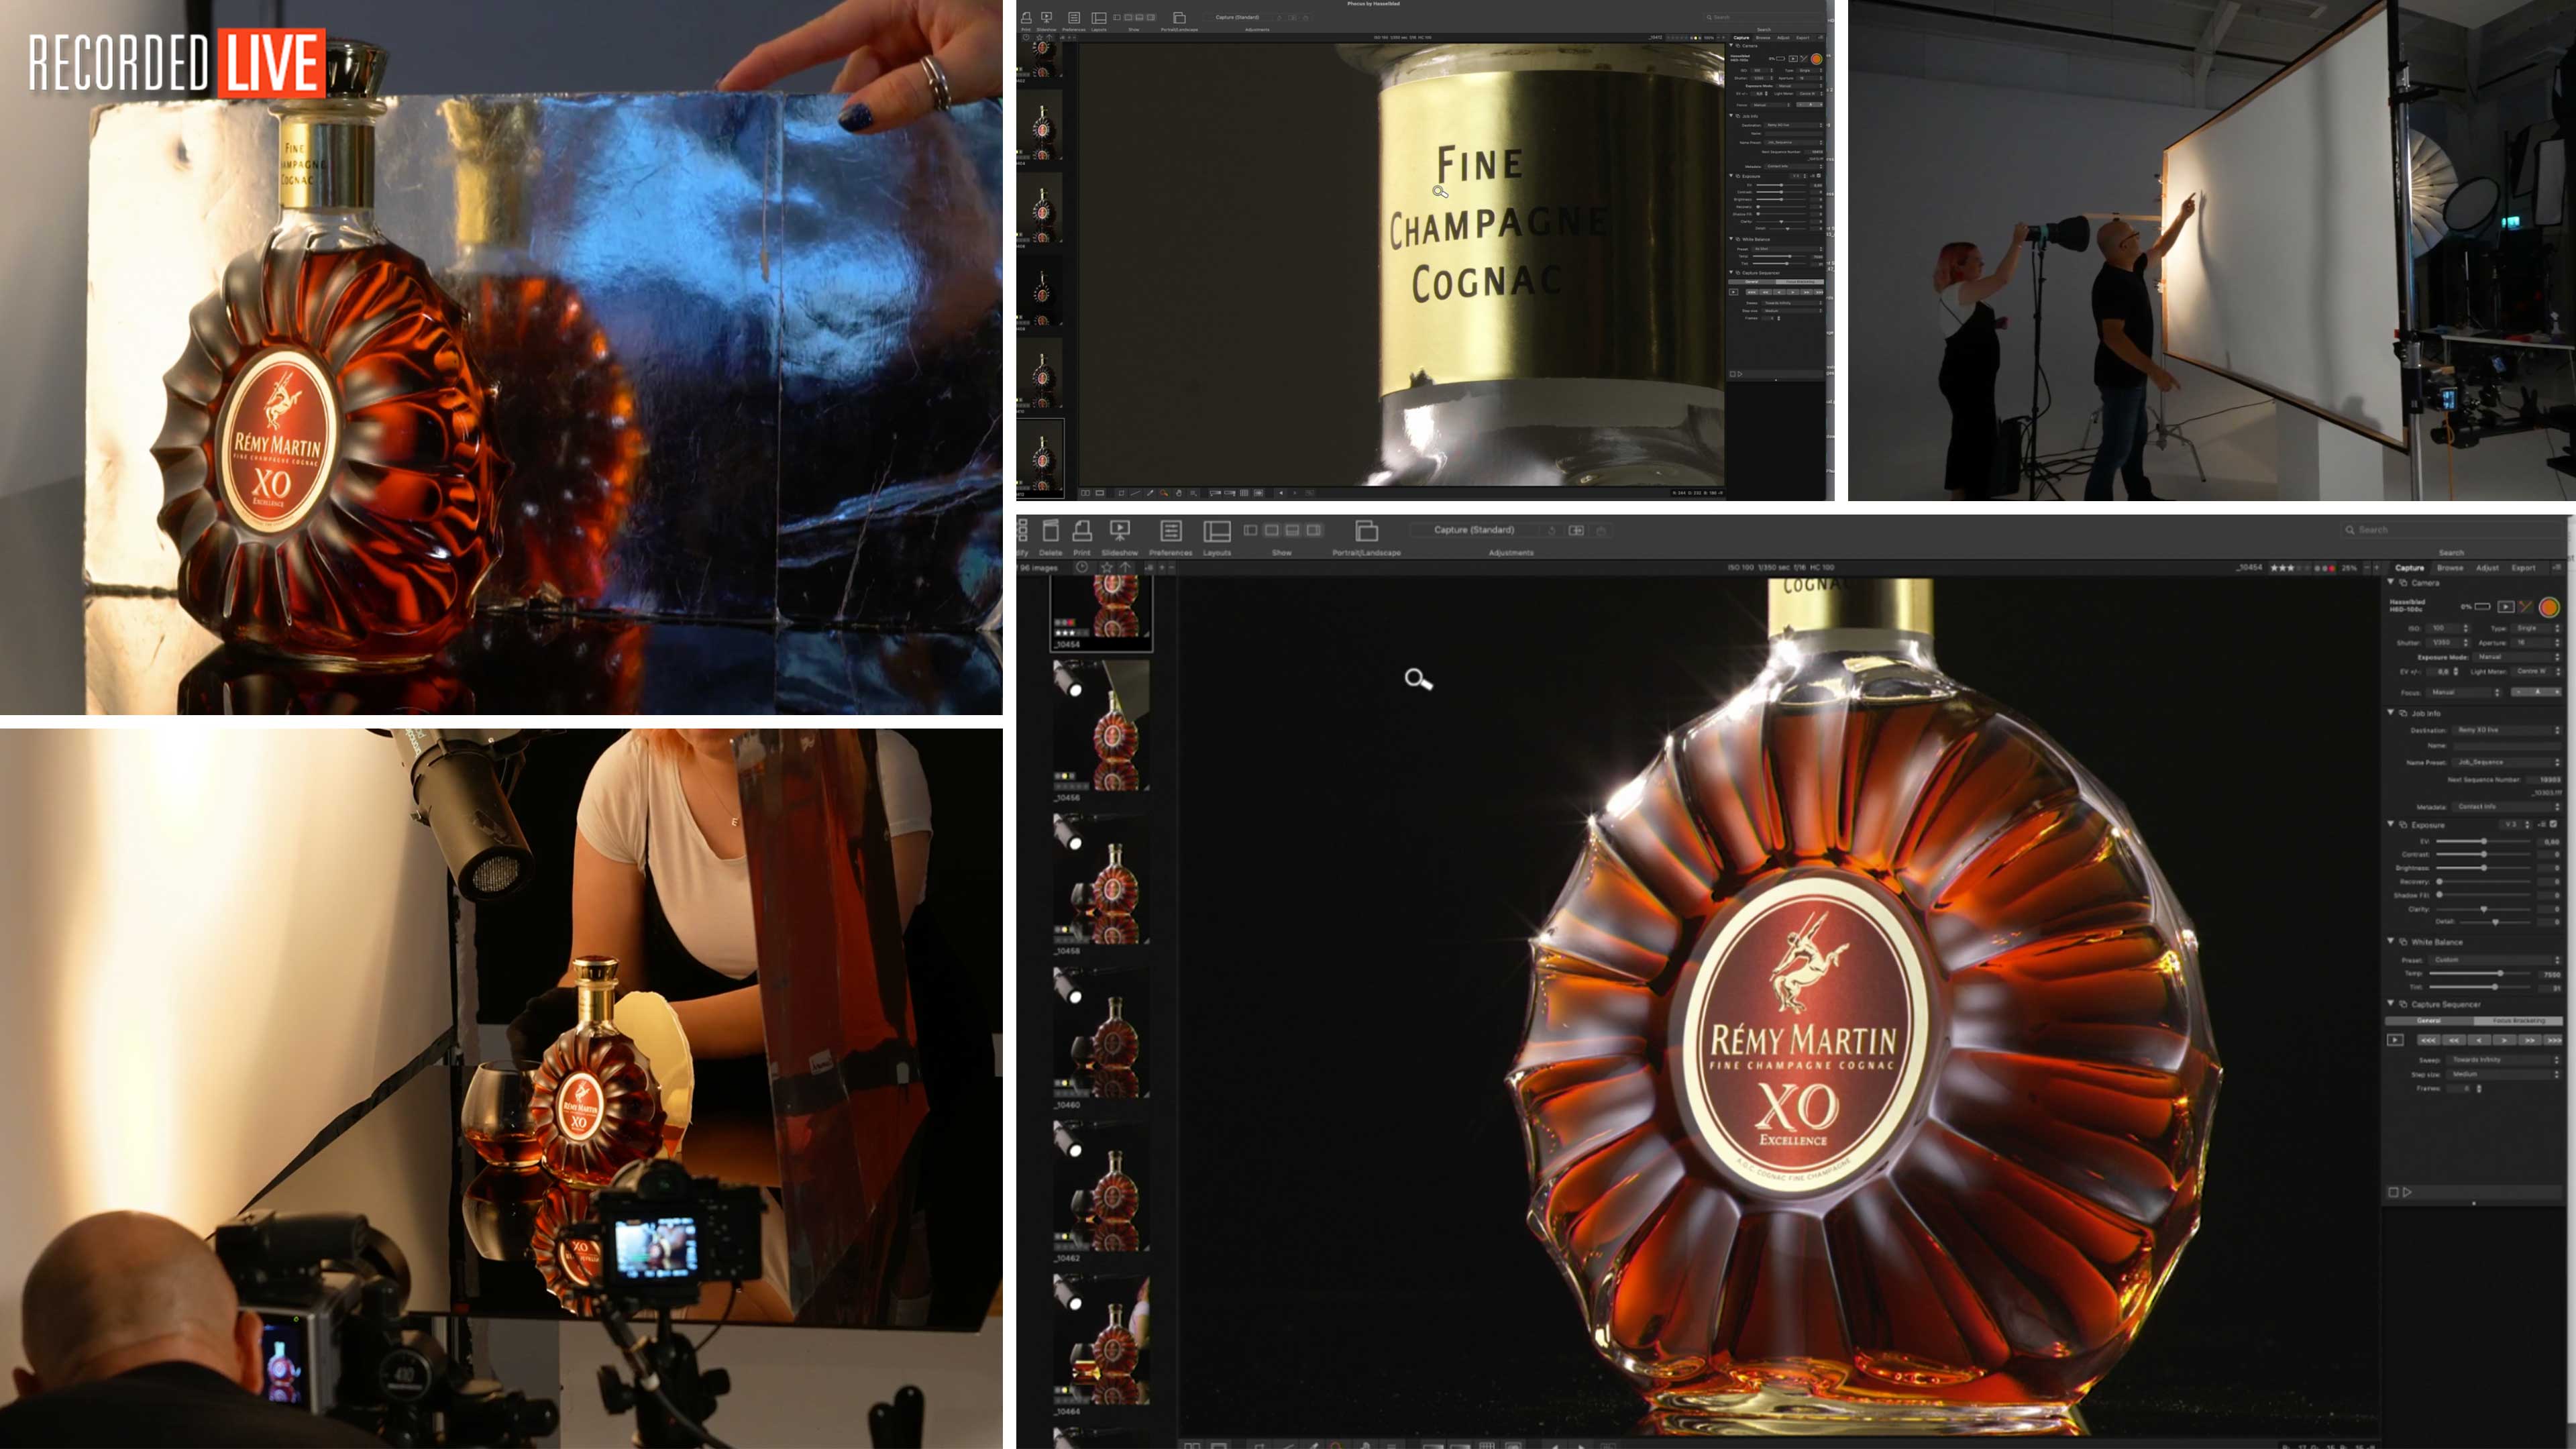

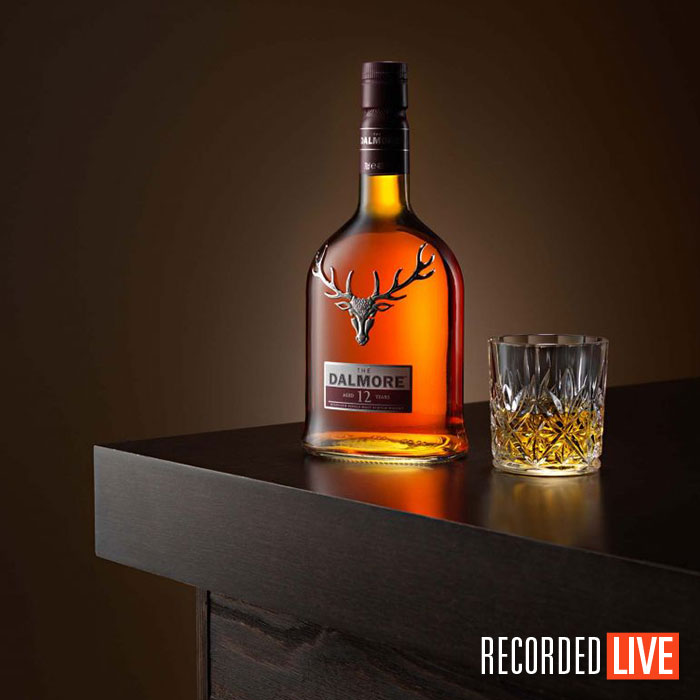
Rémy Martin XO Cognac Product Shoot
Baffled by bottle photography? Discover the techniques and tricks you need to achieve smooth, professional results.
In this class, recorded LIVE, Karl shows you how photograph a bottle of Rémy Martin XO Cognac.
This particular bottle, with its distinctive shape, presents a range of interesting challenges. Watch the class to find out how to overcome them.
Photographing a bottle like this requires a good understanding of Angles of Incidence and Reflection. Karl explains key things to keep in mind when shooting reflective surfaces like glass.
You’ll pick up tips for using multiple modelling lights modified by a scrim, making and adapting your own ‘invisible’ reflector to add a pleasing warm glow to the liquid in the bottle, and using a simple DIY flag to reduce flare.
Introducing a glass presents new lighting challenges requiring a new round of experimentation.
The final image, even before the necessary post-production, is stunning and – dare we say it – more striking than the official photos Karl surveys at the outset!
In this class:
- Bottle photography tips
- How to photograph bottles
- How to use a scrim in photography
- Lighting techniques for product photography
- Using reflectors in photography
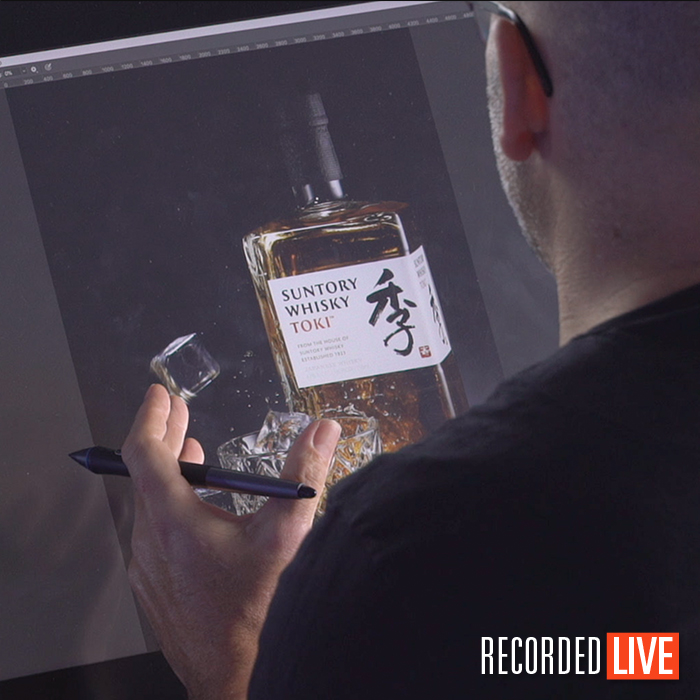
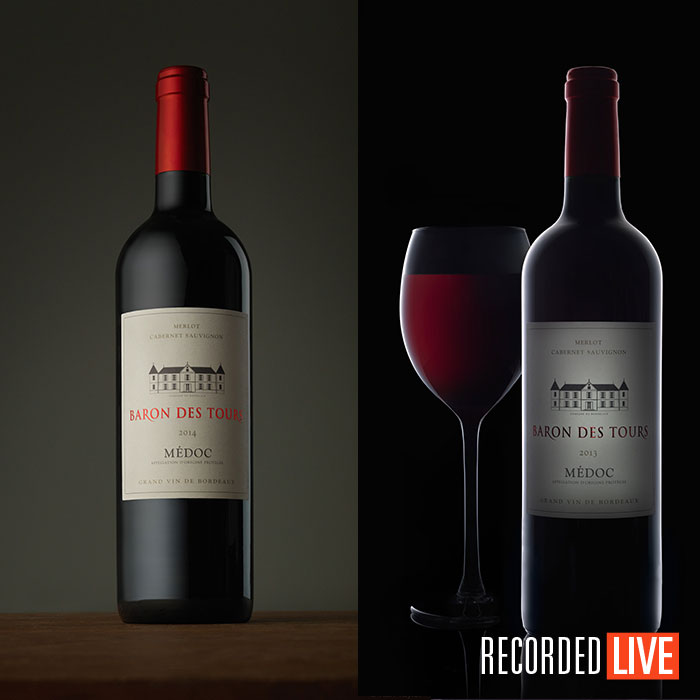
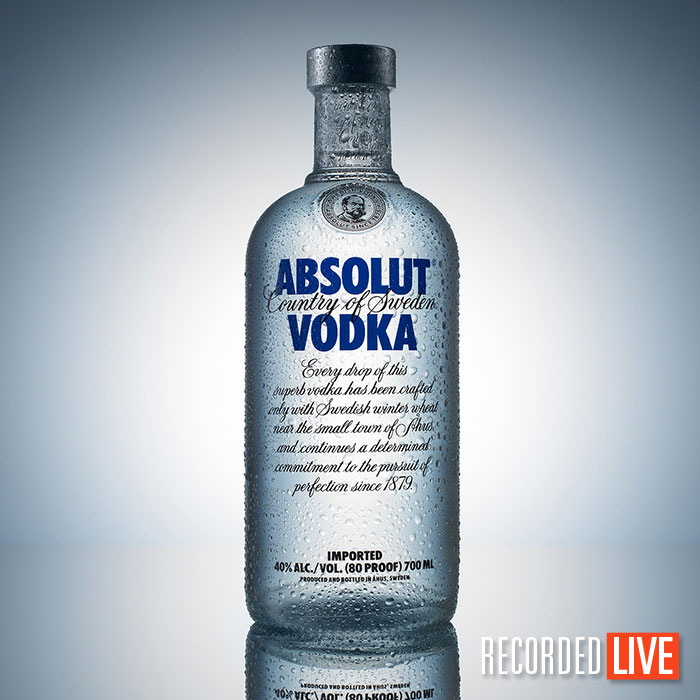
To learn more about capturing this kind of image, take a look at our other Bottle and Beverage Photography classes.
Questions? Please post them in the comments section below.
Comments
I just love Karl Taylor Photography, Live Shows! The production of these live shows is getting better and better. The addition of the Sony camera giving us a similar perspective of the camera, really added to the viewing.
What Sony camera do you use to shot these shows? Have you ever done a video on the equipment you use, with regards to videoing you tutorials? I know its not photography based but I would find it interesting all the same.
Hi Nathan, we use a sony A7s3 for that shot and we have some new videos coming soon about video production.
Karl, I absolutely loved this video! Amazing
before watching this tutorial, I would have just used one light and a scrim.
Turning the product and using 3 lights on the 1 side has blown my mind
Thank you once again 🙂
Lance Allegretta
Thanks Lance.
Awesome session! You do need to get your throat checked though… 😉
Seriously though, I really enjoy these bottle sessions!
At some point you mentioned the use of a thin acrylic sheet wrapped in a curve around a spherical object. Is it possible to set up a session showing how such a construction would be used?
Now let me purchase a nice fancy bottle of rum to shoot and consume… 😉
Hi Kryn, glad you enjoyed it and I hope all is well. I’ll keep that in mind for another object, in the meantime we used a similar technique on this one – https://visualeducation.com/class/shooting-shiny-chrome-objects/
Great Show once again Karl – thank you for sharing such a lot of information and tips with us.
I Must say first off, that one of my best decisions was joining KTE as over the past two years (mainly as a silent viewer) I have indeed learned tons of stuff and it is defiantly not taken for granted (at least on my behalf).
I have watched quite a lot of your classes and have always tried to really understand the angle of incidence (more difficult to visualize in my head) and angle of reflection (easier to comprehend). However, Your choice to demonstrate the angle of incidence with a laser beam has truly given me the best way to comprehend this important factor, to the point that from now on (if I may) I am going to use this technique to better position my lights – huge thanks for this!!
You mentioned December being the date for more in-depth classes on the angles of incidence and reflectance – looking forward to this 🙂
Thank you
Thanks Danny, this calendar on your home page lets you know nearly everything that is coming up – https://visualeducation.com/home/
is the reflected light from the laser safe to the eyes?
Hi, No it is not if it goes directly in your eye but it will only do that if you pointed it directly at a flat mirror facing you at exactly the right angle.
Can’t stop laughing – you don’t take an audiometer to check sound levels!
Bang on.
This show re-re-emphasizes the importance of an assistant for a studio/product photographer!
That part Karl & Emma did of moving light in sync along with the live view ( 27 min ) speaks volumes about Karl – how strongly he wants to teach the basics in the best possible way.
Thanks for making this tutorial, Karl!
Thank you Sanket, much appreciated.
You are an excellent teacher Karl…learning a lot from you. My product photography had really leaped a lot higher ever since watching all your tutorials…
Thank you.
The laser pointer trick is such a time saver, especially when directing an assistant.
Nice job, very professional. You are THE best in my opinion.
I’ve been a member for 3 years now although photography is a hobby for me not a profession…
My eleven year old daughter sees you on our TV screen and says,
Ohh Karl Taylor again!!!
Are you gonna make money some day or what!! Lol
Thank you and offer my apologies to your daughter!
Cannot see from iPhone.
Enjoyed your workshop!
Which monitor do you use with the laptop please?
Hi Elizabeth, this was an Eizo Color Edge.
This show was incredible! You’ve inspired me to make myself a pair of scrims and try some bottle photography of my own!
I used to think that softboxes were the ultimate solution for perfect lighting, but of course I was very wrong, hahaha!
Once I started thinking of lighting in terms of objects reflecting the environment around them, eg, the environment they “see” around them, it was a paradigm shift for me. THANK YOU for teaching me this!
You mention that the “reflected image” being wrapped around a reflective object does not apply to matte objects, like your arm (to continue with the example from the video), but I’d say they do! It’s just that the image they reflect is not crisp, but heavily blurred (think gaussian blur) by the texture of the matte surface.
As proof for that argument, a negative fill board would make your arm darker, and it could be interpreted as your arm reflecting the blackness of the board. A bright red board close to your arm would give your arm a red tint, and this could be thought of as your arm reflecting a blurred image of the red board.
Anyhow, congrats on the amazing result, can’t wait for the next live stream!
Hi Andre, yes you are correct your arm is reflecting an image of the light source but due to diffusion it is dispersing the image in all directions so that it can’t form and image. However the reason I explained it the way I did is that because of that diffusion it is also possible for ‘your arm’ or a matt object to also reveal light from a light source that doesn’t meet the requirements of the angle of reflectance in the same way a gloss object would simply because some parts of the matt object may be able to direct an unusual angle that a gloss object may not therefore we can think of the matt object being able to reflect ambient light from the surrounding area in a way that a gloss object can not if the light does not fall into the angle of reflectance.
Thoroughly enjoyed this tutorial Karl, thank you.
Fascinating how you gradually built it all up, to bring such a complex bottle to life without a complex lighting system! Pure perfection, beautiful.
Despite you making it all look so easy I know it wont be for me, practice and patience is all the fun of photography!
Thank you Debbie, much appreciated.
Great show! Can’t wait to see the post production part.
Great session… you should be seeing a big check from Rémy soon!
Ha ha that would be nice. Let’s get the retouching part finished first though!