


Antique-Style Saddle Photoshoot with Moody Lighting
In this class Karl takes a completely different direction to the other classes in this sports equipment section as he photographs an antique leather saddle using a more moody style, celebrating the subject as a piece of art.
To start, Karl explains his idea and concept of the shoot, covering the composition, background choice and mood of the shot.
You’ll then see as Karl gradually builds up the lighting. Starting with two backlights, he gradually adds multiple small pockets of light, explaining how to control shadows, enhance shape and control light using techniques such as flagging.
To conclude the class Karl demonstrates two alternative lighting methods for those who have minimal equipment. For the first alternative he demonstrates how, using just three lights, it’s possible to arrive at a similar result by using multiple flash bursts. Finally, he shows how to light products by light painting using just a single continuous light.
Class objectives:
- Lighting techniques for product photography
- Conceptualising ideas for product photography
- Fresnel lighting & how it works
- Backlighting for product photography
- Creating small, controlled pockets of light
- How to enhance shape & texture
- Techniques for controlling light
If you enjoyed this class, other related tutorials you may find useful include:
- Cycling Photography: Specialized Racing Bike Shoot
- Studio Motorcycle Photography
- A guide to lighting emotion
If you have any questions about this class, please post in the comment section below.
Alternative lighting techniques for product photography
When it comes to lighting products, there’s little doubt that using studio flash offers the most control. However, using individual studio lights can often be quite ‘equipment heavy, and not everyone has five, six or even seven lights to light a single product.
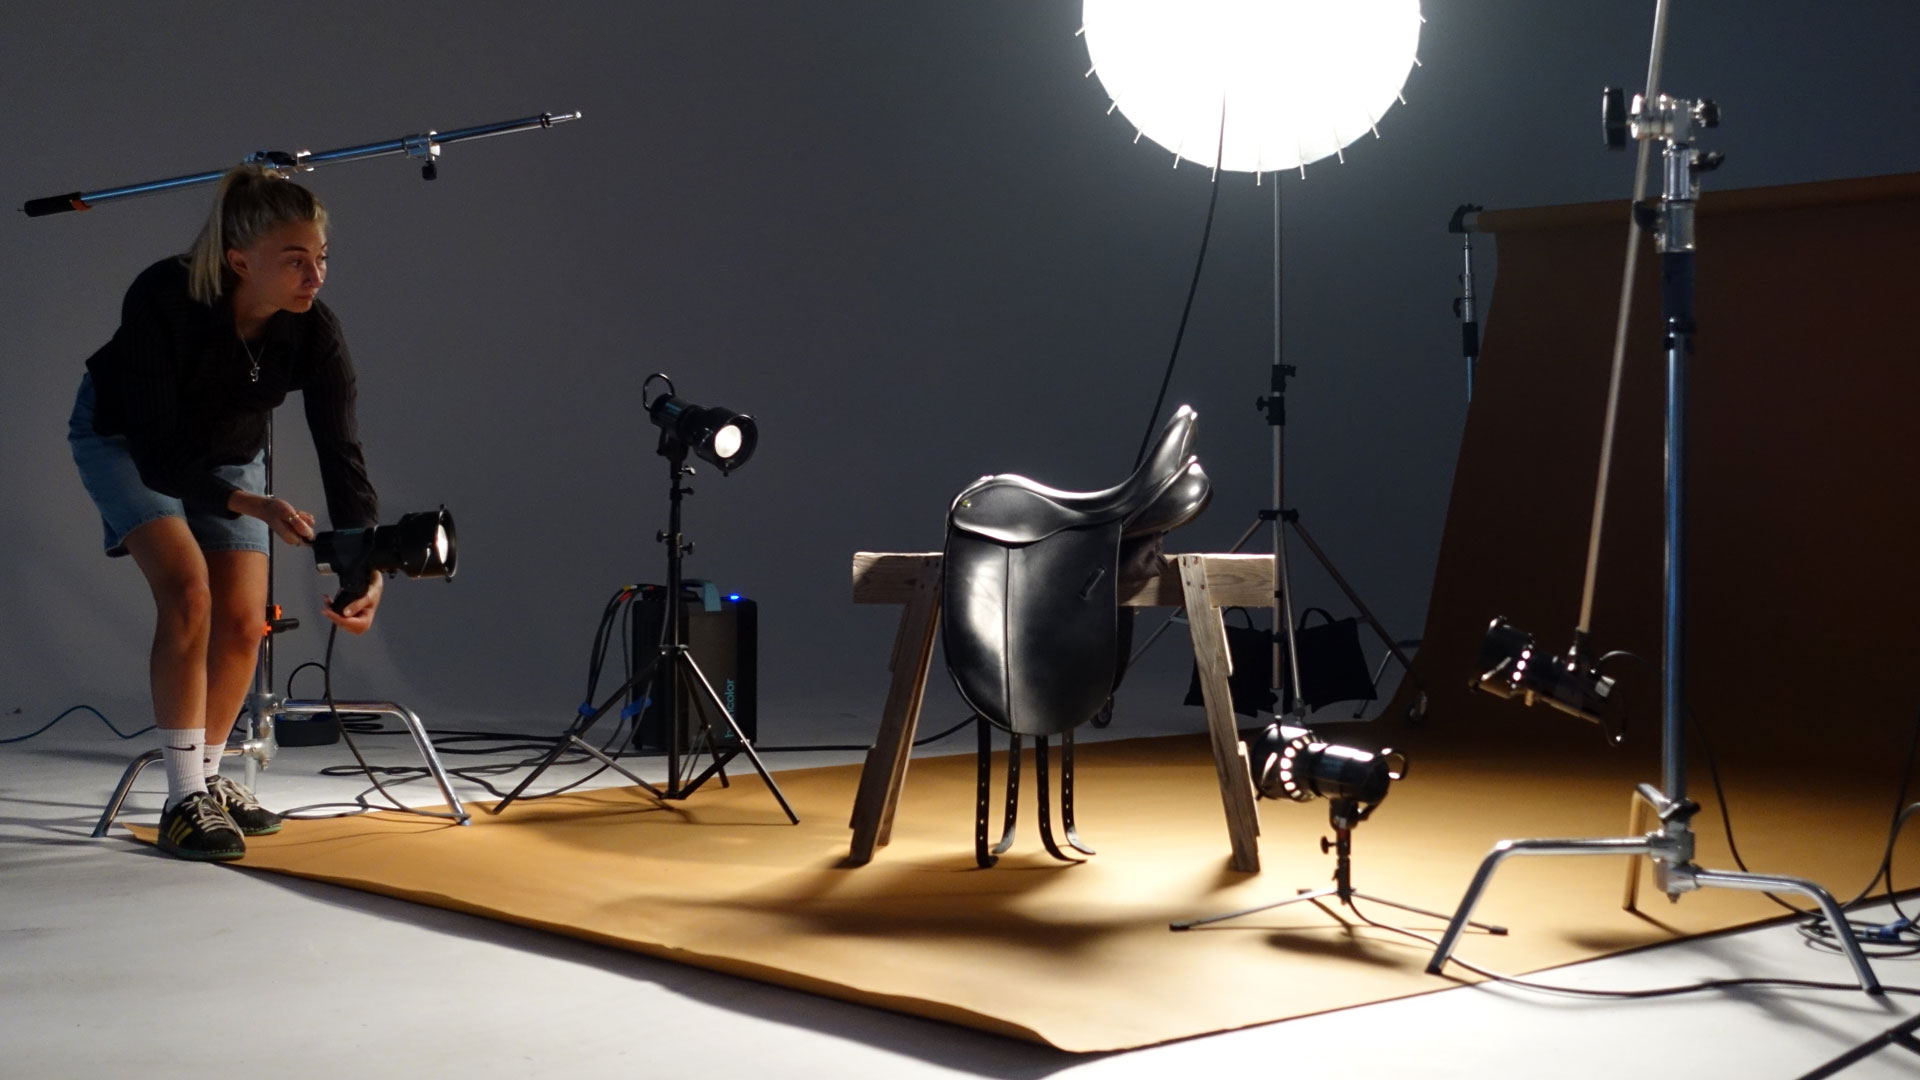
Product photography lighting sometimes requires a lot of equipment.
One alternative to this, as you’ll see demonstrated in this class, is to use multiple flash bursts during a long exposure, thereby creating multiple patches of light with just a few lights.
Or, if you only have a single light you can use the technique of light painting. In this class, you’ll see we used a continuous LED to light paint the saddle, but a similar result could be achieved using the modelling lamp of a studio flash light (providing you adjusted the colour temperature accordingly).
Neither of these techniques will give you the same level of precision or control as using studio flash will, but they are a useful alternative if you need to make the equipment you do have work for you.
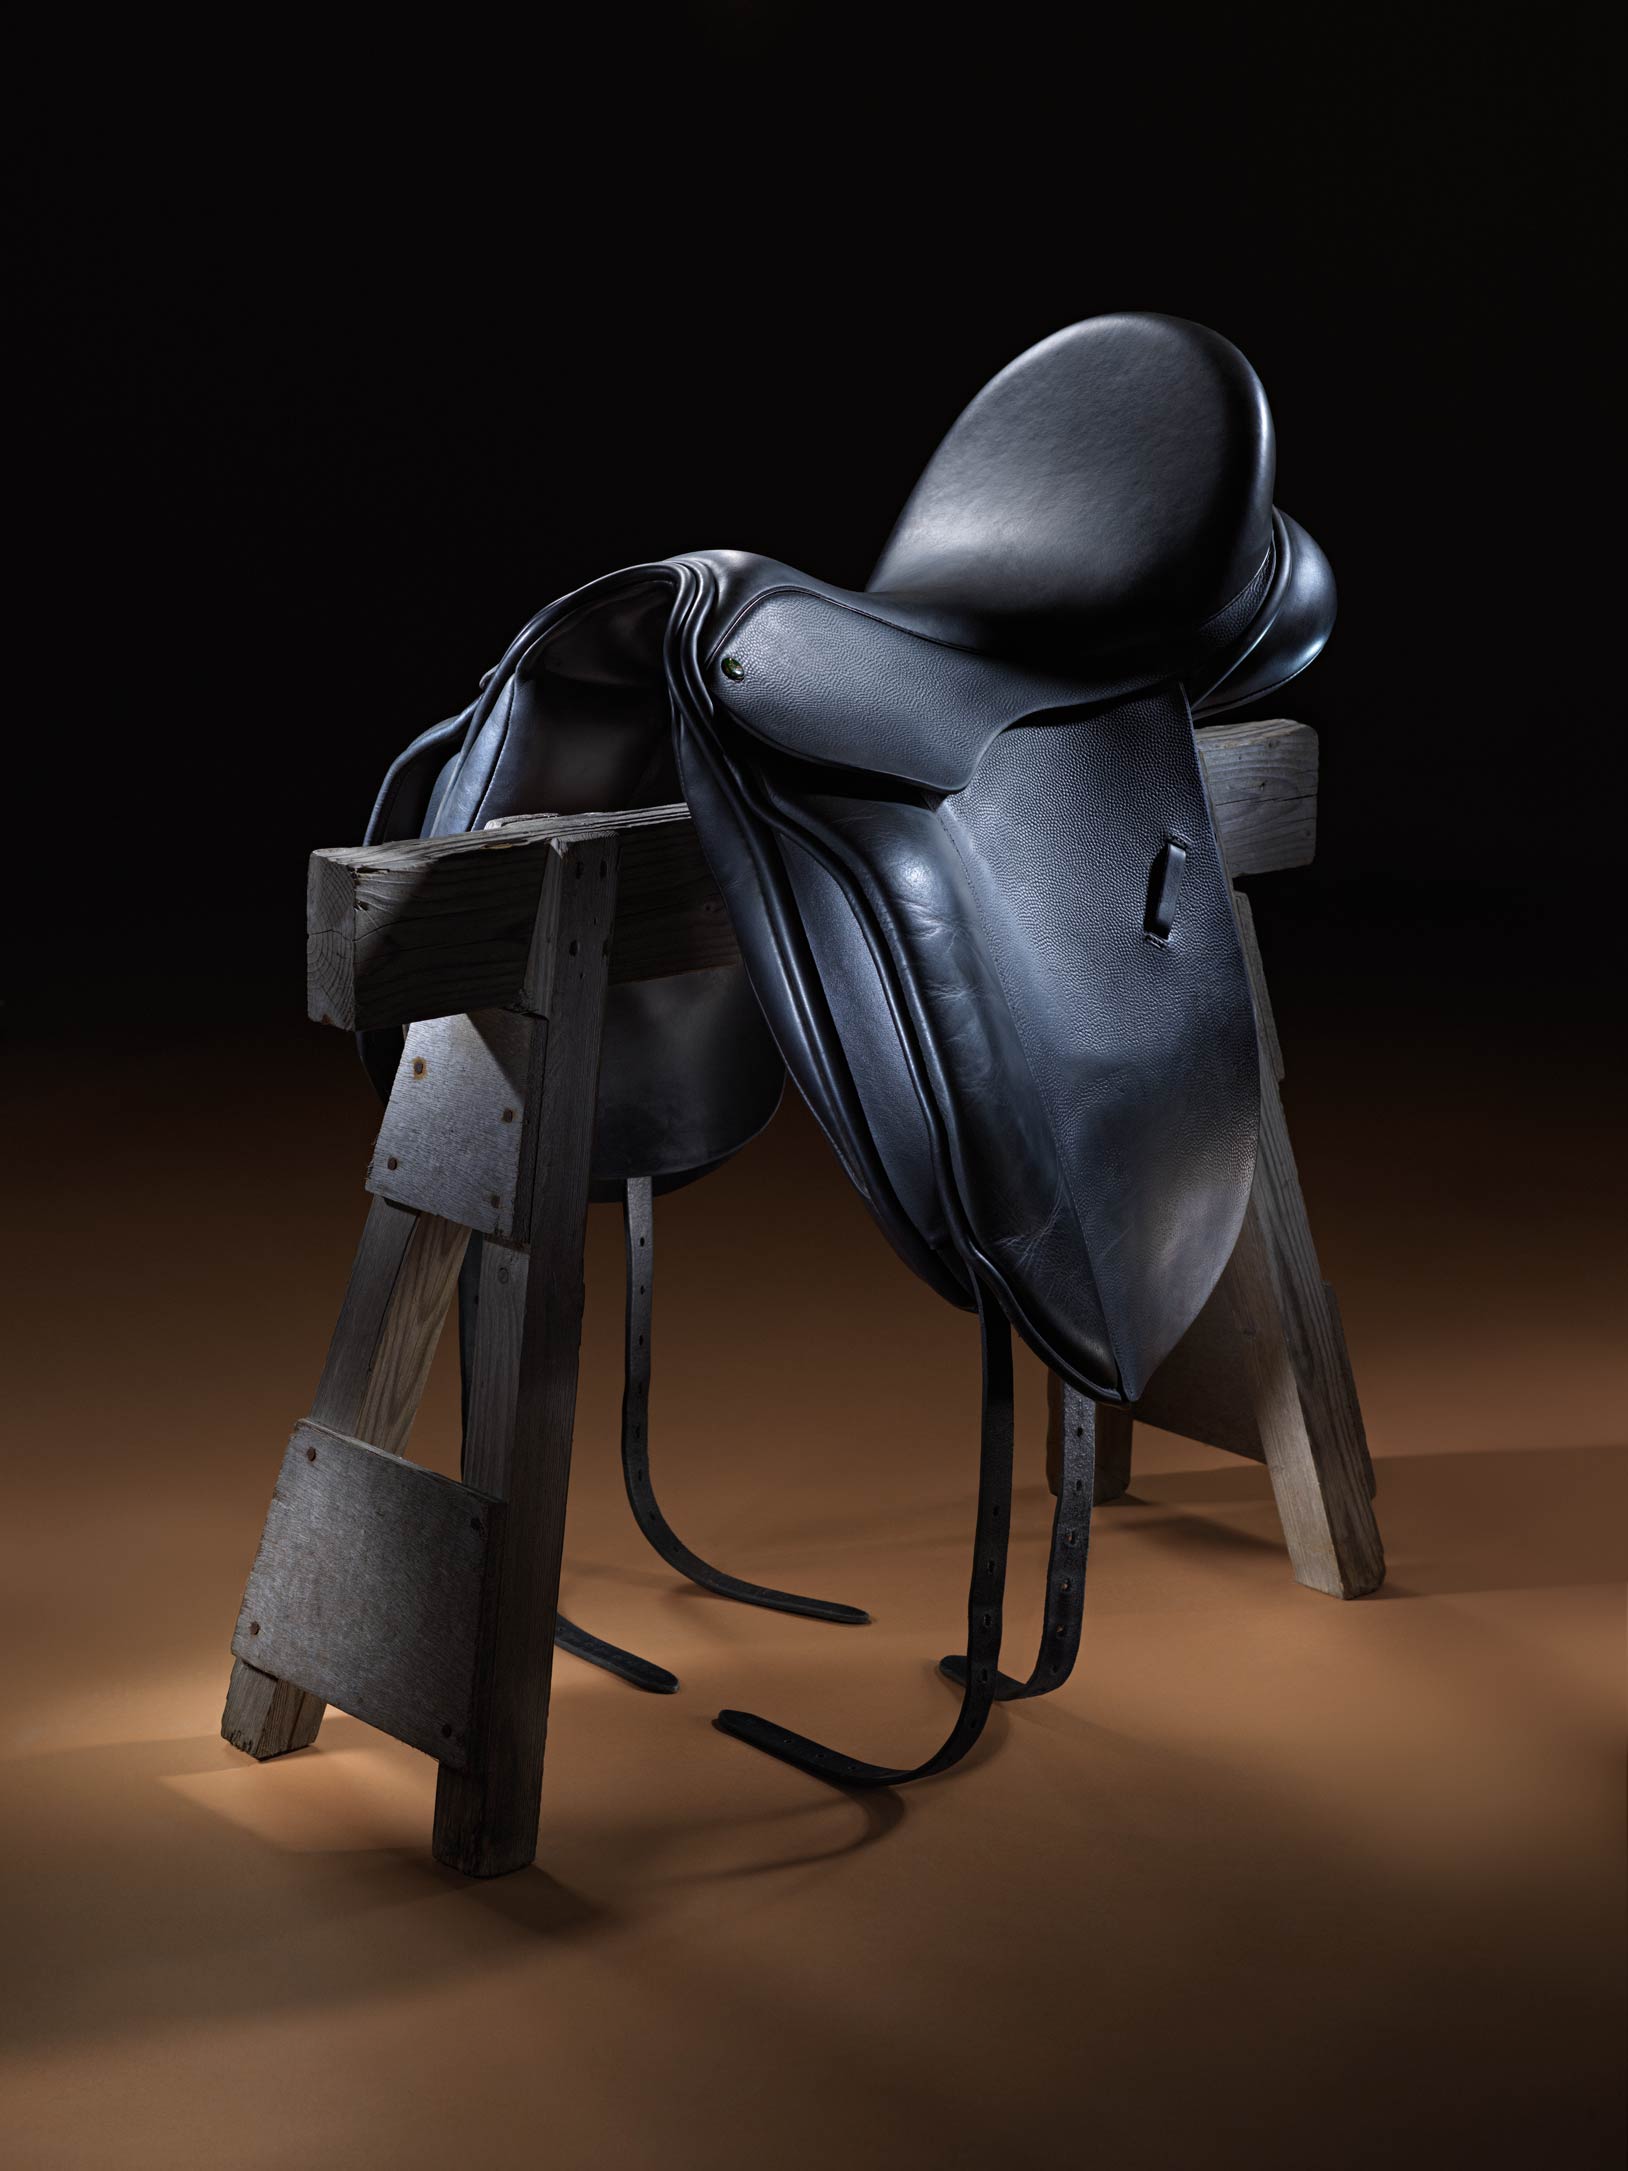
The final antique-style saddle image.
Comments
Batteries of the H6D are atrocious, when you have a 8h shoot how many batteries do you need tethered ?
Now when on location for a day untethered how many batteries do you need usually?
Hi, I find I need 2 per day.
Everything what YOU’re doing is HUGE inspiration and of course lesson for me ❤ AWESOME! BEAUTIFUL! AS ALWAYS! ❤ THANK YOU VERY MUCH 😁
Thank you very kind.
Hi Karl
This is an absolutely amazing course with a wonderful result.
Thank you for sharing your knowledge!
Best regards Michael
Thank you Michael, much appreciated.
My daughter being an Equestrian, made this fun for me to watch and we had a good laugh at your lack of knowledge of the Saddle parts. I am going to attempt this on Wednesday March 24th, and will be happy to share my result on the Facebook Group page as part of the Still Life Pet or Potted Plant Challenge. I also enjoyed your quick use of LED and dropping a note on Color Balance for said torch, our us version of a flashlight, (not camera Flash or Strobe). Was it LED 3200K. 3600K, in around there. Some NEBO LED have adjustable Focus as well as warmth value. I can sometime click mine on to a warm brown or a cool blue. Still building out soft boxes home made here and buying up Acrylic, or maybe Polycarbonite. I found a supplier who is having an overstock sale, ACMEPLASTICS.com est. 1943. Thanks so much for the classes, you have kept sanity in an otherwise crazy time these past few months. I am leaning a lot about my X1D II, and my 45P lens. I’ve dared to put my Nikon 135MM f2.8 on it, I dread the sensor getting dirty. The 45MM should be good to take this saddle shot. I watched recently a review of a Noctilux 50mm F.095. It was an amazing history lesson, it seemed an extreme Bokeh effect which is a look I guess, Something also I knew nothing about 6 Months ago, As well as Bayer and Color, that still is a mystery, but I’m learning.
Thank you for your comments. I used a 100mm lens on this shoot I think if you’re shooting products the 45mm will be a bit wide, I usually use between 70-150mm for products, the standard 80mm is also great for products and I believe they have great 90mm Macro for the X1d2 which would be ideal for portrait and product work. The best colour balance for your LED is 5600K if you can use that as that is also ‘daylight’ balance. If you are using tungsten lighting then the colour balance is somewhere around 3200K-3600K.