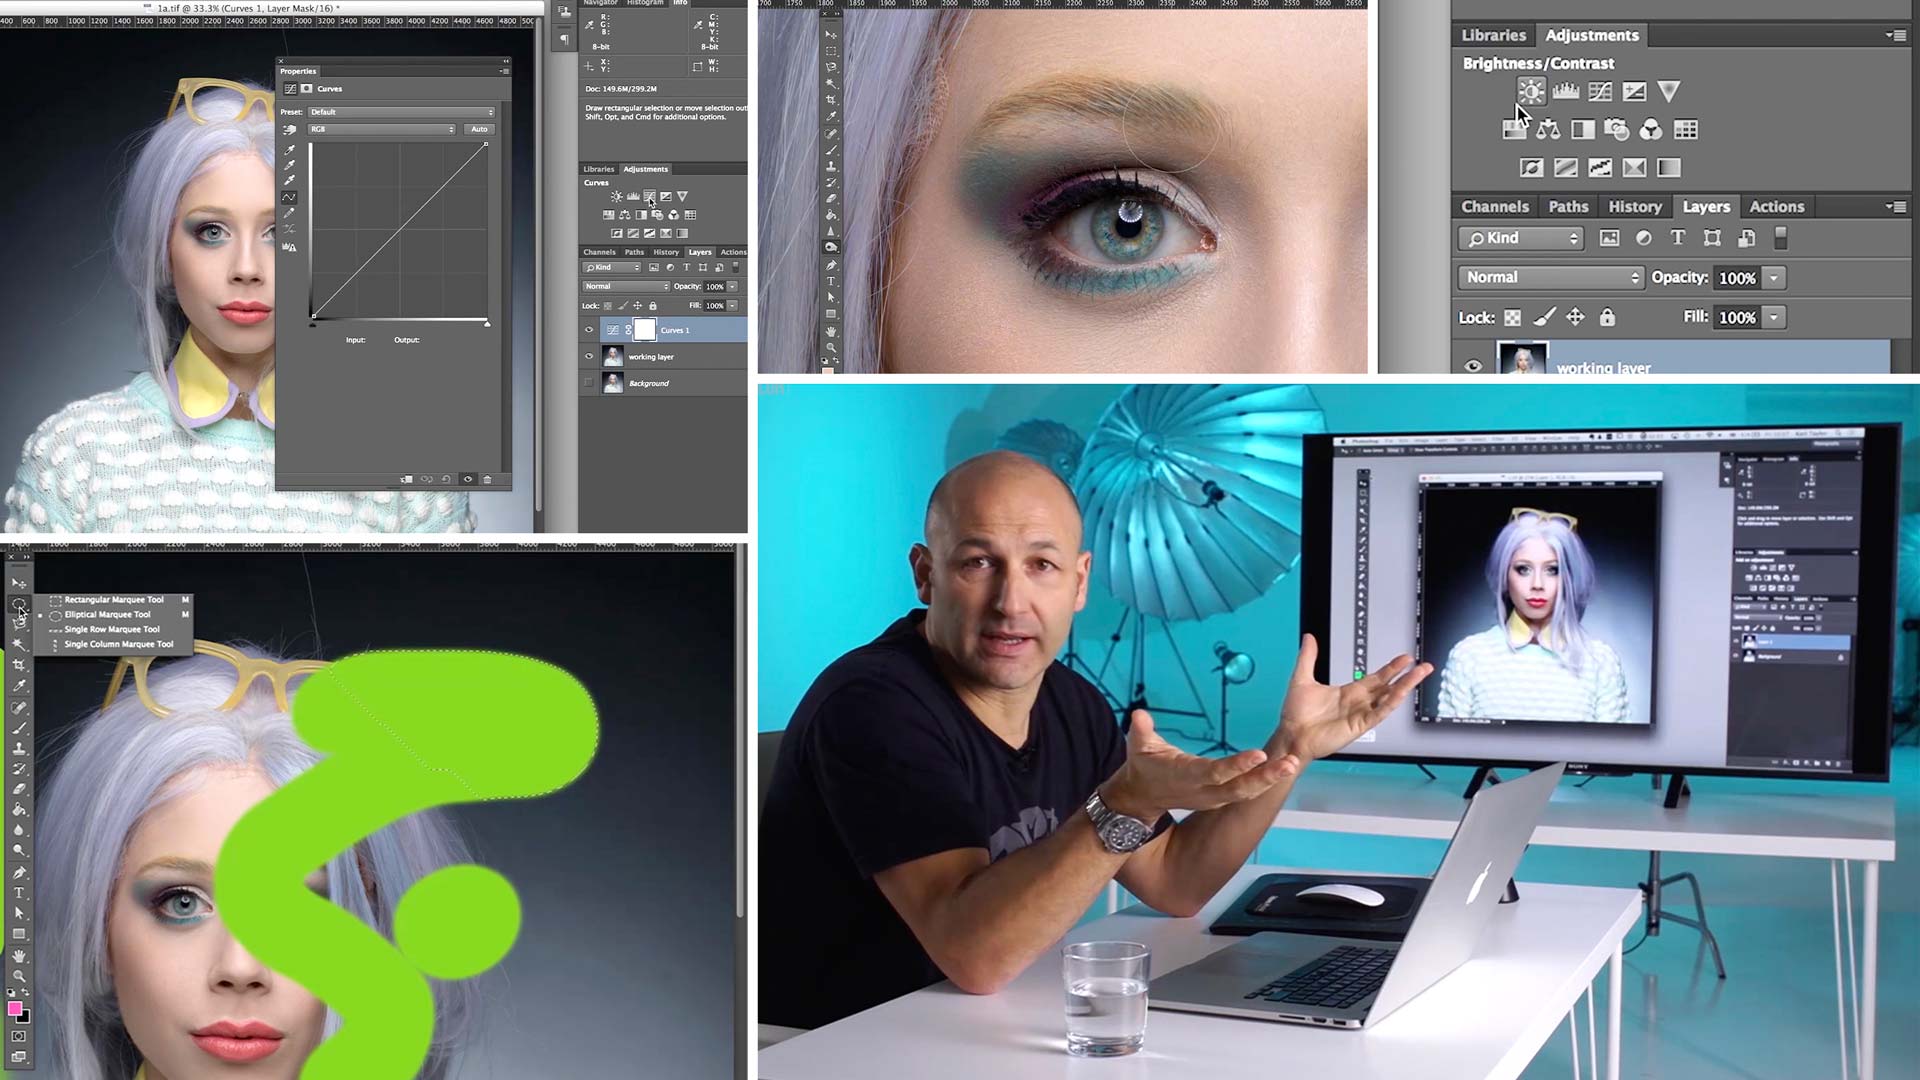

Photoshop Interface and Tools
Knowing your way around the Photoshop interface is essential. In this photography class Karl gives you a complete tour of the popular software for photographers, highlighting the most common and popular tools.
Starting at the very beginning, he shows you how to customize your workspace for maximum efficiency, helping you to quickly and easily access your most common tools. He navigates through the program, highlighting and demonstrating common Photoshop tools for photographers before sharing a number of useful keyboard shortcuts that can be used to speed up your workflow.
This comprehensive course builds a solid foundation for the rest of the course and is the ideal place for anyone starting out or looking to expand their Photoshop knowledge.
In this class:
- Editing software for photographers: Photoshop
- How to use Photoshop
- Customising your Photoshop workspace
- Photoshop keyboard shortcuts
- How to use the History panel in Photoshop
- Common Photoshop tools and how to use them
- Move tool, Marquee tool, Lasso tool, Clone Stamp tool, Brush tool, Blur tool, Sharpen tool, Burn & Dodge tool, Adjustment Layers and more…
The work along file for this Photoshop class can be found here.
Questions? Please post them in the comments section below.
Comments
Hi Karl, can you explain few thing about “proof setup” under view menu. What setup should I use if I want to print the image or use it for social media post like instagram or facebook,..
Should I work with different proof setting for print and internet uploads.
Or this setting is only for view purpose.
Thanks for these brilliant tutorials 🙂
Hi Srinivasan, the ‘proof set up’ and ‘proof colors’ tab are there so that you can predict what the colours will look like when printed on a CMYK printing press (magazines etc) You only need to use this to check what colors might look like when printed using the CYAN, MAGENTA, YELLOW and BLAC(K) printing process. I certainly wouldn’t have these options ticked if you are working on images that are destined for the internet only. However it is also important to remember that the accuracy of the color you see on your monitor are dependent on the quality of your monitor and its calibration. There are specialised monitors such as Eizo Color Edge and NEC that are specifically designed for checking colour and have calibration devices that keep them accurate.
What the difference between curves and levels adjustments
Hi Akansh, not much if you are using them as adjustment layers but I prefer the greater versatility of curves as you can add more points.
I have a HP Envy Laptop with touch screen and Photoshop CC installed. I was wondering if I can edit photo’s with a stylus. Any thoughts? Thank you in advance.
Hi Kevin, I’m not sure as I’m not familiar with that set up but if it’s similar to how a wacom tablet works I don’t see why not.
That was an hour very well spent! Thank you; wonderfully put across.
Thank you Martin.
Thank you so much, Karl, for taking the time to reply. I am finding this course so helpful and realise that I have a long way to go to becoming proficient!
Hi Sue, I’m sure it won’t take that long 🙂
I am using CS6 at present. Compared to the latest version, am I missing out by not upgrading, please?
This is an excellent tutorial – eye opening! Thank you!
Hi Sue, I’d say you would have most of the tools you need but there are a few things new in CC the latest versions. The CC plan is now $10 per month and gives you the latest Photoshop and Lightroom.
Just something to share with you guys:
In the Adobe photoshop CC 2018, the “refine edge” has been replaced by “select and mask” menu.
However, there is a kind of secret way to access the previous menu version “refine edge” by making a selection, then press and hold the “shift key” and go to the menu bar and press “select > select and mask”.
this action should pop up the “refine edge” menu we have seen in this video tutorial.
Karl, you have no idea just how good this tutorial is. I have been tearing my hair out trying to find online courses for Photoshop that doesn’t jump from one concept to the next or over-estimate my basic knowledge of this software. I finally feel like I am in control of this learning journey now. Excellent programme on interface. Extremely well explained. Thank you.
Lightroom and Photoshop RAW – being very similar, am I better off using Lightroom to organize and import my images before processing them in photoshop or is it personal choice? – camera RAW can do everything that lightroom does by the looks of it
Hi Michael, yes they both do the same but it’s easier to rate and sort your images in LR to narrow down the final choices.
Just this one Photoshop lesson has been worth my subscription. Answered so many questions in my mind
Thanks Brian.
One more question: towards the end of this brilliant tutorial, when it comes to choosing the color space in Photoshop, you opt for Adobe RGB. I fully understood the reasons behind it, but my question is if, for general purposes (i.e., mainly sharing via web or using the images for a small format print), I should also opt for Adobe RGB in my camera’s menu, instead of the classic sRGB.
Hi Bogdan, yes I would. AdobeRGB is a bigger space and you can convert your files to SRGB later for use on the web.
Hi Karl,
So far I have only used the proprietary post-processing software of my camera brand (Nikon – Capture NX-D) for frugal post-processing.
I am now seriously thinking of going into learning Photoshop from you.
In this respect I would do some basic changes to the RAW file (e.g., small exposure adjustments, eventually white balance and picture control / picture style), then save the RAW files in a “.TIF” format and then go on with processing in Photoshop.
Does this sound feasible to you or I should go for a different workflow?
Hi Bogdan, that is exactly correct. This way you won’t lose your RAW file it will remain safe for future adjustments and then you have a 16bit tiff file for other photoshop work or client supply.
How do I get my history channel back?
Well never mind!!! I didn’t get far enough into the video before I ask the question. Sorry! My bad!
Hi Gina, no problem. When in Photoshop just remember you can reopen any ‘lost’ window by going to the window menu at the top of the screen. If the menu isn’t there you may have gone into full screen mode so just press F on the keyboard a couple of times to get you back.
Hi Karl
It could be better when you write down some shorcuts – which you use offten.
PHEW I’m exhausted…..but in a good way. Zoned out a bit towards the end but certainly feel like I at least landed on the first stepping stone.
Thank you
Hi Angela, may be worth watching twice to let it all sink in 🙂