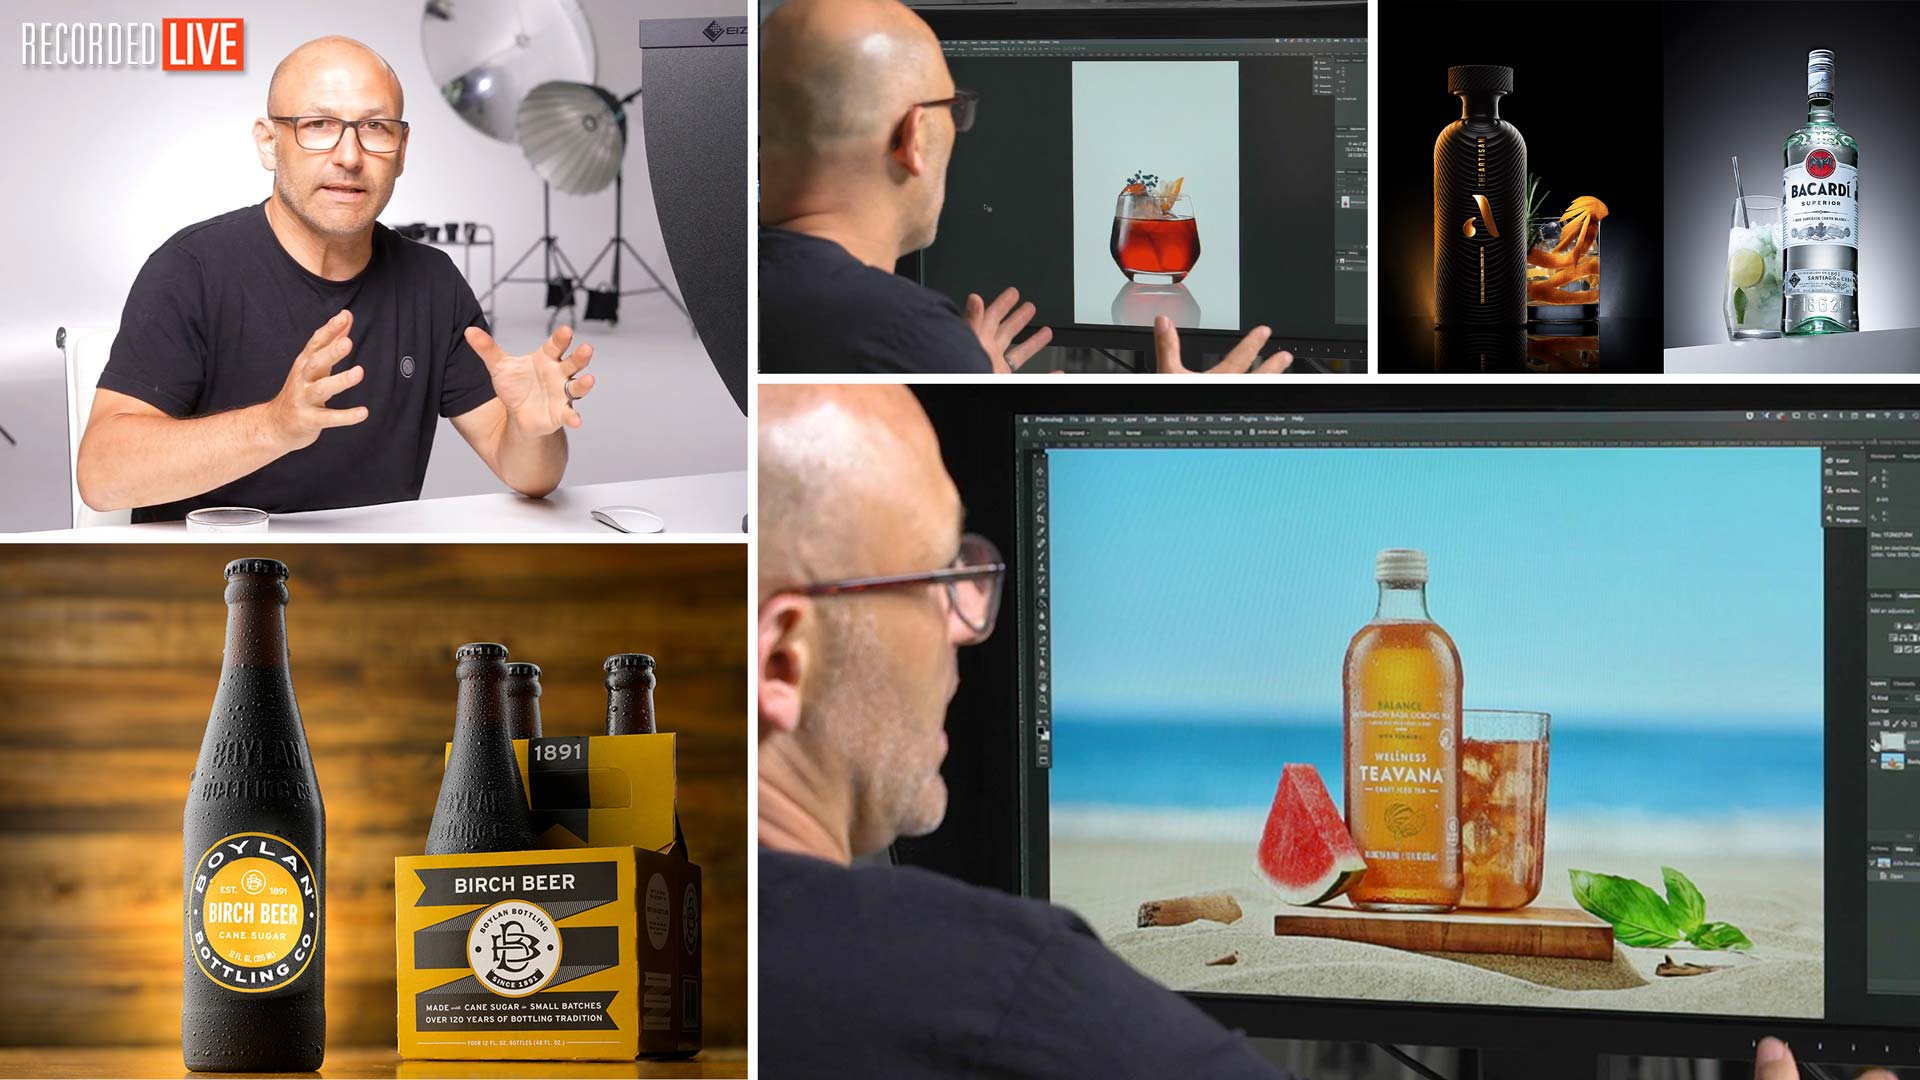

Photo Critique: Bottles and Beverages
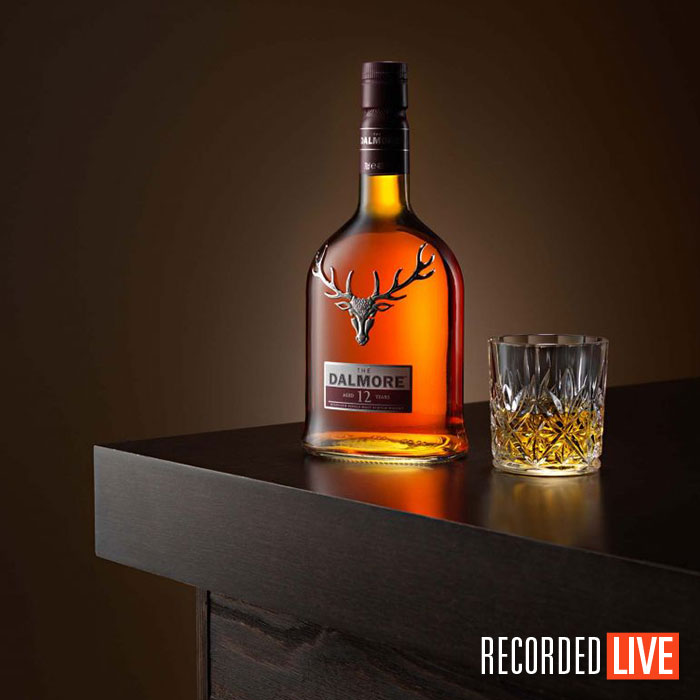
This critique show focuses on a niche area of product photography, one that requires careful control of light and precise attention to detail: bottles and beverages.
Having shot these types of images for numerous clients, Karl shares his experiences as he gives his feedback on each of the images sent in.
In addition to highlighting the strengths of each image, Karl offers his advice for improvement and shares tips to overcome common challenges such as lighting gloss surfaces, illuminating liquids in different shaped bottles, and choosing backgrounds and props.
Additionally, on some of the submissions, Karl shows some simple Photoshop adjustments that could be used to enhance the shots.
Topics covered in this show include:
- Techniques for photographing bottles & beverages
- Bottle photography lighting tips
- Composition tips & framing considerations
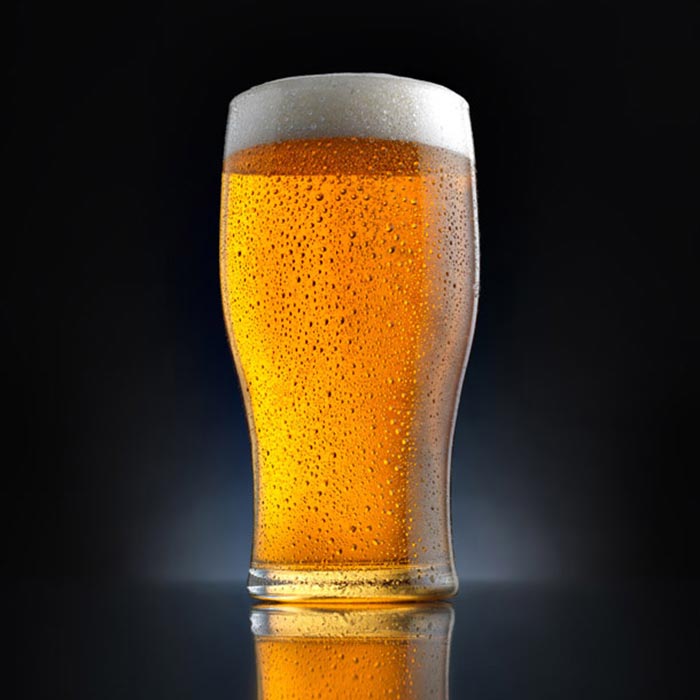
- Controlling condensation on bottles
- Suitable backgrounds for bottle photography
- How to illuminate and enhance colour in liquids
- Retouching techniques for bottle photography
To learn more about how to photograph bottles, make sure to take a look at our Bottles & Beverages course.
If you have any questions about this class please post in the comments section below.
Comments
Hi Karl, I couldn’t watch the live, but I have watched it now, thanks for your criticism, in the end you weren’t so bad! It helps me to keep improving, thank you !
Thank you.
Oh, and for those who were wondering how I created this image, it was indeed created in the studio (mostly). The background is from my local beach and the sand I borrowed (stole) from that same beach.
I was able to create this image largely because of Karl’s lessons on how to get hard shadows (I would’ve approached this so different before watching Karl’s lessons) and how to light and add condensation to a bottle.
I posted a few behind the scene images in the KTE Facebook group if anyone is interested in seeing the different pieces that make up my image.
Thank you and thanks again Karl for your guidance. My product photography has improved greatly thanks to your teaching and generous sharing of knowledge!
Yay for me!!! Thank you so much for your advice and compliments Karl! I didn’t think about angling that stick but I think it’s a very valid and helpful piece of advice. Getting this type of feedback really encourages me to pay extra attention to the small details that will push my images to the next level. Thanks again and I’m looking forward to learning more from you this year!
Thanks and congratulations on a great image.
Hi Karl! Thanks so much for the compliment AND (more importantly) the tips! I didn’t pay attention to the corners (it looks so much better when I pull them out). On the pour. I was struggling with that as the composition and the pour didn’t provide much of the liquid. I tried a couple of things to lengthen and tried using puppet warp to widen but I just couldn’t get it right. I’ll give it another go. The big thing that was irritating was the banding of the background? Thanks again!
Hi Karl,
Thank you for helpful advice. I’m really happy to have your word on my submission. Cheers!
Congratz Julio, fantasitic shot. Keep it up!
Thank you nerikranz!!!
Well deserved! I was wondering if there’s a chance to look into your thought process and workflow?
Never mind, it’s well explained above in another post
That picture by David Lund is fantastic I went and looked at the behind the scenes, so yeah nice picture.
thanks for the critique- in my opinion you were quite nice-lol. maybe a little burn out- I wrote some notes down before to see if we were on same page. since my image was older 10 years- obviously i should be more educated(which i am), but has my application improved? i can look at it more object-fully, when i hear or see weakness in my self. thanks again!
Hi Karl,
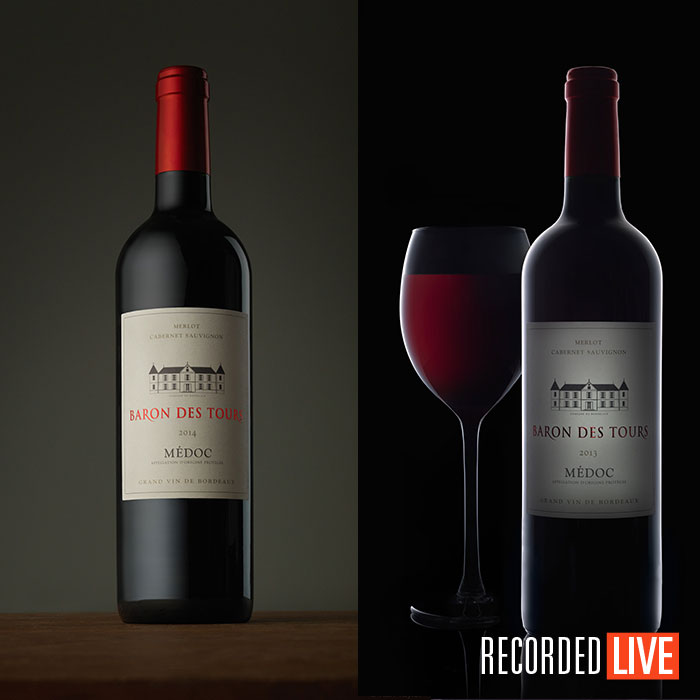
This is the first image I have submitted for critique. I am starting out and only have a small space. I wanted to point out the issue I had as it may help with the feedback. The main problem I had to overcome was the bottle being wide with a large curve to the neck. This was pulling in a lot of reflections. Is there any advice you have on controlling the reflections in a small space? I will reshoot this image to improve the final result, which will include a smaller glass that doesn’t distract from the bottles as much. Plus, I would also like to control the high light on the left of the bottle better, so it is a continuous line from top to bottom. Is it simply raising the scrim and softbox higher for it to wrap around the curve of the bottle? Thanks
Hi Karl, I wanted to make some comments on the black wine bottle I submitted. It is NOT a B&W image. It is actually full color image with no reduction in saturation. It is what it is: Pinot Noire Black Edition made by the winemakers Manfred and Marion Ebner-Ebenauer from Austria. This means it is a black bottle, with a black label with black writings on it and a black wax sealing on the top. The main challenge was to get the brightest part of the label in the middle of the lable without getting reflections in the glass.
The idea is: Black bottle on black background with reflection, bottle outlined by a small rimlight, two asymmetrical reflections in the upper part of the bottle to indicate the three-dimensionality of the bottle. In reality the black label is even darker than on the image, but I had to lighten it up somehow to get enough contrast between label and logo. On the other hand I wanted to preserve the black edition character ot this iconic Austrian red wine. I did it in one shot in camera. 5 strobes, one for the rimlighting, one for the reflection on the left hand side and three for the label (those with a projection attachment each).
I took this image 10 years ago- but I submitted it once here for a light contest- so I wanted to get a critique to improve this type of shot or to see if I am still in the same mind set or have moved forward. fyi they are small airplane bottles.
Karl thank you again for another live critique show. I can’t state enough how much I enjoy watching and participating in these and I would imagine I speak for many people in saying that.
I just wanted to say that because if there was one thing on your platform that I wish there were more of it would be these opportunities as a student to interact and receive feedback.
I know there is only one of you and i understand the economics involved but just know my vote is in for more frequent critiques, even if they are smaller in scale (like less time to prepare for instance, a “flash” assignment if you will) or even with one of your trusted staffers doing the critique on occasion. Have you ever considered trying anything like that?
In any case, the photo briefs, critiques and contests are great and I have learned a lot from the few I have had the opportunity to participate in.
Thanks again and take care.
Ryan
Oops didn’t mean to make that a “reply”….. was supposed to be a new post. If admin can fix this please do. Thanks
Thanks Ryan.
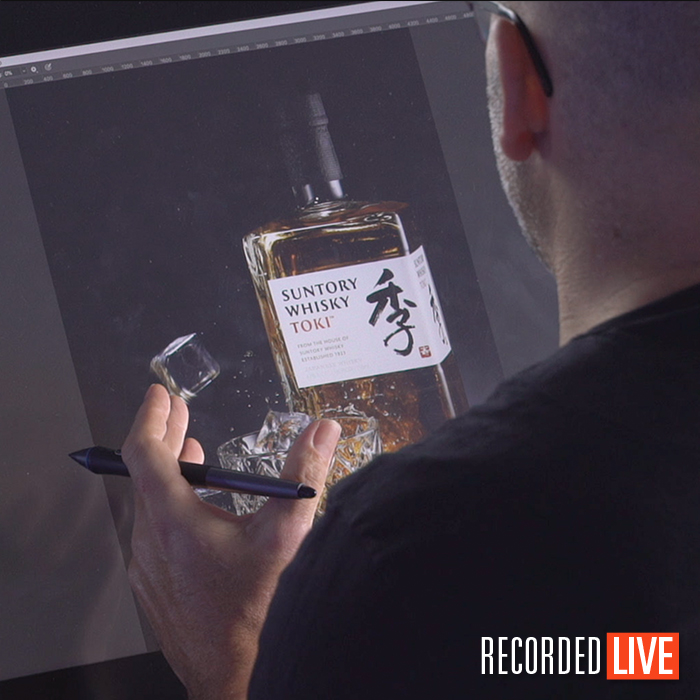
Just uploaded. It is a multiple composite image building from empty glass, to glass with ice, to some whiskey in the base, to blending a couple of pour (haha… no pun intended) attempts. Can’t get rid of the banding, tho, from the light on the background?
Hi there,
possible to submit two images?
KRegards,
Neri
Hi, I’m afraid not as we have to keep it fair for everyone.
Thanks for clearing it up Karl. Fair is fair is good…
KR,
Neri
Hi,
I’m unsure if these images must utilize studio lighting. If so, please just delete my entry, as it was done with natural light.
Also, I have another question for Karl, and not sure where to leave it. I am having some issues with the fact that I have a space that is about 100 sf to do all of my studio photography in. I’m feeling really squeezed out! Since I do a lot of food photography, I have to have lots of props and dishes, which is one reason, but, I think even without those, it would be super tight. I’m starting to notice that I’m just not feeling as motivated because when I do work I am constantly bumping into stuff and knocking stuff over, etc…
My question is, is there a way to work on the things that you are teaching in such a small space? Is there equipment that you’d recommend or ways to set up my table and whatnot that will maximize the space I have?
Thank you in advance for any feedback,
Allison
Hi Allison, I sympathise with you I do. I also started off working in a very small space and it can get extremely frustrating bumping into things and not really having the room for full creative freedom with your lighting. You say 100sq ft for everything? So are we talking only 10ft x 10ft because that is very small and would make it difficult. Is there anything you can do to store the props/surfaces/accessories outside of that space? Maybe a small shed that you can access? In that sort of size space you are also going to need to control the light so dark painted grey walls or wall coverings for white walls that you can put up and down.
Hi, Karl,
Thank you for your reply.
Yes, 10×10 is being generous. Sad, but true.
I make really good use of the space I have, but, after I sent that comment, I realized how ridiculous it is for me to stay in such a small living space, and I am going to move into something bigger when my lease is up in 4 months.
Thanks again for everything!
Allison
Hi Allison, no problem. I guess if I was forced to shoot in a 10ft x 10ft space and it was primarily food photography then I could just about make that work but it would require painting the walls black and having a white ceiling that could then be covered with black foamboard when necessary. The black walls could have white foam board put in front of them when needed or visa versa if you went with white walls (for sanity). I assisted in a tiny matt black studio once it drove me crazy, no natural light just a small black box all day long – no thank you! Anyway what i’m saying is it is possible but would be difficult especially if you wanted to shoot other stuff and you had other things in the room as for me that 10ft x 10ft would have to be the shooting area not shooting and storage area. Also I forgot to answer your other point; no the entry can be with any lighting.
Thank you, Karl! I never thought of the black walls. The area has a huge window as one of the walls that is about 5 x 5 ft. I do have blinds on it, but, I tend to use a lot of natural light as well. I’m going to have to rethink this, it seems.
Oh, and thank you for the info on my drink entry!
Happy Sunday.
Hi, Karl!
I love these videos where you give this feedback. Even though almost all of my drink shots are done with natural light right now, I am slowly learning how to apply your lighting techniques and studio lighting into my work.
That said, I think I submitted a drink to this critique, but, I don’t see it in the video. Perhaps I missed it. I would love to get your feedback on it, and even a few others I’ve done, even though I understand you don’t really work with natural light very often.
If it somehow didn’t make it into the critique files, I can resubmit.
Thank you!
I learned a lot from Master Karl Taylor. I am very curious about your comments. Thank you.