


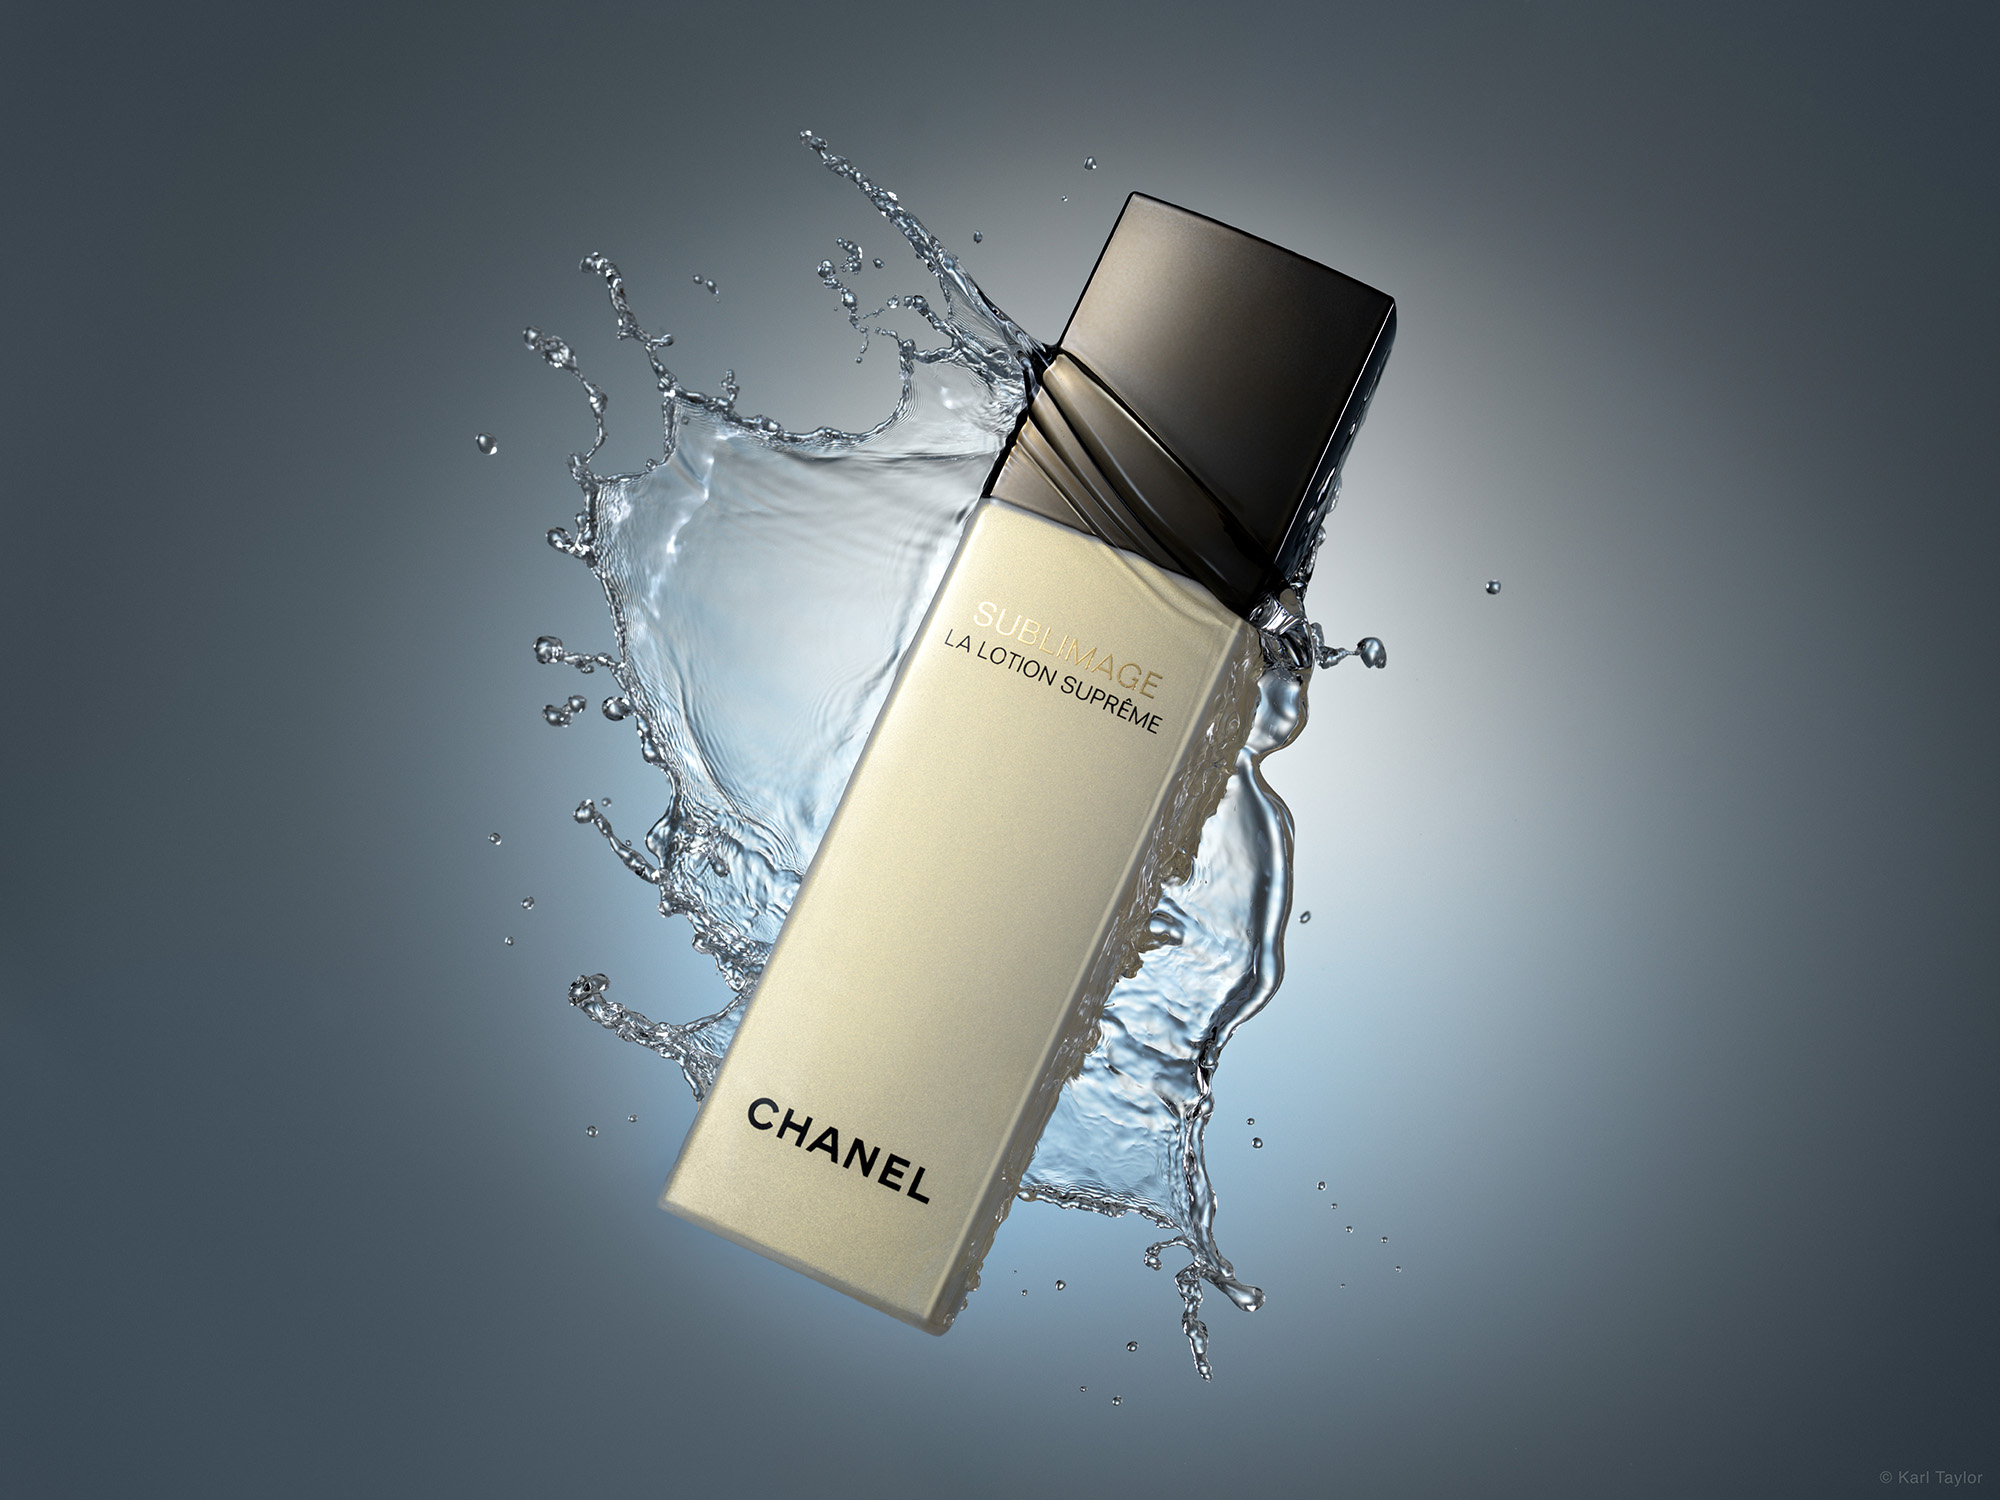
Floating Cosmetics Splash Shot | Post-Production
Having captured a great Floating Cosmetics Splash Shot, Karl moves on to the editing and retouching stage.
In this post-production demonstration, you’ll see Karl use a range of Photoshop techniques well suited to product photography. He also shares a number of lesser-known tricks you can use to enhance your images.
From removing unwanted splashes to correcting hue and saturation and working with layer masks, this chapter covers all the essentials for editing product images.
In this class:
- Post-production techniques for product photography
- Common Photoshop tools and how to use them
- How to create composite images in Photoshop
- Layers and layer masks
- Establishing a post-production workflow
Have you already watched the original Floating Cosmetics Splash Shot? Highly recommended.
Questions? Please feel free to post them below.
Comments
Where can I get a raw file for processing practice to repeat your lessons?
Hi you can not get the RAW files from my own work. Unfortunately we tried this before and it was abused as people then took the images and claimed them to be their own. In our photoshop classes we have a few image files that can be supplied to work along with.
1530 images.. I was wondering how many. Wicked perseverance. I have yet to shoot a water splash image of which I am working on an idea. I tend to shoot quite a few images tweaking things along the way.. often 1-2 hundred, but that has more to do with getting the lights or elements just the way I want. But that certainly gives me an idea of what it takes when you are dealing with the random instances of throwing water. Great learnings on your subtle use of light and affect on a glossy/shiny surface. I also have taken to heart your comment on “making sense” .. throwing water at a perfume bottle as opposed to a moisturizer product. One question came to mind through these two videos: From your drawing, the product floating at the angle with a water splash, I had at first perceived the product as being static with water hitting it in a collision. But as you were working with it, I began to see and feel like the product was more dynamic and was pushing through the water. When you came up with the idea, did you picture the concept as the product caught pushing through left to right and the water flying right to left? Or was this more an outcome of working through the concept in the real world?
Thanks Gary it wasn’t intended to be a product pushing through the water but I’m happy however it is perceived. The key thing is it for it to look dynamic and feel ‘fresh/invigorating’ given the type of product.
Oh.. I get it. The concept was to place the product at a diangle, which produces the feeling of dynamics. That makes sense. I’ve yet to get into pre drawing out my ideas. I get ideas and I know what I want as a feeling, but I do need to make that leap into an illustrative articulation.
would you consider to be faster to use the pen tool to make a selection (than feather it) to than mask out the unwanted bits near the bottom and cap of the product without risking to touch the protuct?
Hi, I sometimes use the pen tool, I sometimes use the lasso tool and sometimes I just paint on the mask with a brush. You can also make your selection with either the pen tool or lasso and then make that become the mask. It’s just whichever way you prefer really. In many of the other classes you will see me using a different one each time as I like to mix it up a little, I don’t really give it much thought – the pen tool is more accurate if you have a lot of curved broad surfaces to select such as around a car for example. The polygon lasso tool is perfectly good for straighter products. They can all do much the same thing though when you want them to become a mask or a selection for a new layer. See my individual photoshop tools lessons if you need more info on each tool.
Hi Karl
you’ve mentioned something about the dodge/burn special action… where can I find that tutorial?
Is there a search button to find specific themes?
Hi, it’s currently part of the visual aid layer actions that you will find on the downloads page.
Hi Karl I’m new to your website and so far I’ve learned more in a couple of days than I ever could have imagined, your clear concise explanations, technical ability and artistry are absolutely brilliant. Thank you sir you are a real gentleman, Tony
Thank you Tony, much appreciated.
lovly work
Thank you.
Hi Karl, interesting tutorial!
I found it a valuable lesson on the problems you highlighted with the background. I guess this shows how important it is to plan the shoot well, and consider the need for a clean background that matches the final shot. It wasn’t too clear as to what caused the tonal difference in the final clean background shot. How did it change from the complete setup when you didn’t remove or adjust any lights? How can this best be prevented to ensure minimal post processing?
Thanks!
K
Hi Kryn, thank you. My experience is that it is often even from moving the product and lighting stands away that change the amount of light hitting a background or bouncing around off the floor etc. Even this very small (often 1/10th if an fstop or less is sometimes perceptible). Even what you are wearing and where you are standing can have a difference as your body can act as negative or positive fill. It’s best to take measurements tethered from the raw file to confirm before assuming it was OK which is the mistake I made here.
How do you create a new layer from all the layers below it – I normally duplicate and then merge, your way looks a lot easier ?
C
Hi Curtis, ‘command’ ‘option’ ‘shift’ ‘E’ all at the same time.
Great tutorial both the devloping of the image and the capture setup. I have a question sometimes when your working there is two circles a smaller one inside a bigger one. What is causing this to happen? If i had to guess id say one was your brush and the bigger one displayed feather size.
Hi Levi, this is actually an error of the screen recording software, for some reason it records two circles even though there was only one, it may be like you say recording the feathering circle too.
Interesting, thanks for the answer Karl. Im looking forward to the next lesson =)
Hi Karl, great to see the level of detail you go to in order pull out the very best final image. Also good to experience your problem solving and solution based attitude to the issues that face all of us when we work through retouching an image. Fantastic work and tutorial. Thank you.
Hi Karl! I just wondering why are you merge down your finished layers instead of keep layering them?
Hi Jeongun, I have bad working practises 🙂 No I usually keep a copy of the layered working file, other times when I know I’m happy with the image then I sometimes decide there is no need for the layers any more.
Pre-visuaization is what separate an ” Artist ” from a ” performer “.
This is what I love and learned from you is thinking before you start as an artist.
No one does it better than you Karl.
Thank you for everything.