


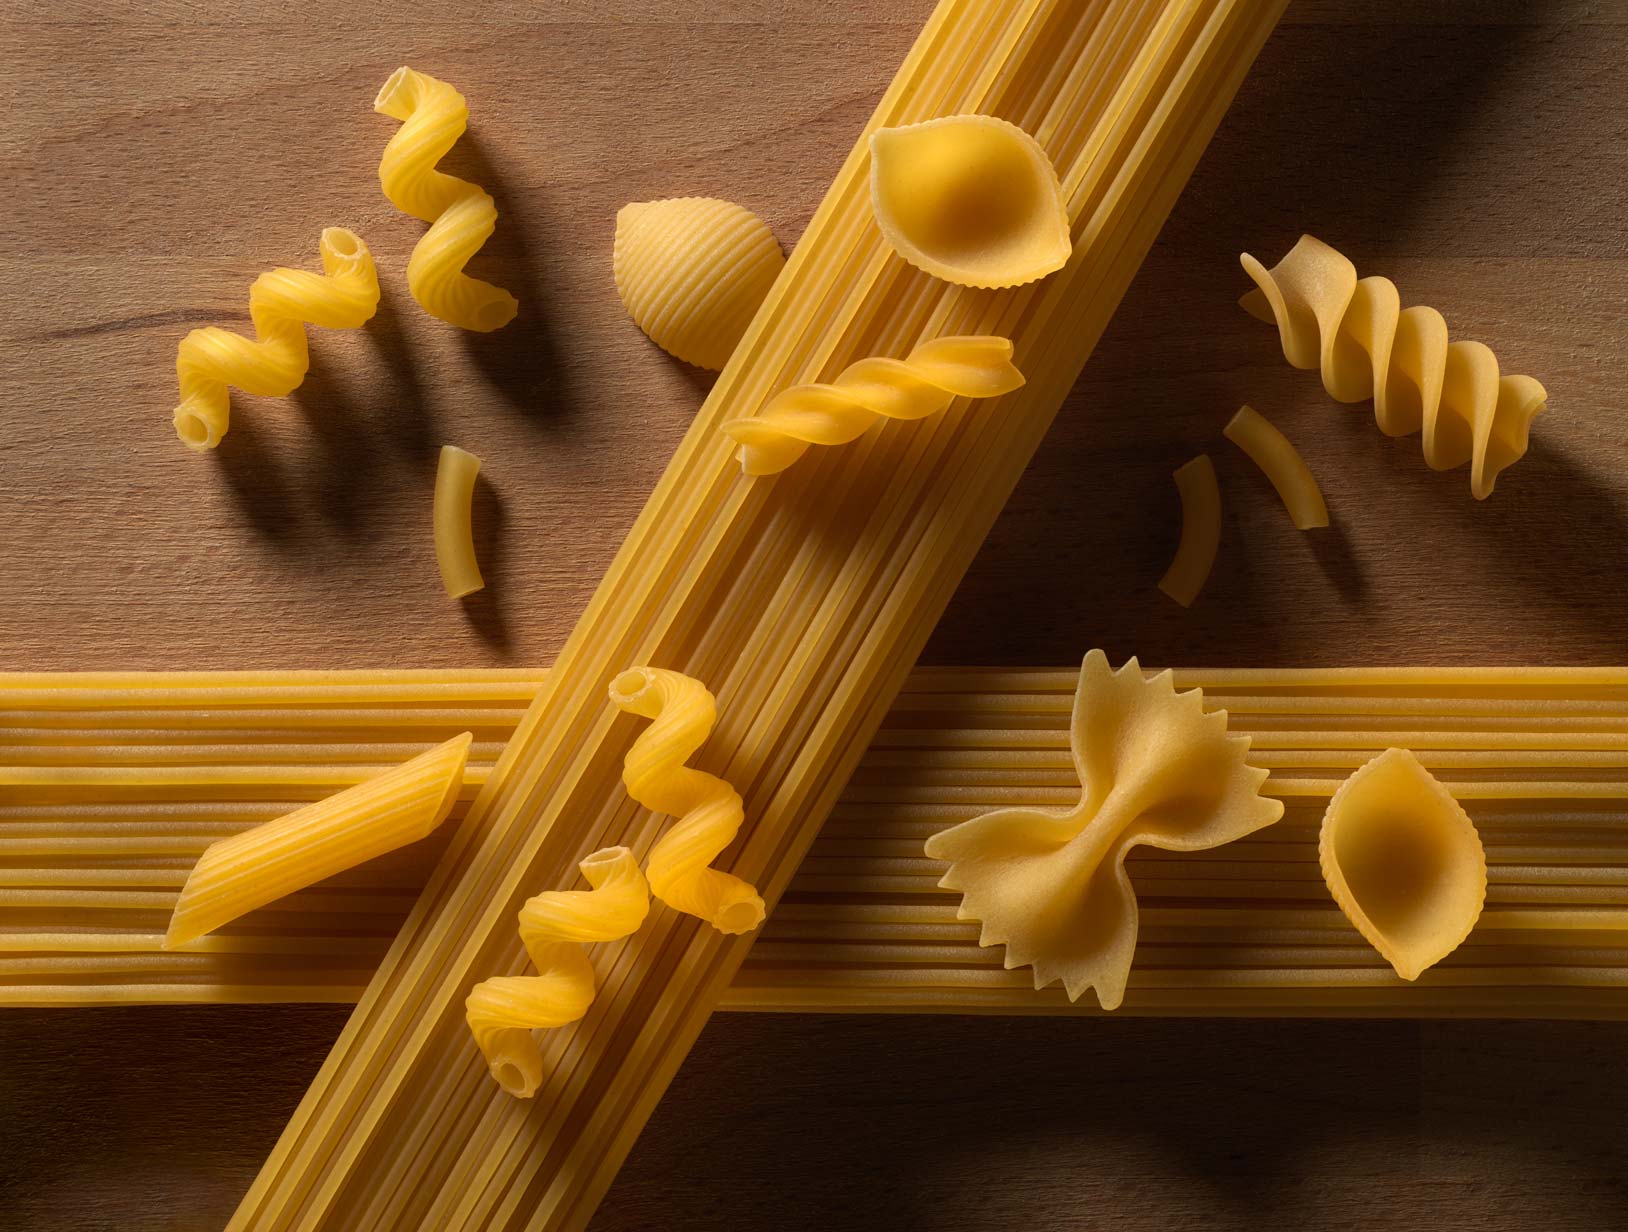
Still Life Pasta: Simple One-Light Shoot
Learn how to make the ordinary look extraordinary.
This class is the first in a series of still life photography tutorials showing how to shoot creative imagery perfect for wall art or stock libraries.
Here, you’ll use a basic food ingredient found in most households to create a simple flat-lay arrangement. You’ll learn how to overcome various problems, such as creating depth in the image and keeping items in position. You’ll even discover a simple trick for overcoming the effects of the inverse square law when working on such a small scale.
This class will teach you how to control exposure and shadow density as you use a combination of fill reflectors to create a warm, sunlit feel. Ideal for home studio shoots and photographers working in small spaces, this simple shoot is a great way to get creative with minimal equipment. The final result is something you can easily add to your portfolio – or even sell!
In this class:
- How to shoot still life photography
- Still life photography tips
- Photography ideas using one light
- Creating layers & depth in flat lay photos
- Understanding the inverse square law
- Using fill reflectors to control shadow density
You can watch the post-production for this shoot here.
Other classes you may be interested in include our Natural Decay Still Life, Floral Fine Art and Lighting Control (The Egg Challenge) classes.
Questions? Please post them in the comments section below.
Comments
Hello Sir Karl,
I have just started to learn about photography and one thing that still confuses me is about composition. Could sir Karl help refer to me to the video on which you explain composition, especially for product photography? I watched the videos about the chanel lipsticks composition, where we see things from the left and try to make our audience see the picture as long as possible, it is really informative.
As I came from a finance background, I don’t really have a sense of how to make things look good other than following rule of thirds, symmetry, guiding line. Could sir Karl maybe help explain your thoughts when arranging things like why it needs to be at certain angel, or why add extra stuff at the side, or maybe there’s already a video on that and it is my ignorance that I didn’t see it…
Thank you very much!
Sincerely,
Vincent
Hi Vincent, please watch this video (I’m not sure if this is the one you have seen): https://visualeducation.com/class/composition-2/ and then watch this video too: https://visualeducation.com/class/the-emotion-of-light-july-12th/
Dear Sir Karl and Team,
Noted! Thank you very much.
Sincerely,
Vincent
AWESOME ❤ BEAUTIFUL ❤ Thank YOU very much 😁
Thank you.
I believe I missed where the inverse square rule was explained.
Hi Alejandro, try these two classes please –
https://visualeducation.com/class/understanding-inverse-square-law/
https://visualeducation.com/class/introduction-and-understanding-light/
Hi Karl.
I hope everything goes well for you and the team ^^
Using a bigger softbox farther will create the exact same light “gardness” , we agree on that, right?
But, considering the Inverse Square Law, won’t it change the lighting of the scene? What I mean here is, won’t it lighten a bit more the right part of the photo?
As the light is farther, we should see a lesser decrease of light, am I correct?
And finally, considering the box being far away, won’t it change the size of the shadows making them longer? If yes what would be the correction to bring? Could Bringing the box higher and angle it down be a good solution?
Hi Kamien, yes having a softbox further away would reduce the imbalance of exposure from top left to bottom right and it would become more equal, however the shadows could remain the same if you used a bigger softbox further away if that softbox ‘looked’ the same size from the subjects viewpoint and it was in the same apparent position which would also mean it would need to move up as it moved back.
Excellent Karl.
Excellent idea Karl. You are a true inspiration. Thank you.
Thank you Karen!