


Rim Lighting Photography for Stunning Portraits
Discover a wonderful one-light technique for truly beautiful portraits.
Want to capture eye-catching portraits using just one light? Watch this class to learn how to achieve remarkable results with minimal equipment.
You’ll learn from professional photographers and lighting experts Karl Taylor and Urs Recher as they demonstrate how to create beautiful, soft rim lighting using backlighting – with a twist.
Don’t miss this chance to discover a super-smart, simple-but-effective technique that enables you to produce what looks like a four-light effect with just a single modified light.
In this class:
- Portrait photography using a single light
- How to use backlighting for creative effect
- How to avoid flare
- How to modify rim light
- Using reflectors and flags
- How to control shadows
Questions? Please post them in the comments section below.
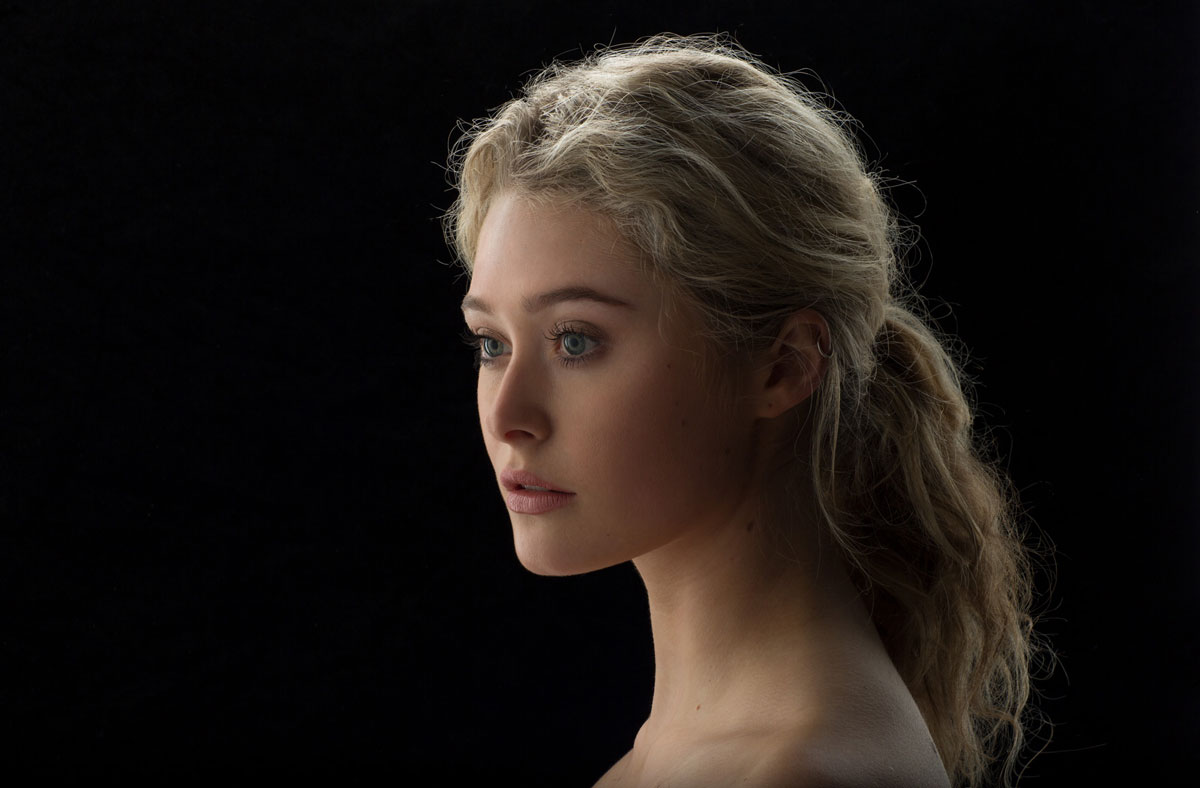
Stunning female portrait using rim lighting as a backlight.
Comments
Hi Karl, do you think you can get a good result by working with one or two light sources pointed at a white background behind the model instead of using a softbox?
Hi, no I that would likely result in flare and wouldn’t be quite as effective and you would also create a lot of light ‘pollution’ bouncing around your studio because the inverse square law would come into play as the distance of the light would be much further from the subject.
Thanks Karl, I hadn’t thought of that.
👍