
Wedding Retouch (Part 2)
This Photoshop class continues from the previous chapter, where Viktor started demonstrating how to retouch a wedding photo quickly and efficiently.
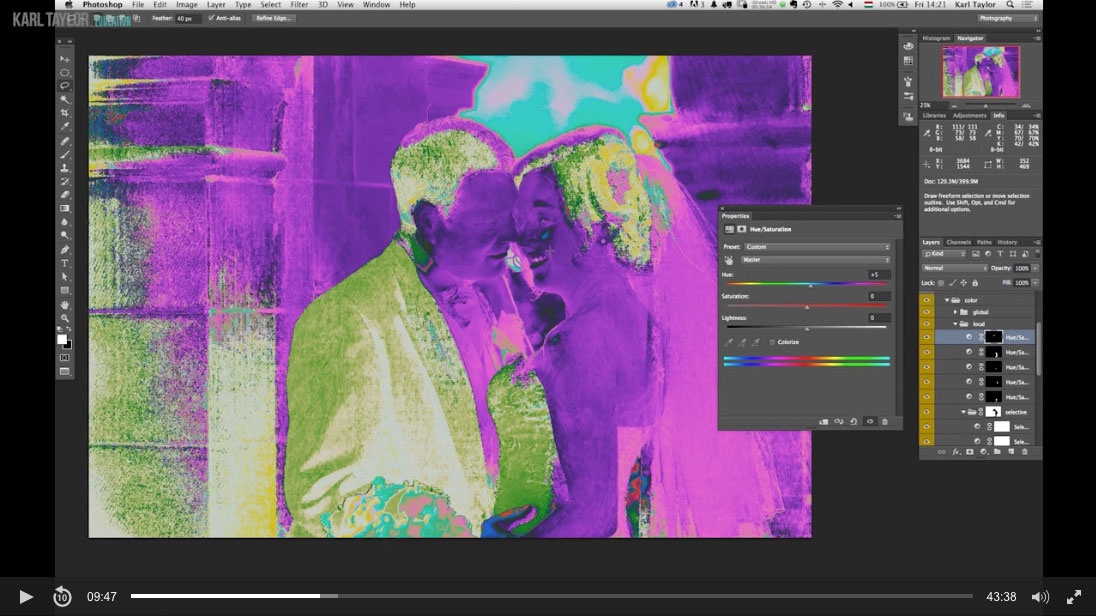
With the initial stages of the retouch complete, he now works on creating smooth skin tones and color transitions throughout the image.
With the help of his Visual Aid Layers, he quickly works towards a spectacular final image, explaining each step as he goes. Being able to perform this quality of retouch will ensure that you’re able to wow your customers time and time again.
NOTE: You can download the visual aid layers used in this class from our Downloads section.
In this Photoshop class we cover the following:
- Wedding photography: Tips for editing wedding photos
- How to retouch wedding photos
- How to use Burn and Dodge to retouch hair, skin and clothes in Photoshop
- Color correction – Adjusting Hue and Saturation in Photoshop
- How to even out skin tones
- Using Levels adjustments in Photoshop
- How to add a vignette to an image
Watch the initial stages of this retouch in Part 1 here.
Watch our live talk show with award winning wedding photographer David Stanbury to learn more about wedding photography.
If you have any questions about this class, please post in the comment section below ?
Comments
Brand new subscriber here! A really excellent video, especially after making the decision to pivot my headshot business towards wedding photography going forward (with the hope that towards the end of this year going forward into 2022 will be busy for weddings and events). Any additional tips are very well received.
Karl and Viktor make an excellent double-act with such an engaging video. Quick question, is it safe to assume that the guide layers for hue/saturation are the same guide layers in the download section of the website? I’ve been wanting to up-skill with retouching and seeing Viktor use these blew my mind a tiny bit, that’s coming from a partially colour-blind photographer, who needs all the help he can get!
Many thanks to the team for a great first impression of this site.
Andrew @cursetheseeyes
Hi Andy, and thanks for joining us. The downloadable Action file ‘Visual Aids Layers’ in the downloads section is Viktors box of tricks. There are also other simpler ones such as straight burn and dodge actions too.
Hi there, just let me start off by saying that I loved the results, great Job. I just have a quick question, if you’re working on a batch of similar photos from, say the same wedding, would you need to repeat the same steps picture by picture or is there a way to apply this treatment on one picture and having It automatically apply to a batch. (like a preset, if you will)
Thank you,
AL
I’m primarily talking about the colour treatment. I am aware that most actions won’t line up from one image to the next.
In order to make the batch look uniformed.
Hi, yes the settings or adjustments you make in LR or PS can be saved and reused or run as an ‘Action’ in PS to do other things too such as cropping and resizing.
very good results!!
excellent job by Victor, thank you so much,
do you place your tutorials in Youtube too?
Hi Satyajit, thank you and no i’m afraid we do not allow these tutorials on youtube as this is our business and these more informative videos are for our members only.