


Creating Smoke Effect Using Photoshop Brush Tool
For the next stage of the composite, Viktor demonstrates how to create the effect of smoke using a custom Brush in Photoshop.
In this class:
- How to create a smoke effect in Photoshop
- How to create custom brushes
- Using layers and filters to further customise brushes
- How to use Opacity and Blend Modes to create more realistic smoke
In this class, Viktor demonstrates his techniques for creating smoke in Photoshop. You’ll see how he customises brush settings and uses layers and layer masks to get the right effect and how to use additional adjustments such as the Opacity slider and Blend modes to get the most realistic results. This is a great class to show just how effective brushes can be, regardless of the effect you want to create. The techniques covered in this class, as Viktor mentions, can easily be applied to creating clouds in Photoshop too.
Custom brush settings:
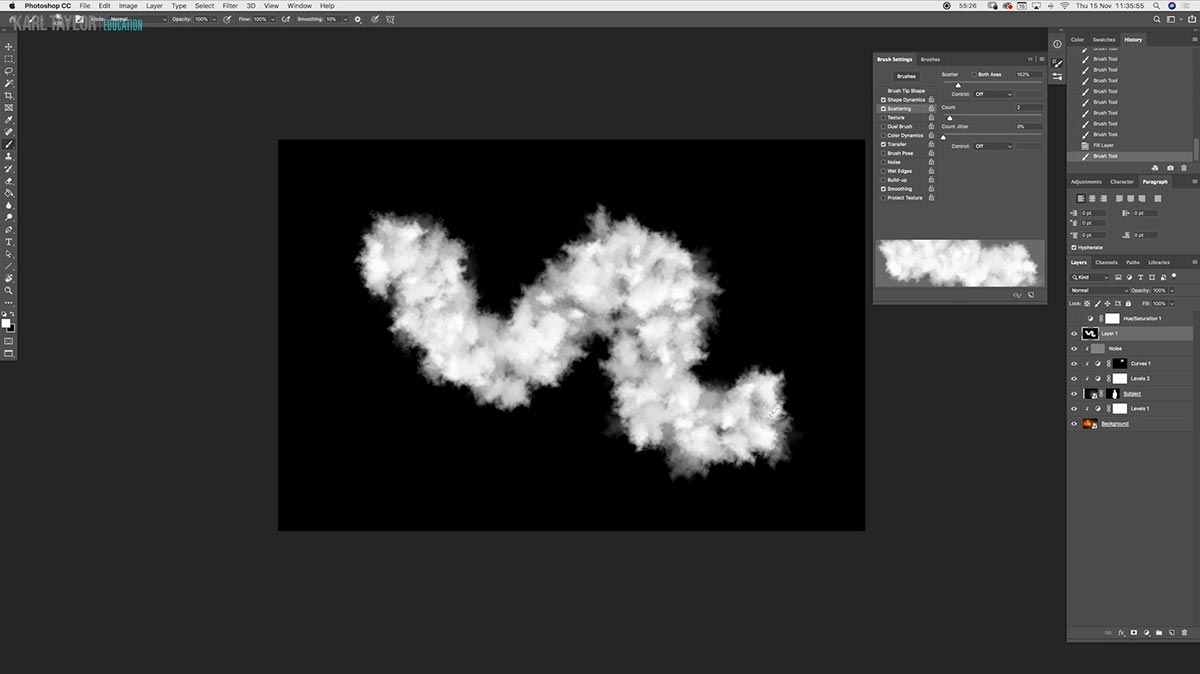
Photoshop Brush settings allow you to change everything from the size of your brush to the scatter, which can be used to create effects such as this.
Applying smoke effect:

The early stages of applying the custom brush effect.
Final smoke effect:
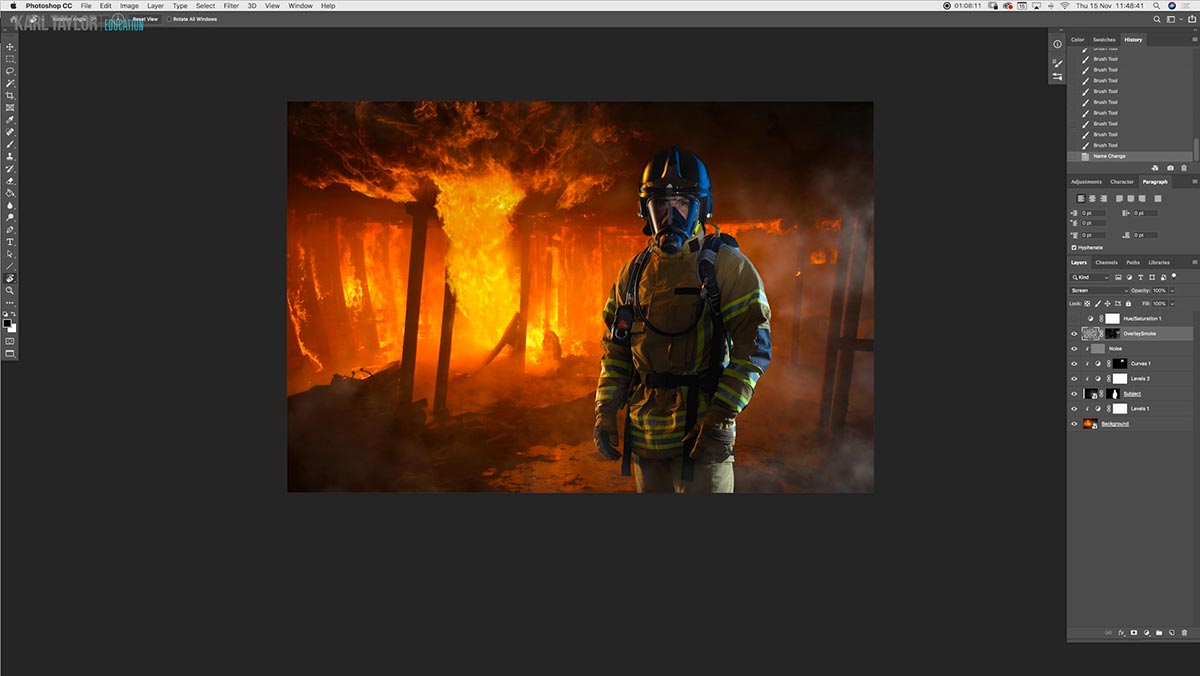
The final smoke effect created using custom brushes in Photoshop.
For more tips on creating composite images in Photoshop, read our ‘Top tips for compositing‘ article.
Questions? Please post them in the comments section below.