
Cosmetics Product Shoot
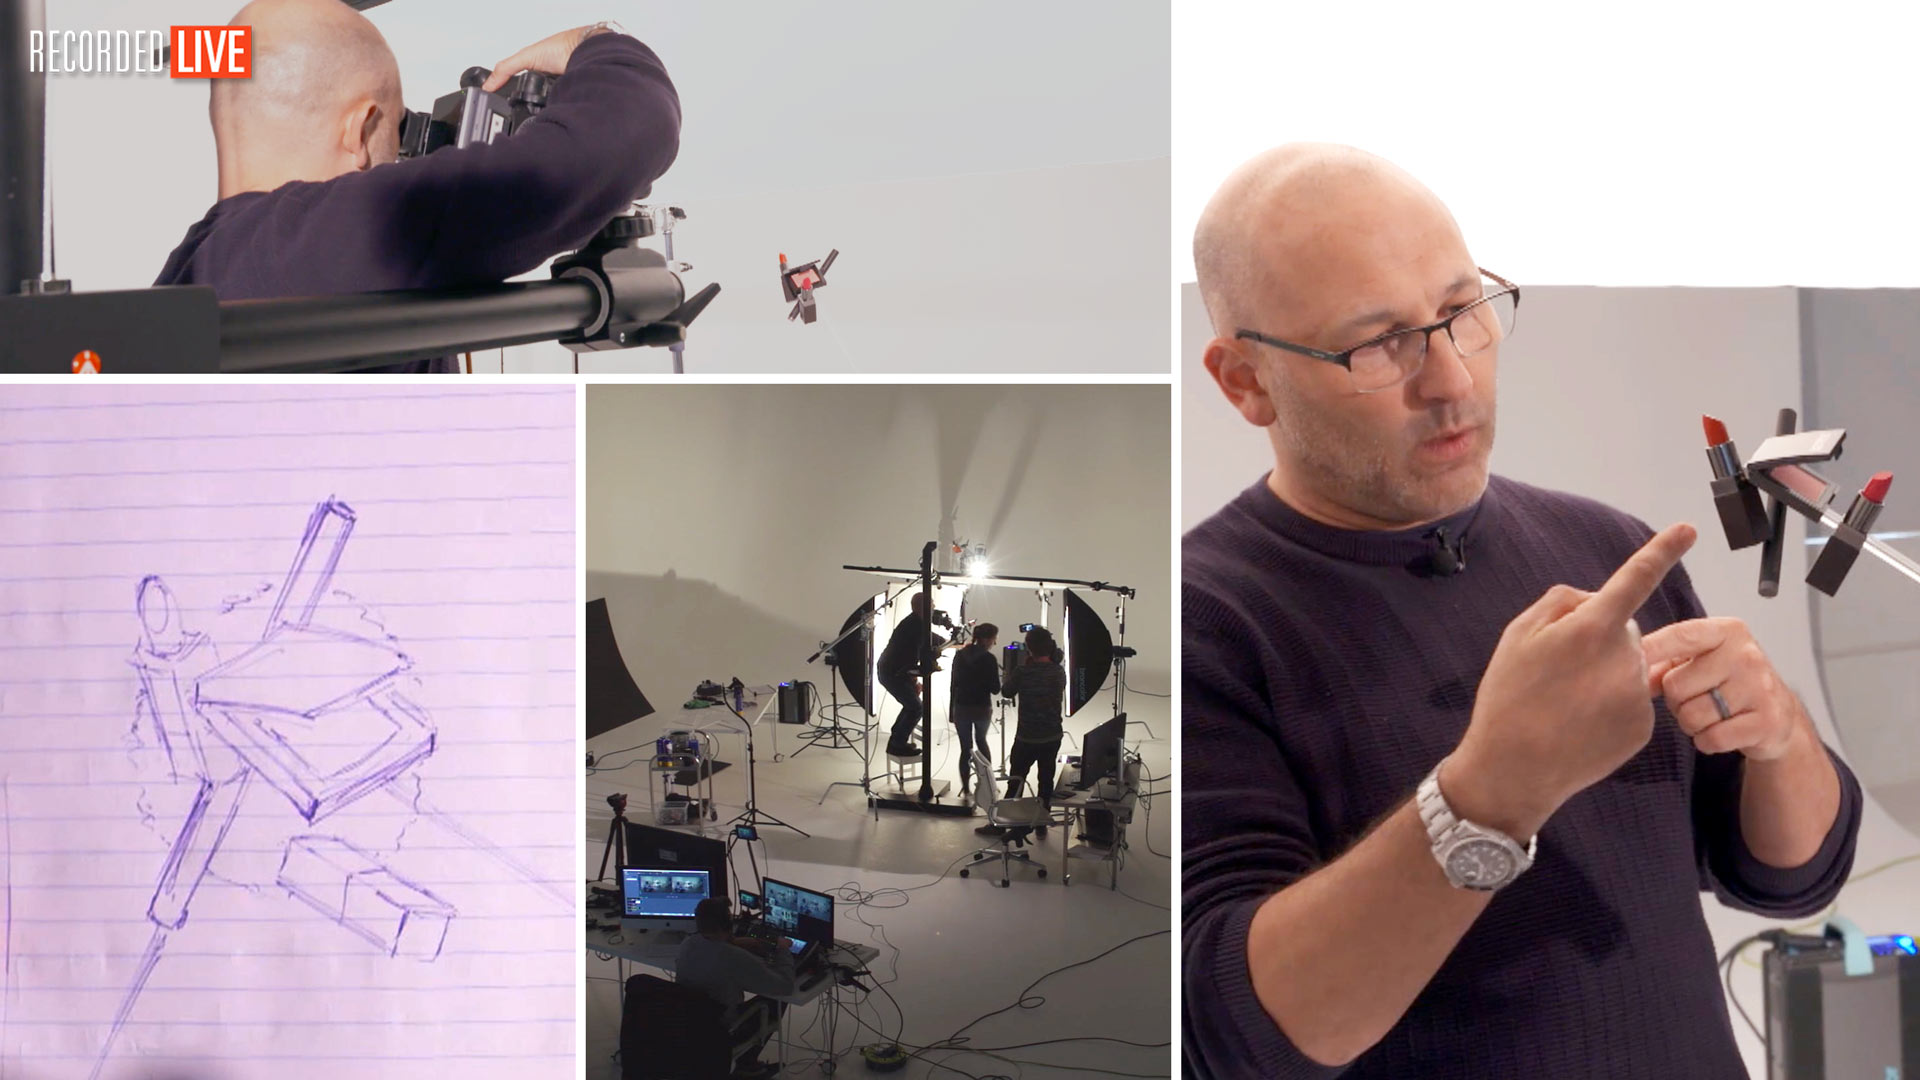
In this photography workshop, Karl attempts to bring his vision of a floating cosmetic arrangement to life in a highly complex cosmetics product shoot.
Cosmetics can be complex objects to light — they’re often small and can feature different textures. Taking the time to analyse your product is the first step and in this show you’ll see why this is so important as Karl shows you his process of setting up and lighting cosmetic products.
You’ll see each step as he explains the intricacies of such a product shoot and demonstrates how to overcome challenges such as how to light different surfaces of the products, how to control light spill around the set, how to secure the products in position and which lighting modifiers are the best for this type of product photography. To finish, Karl also shows you how to add dynamic, depth and leading lines by introducing additional elements and props to this product photography setup.
Regardless of whether you’re shooting lipsticks or skin creams, this show will cover powerful techniques for photographing cosmetics, as well as useful tips for general product photography too.
In this live product photography workshop we cover the following:
- How to photograph cosmetic products
- Product photography lighting
- Product photography tips
- How to light multiple textures and finishes: Lighting matte, gloss, lustre and chrome surfaces
- Lighting modifiers for product photography
- How to create depth in a photo
Other cosmetic product shoot classes you may enjoy include:
- How to photograph cosmetics on a gloss black backdrop
- How to create and photograph cosmetic swatches
If you have any questions about this show, please use the comment section below.
Comments
Wow, very clear and insightful. In just watching this shoot I now know and feel very confident that I too can shoot what I see others post on their social media. This cuts down on so many trial and error and is very informative and straight to the point. Time to execute. Did you finally record the photoshop session for this shoot?
Thanks,
Moby
Hi Gobie, glad you enjoyed it. We didn’t do a post production on this one as we completed many other cosmetic shots plus the post production that use similar techniques. This one you might like – https://visualeducation.com/class/live-workshop-focus-stacking-shoot/
At the tail end of the photoshoot, you bring in another mirror or reflector to bounce a little light into a dark section. Throughout the shoot you are using flat surfaces to scrim or bounce or reflect light. I was curious why you didn’t try a cosmetic round focus mirror with these very reflective cylindrical surfaces to create a spot fill. Generally, you are very conscious of the gradients across the surfaces throughout the shoot. Is that why you preferred going with flat mirrors?
Hi Gary, yes make up mirrors don’t focus soft light very well and they loose the gradient effect. Small silver card or mirrors keep the image of the gradient and reflect it back.
Hi Karl. In other shows I have seen that you use a scrim and a softbox to create the degradation but you do it with bare light. I understand that if you do it differently it will be for some reason, but what is that reason? Thanks!
Hi Peter, a bare bulb will create a radial gradation (stronger in circle at centre, graduating outwards in circle). Tall thin softbox will create a linear gradation so a rectangle but stronger rectangle of light in centre or on one side depending how you angle it. In cosmetics are gloss objects the light seen is a direct reflection of the light source, therefore I often create the light source that is suited to the shape/direction of the product.
Very well explained. Thanks Karl.
Nicely executed, That’s a lot of work you put into a single image.
Karl you are a Gem. Love your work and learned a lot.
Thanks
Thank you kindly.
For me this content is one of the best you can find on the internet. It would be very good if at least the content had the option of activating subtitles in English, for those people who have certain limitations with the language. Videos collected from past broadcasts do not have that option. The others yes.
Hi, thanks for your feedback. We are currently working on adding subtitles, not only in English, but also other languages too. We have completed this on most of our courses because they have a longer production time but we have been unable as yet to keep up with subtitles for all of our live shows. However you will be pleased to hear that it is something we are working on and will eventually get ahead of.
This is what other courses don’t have, a look inside the brain of a master. I love how particular Karl is about each detail and hearing the reason why he makes those decisions! Priceless!
Thank you kindly!
Silly question, but where do I buy the scrim rolls from your website? Thanks x
Hi, we don’t sell them anymore contact LEE filters to find a dealer near you.
Dear Karl,
Is there any suggestion to replicate the Picolight as its way to expensive to buy and not available to rent.
So how can I achieve the tight projection or we can just light the logo globally and mask it in PP?
Got the answer from the video……
Hi Karl,
The Scrim has the diffusion on both sides of the frame or just one side should be sufficient?
Hi, it depends largely on the diffusion material. The one i’m using now only needs one side.
Hi Karl, May I know which diffusion paper you will recommend? I search for lee diffusion and they have several kind of paper like 1/2 white diffusion etc.
Hi, 216 or Lux400 – preferably 1.5m wide rolls
Hi Team,
Awesome tutorial. Really great stuff!
Is there any way I can see the final image after the post production work?
Thanks,
Saurabh
Karl said he ‘s planning on doing post production in a future live class
Are you using a manual lens on the Hasselblad?
Hi, All me lenses have AF capability but I generally shoot in manual focus.
Hi Karl. You have proven the benefits of an assistant. Ashley has done a wonderful job. I am sure you have other people. But she is the one I remember the most. Not that I doubted you…. but when I move the lights I don’t see the change. Which means I seriously need to tether more than ever. I really enjoyed this tutorial also. Thank you for your time.
Hello Karl
Very good, informative class and great concept. I was wondering if you might have any recommendations of some other commercial photographers who specialize in cosmetic/beauty product related work that I could check out. I like examining the work of as many great photographers as I can, hopefully to be inspired and learn something from and be inspired by. Thank you.
Hi Tim, did you see our live shows replays with Barry Makariou and Jonathan Knowles? They are two very respected product photographers, also take a look at Peter Lippmann I’m hoping to get him on the show in the future, I think he’s probably one of the best still life photographers out there.
Oh awesome. I think I missed the Jonathan Knowles live show. I’ll have to go and watch it. Also I look forward to Peter Lippmann possibly being on the show.
Fantastic Product Shoot! One of the best. I actually think the shapes you added at the end degraded the product – that’s how good the product shot was! I continue to learn from the master and have been able to include much of what I’ve learned from you in my photography.
I shoot for an internationally known sculptor whose works have appeared in numerous museums and art gallery’s world-wide. Her comment after my first attempt was “I’ve had a lot of photographers over the past 40 years and I’ve had to fire them all because they couldn’t make my art come to life.” Since much of her work is cylindrical in nature I’ve employed your scrim techniques to create a 3D look to her art which she now uses in her marketing and show submissions and she loves the look. Thanks!
Great Stuff Bob!